Woodworker's Journal 101-Projects-for-Woodworkers, страница 17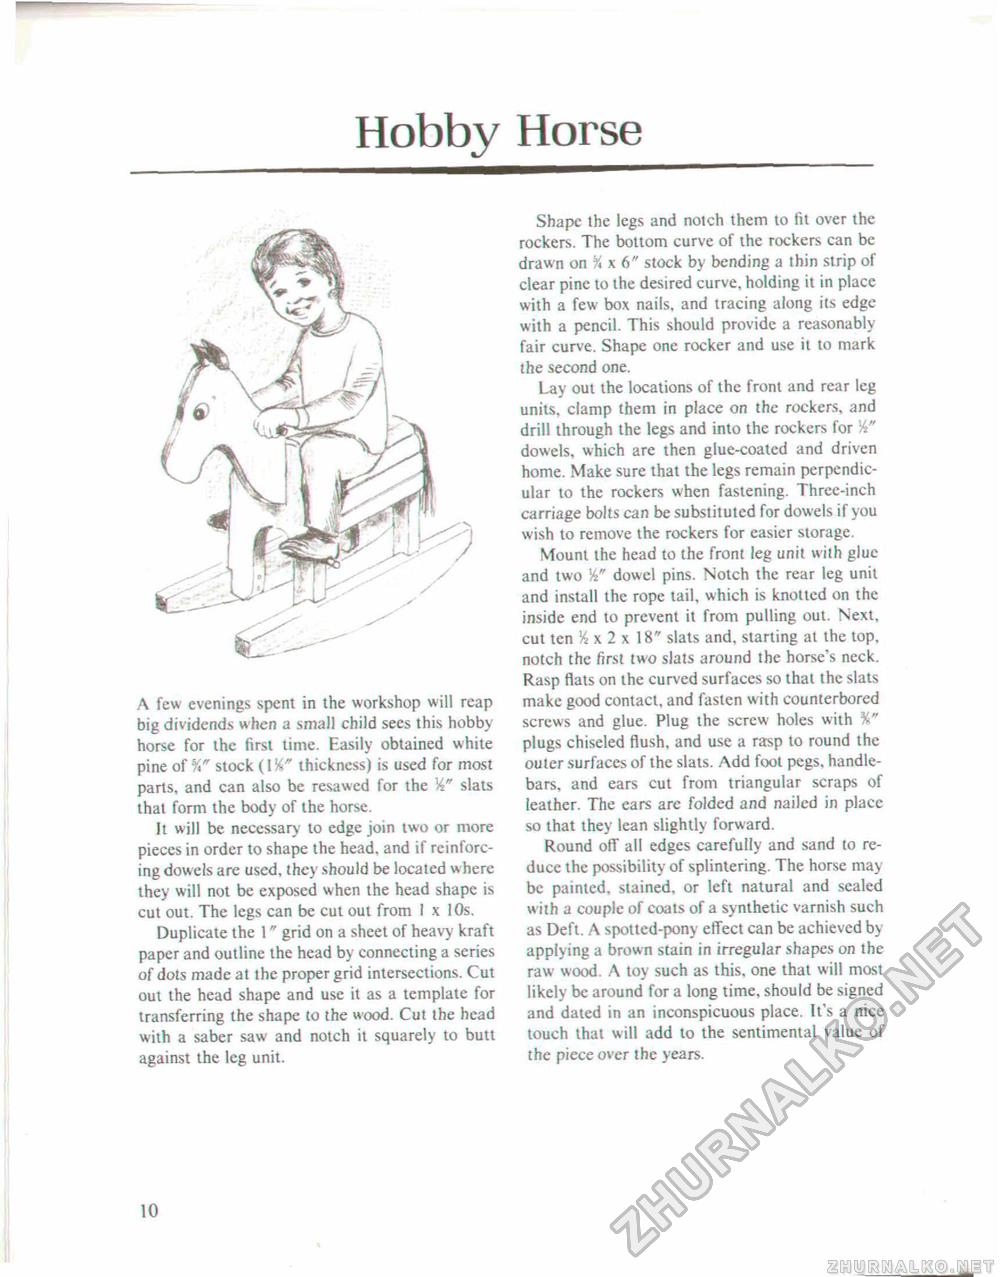
Hobby HorseA few evenings spent in the workshop will reap big dividends when a small child sees this hobby horse for the first time. Easily obtained white pine of stock (114" thickness) is used for most parts, and can also be resawed for the J4" slats that form the body of the horse. It will be necessary to edge join two or more pieces in order to shape the head, and if reinforcing dowels are used, they should be located where they will not be exposed when the head shape is cut out. The legs can be cut out from 1 x 10s, Duplicate the 1" grid on a sheet of heavy kraft paper and outline the head by connecting a series of dots made at the proper grid intersections. Cut out the head shape and use it as a template for transferring the shape to the wood. Cut the head with a saber saw and notch it squarely to butt against the leg unit. Shape the legs and notch them to fit over the rockers. The bottom curve of the rockers can be drawn on % x 6" stock by bending a ihin strip of clear pine to the desired curve, holding it in place with a few box nails, and tracing along its edge with a pencil. This should provide a reasonably fair curve. Shape one rocker and use it to mark the second one. Lay out the locations of the front and rear teg units, clamp them in place on the rockers, and drill through the legs and into the rockers for K" dowels, which are then glue-coated and driven home. Make sure that the legs remain perpendicular to the rockers when fastening. Three-inch carriage bolts can be substituted for dowels if you wish to remove the rockers for easier storage. Mount the head to the front leg unit with glue and two dowel pins. Notch the rear leg unit and install the rope tail, which is knotted on the inside end to prevent it from pulling out. Next, cut ten >sx2xl 8" slats and. starting at the top, notch the first two slats around the horse's neck. Rasp flats on the curved surfaces so that the slats make good contact, and fasten with counterbored screws and glue. Plug the screw holes with %" plugs chiseled flush, and use a rasp to round the outer surfaces of the slats. Add foot pegs, handlebars, and ears cut from triangular scraps of leather. The ears are folded and nailed in place so that they lean slightly forward. Round off all edges carefully and sand to reduce the possibility of splintering. The horse may be painted, stained, or left natural and sealed with a couple of coats of a synthetic varnish such as Deft. A spotted-pony effect can be achieved by applying a brown stain in irregular shapes on the raw wood. A toy such as this, one that will most likely be around for a long time, should be signed and dated in an inconspicuous place. It's a nice touch that will add to the sentimental value of the piece over the years. 10 |


