Woodworker's Journal 101-Projects-for-Woodworkers, страница 14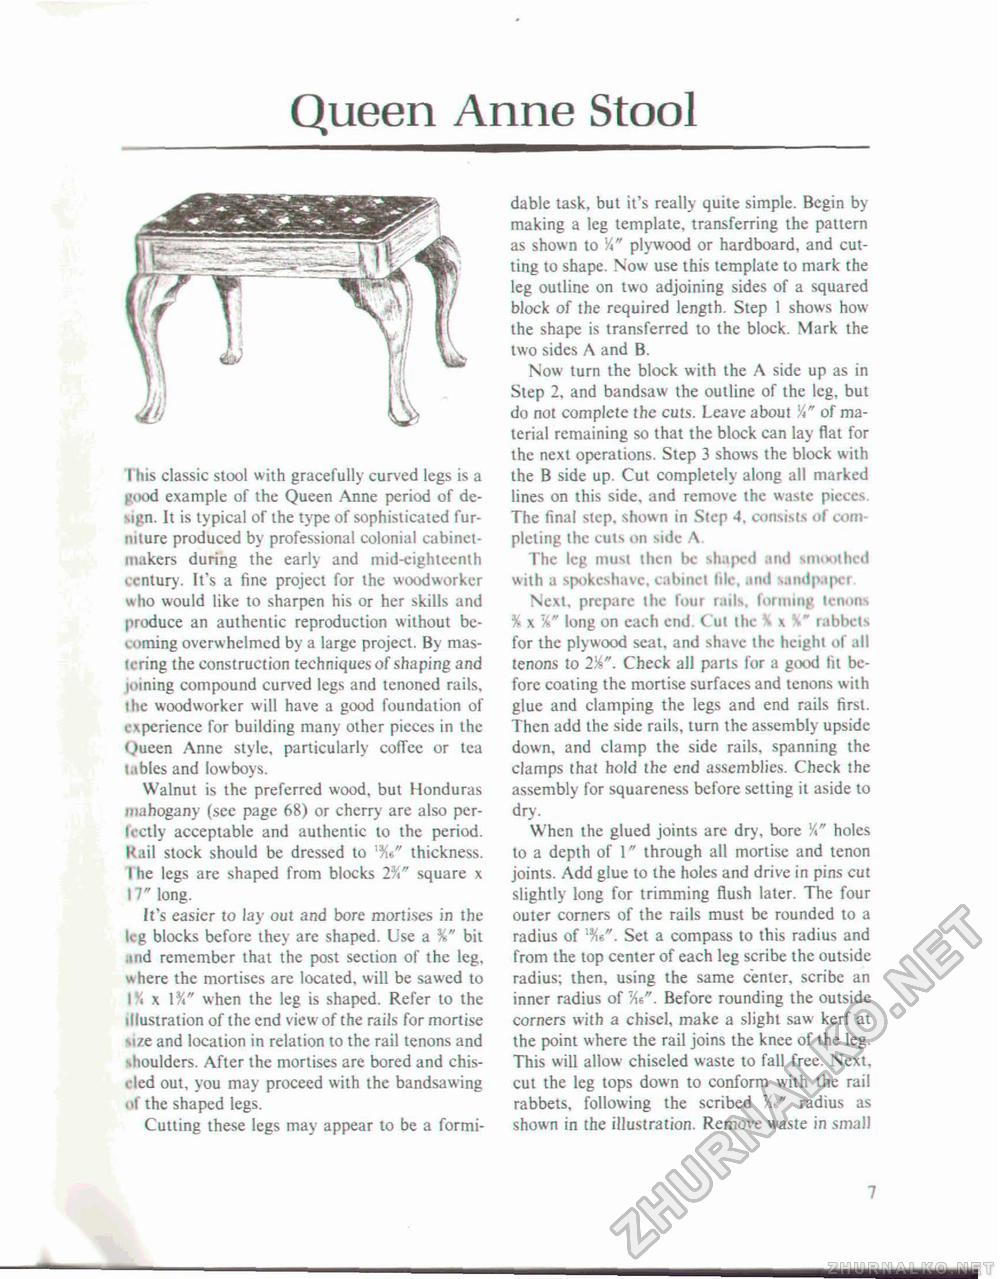
Queen Anne StoolI his classic stool with gracefully curved legs is a m>od example of the Queen Anne period of design. It is typical or the type of sophisticated furniture produced by professional colonial cabinetmakers during the early and mid-eighteenth century. It's a fine project for the woodworker w ho would like to sharpen his or her skills and produce an authentic reproduction without bc-v uming overwhelmed by a large project. By mas-lering the construction techniques of shaping and joining compound curved legs and tenoned rails, I he woodworker will have a good foundation of experience for building many other pieces in the Queen Anne style, particularly coffee or tea i.ibles and lowboys. Walnut is the preferred wood, but Honduras mahogany (sec page 68) or cherry are also per-lectly acceptable and authentic to the period. Kail stock should be dressed to thickness. I he legs are shaped from blocks 2%" square x 17" long. It's easier to lay out and bore mortises in the kg blocks before they arc shaped. Use a %" bit nid remember that the post section of the leg, where the mortises are located, will be sawed to l\ x l%" when the leg is shaped. Refer to the illustration of the end view of the rails for mortise size and location in relation to the rail tenons and shoulders. After the mortises are bored and chis-cled out, you may proceed with the bandsawing of the shaped legs. Cutting these legs may appear to be a formi dable task, but it's really quite simple. Begin by making a leg template, transferring the pattern as shown to V\" plywood or hardboard, and cutting to shape. Now use this template to mark the leg outline on two adjoining sides of a squared block of the required length. Step 1 shows how the shape is transferred to the block. Mark the two sides A and B. Now turn the block with the A side up as in Step 2, and bandsaw the outline of the leg, but do not complete the cuts. Leave about Vof material remaining so that the block can lay flat for the next operations. Step 3 shows the block with the B side up. Cut completely along all marked lines on this side, and remove the waste pieces. The final step, shown in Step 4. consists of completing the cuts on side A. The leg must then be shaped and smoothed with a spokeshavc, cabinet file, nnd sandpaper Next, prepare the four rails, forming tenons % x long on each end. Cut the H> x rabbets for the plywood seat, and shave the height of all tenons to 2%". Check all parts for a good fit before coating the mortise surfaces and tenons with glue and clamping the legs and end rails first. Then add the side rails, turn the assembly upside down, and clamp the side rails, spanning the clamps that hold the end assemblies. Check the assembly for squareness before setting it aside to dry. When the glued joints are dry, bore K" holes to a depth of 1" through all mortise and tenon joints. Add glue to the holes and drive in pins cut slightly long for trimming flush later. The four outer corners of the rails must be rounded to a radius of . Set a compass to this radius and from the top center of each leg scribe the outside radius; then, using the same center, scribe an inner radius of Before rounding the outside corners with a chisel, make a slight saw kerf at the point where the rail joins the knee of the leg. This will allow chiseled waste to fall free. Next, cut the leg tops down to conform with the rail rabbets, following the scribed radius as shown in the illustration. Remove waste in small 7 |


