Woodworker's Journal 101-Projects-for-Woodworkers, страница 178
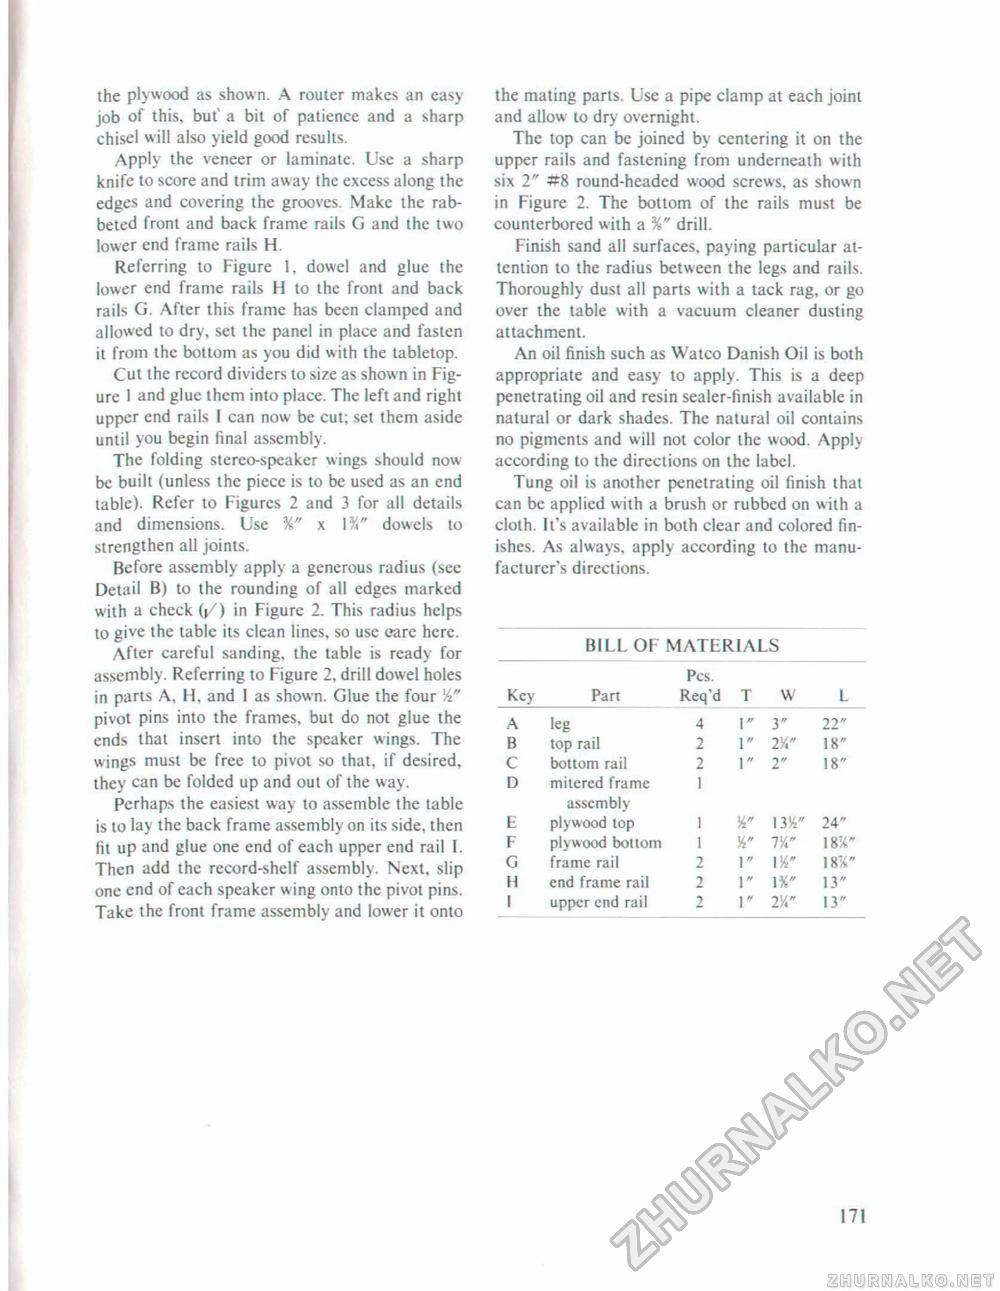
the plywood as shown. A router makes an easy job of this, but a bit of patience and a sharp chisel will also yield good results. Apply the veneer or laminate. Use a sharp knife to score and trim away the excess along the edges and covering the grooves. Make the rabbeted front and back frame rails G and the two lower end frame rails H. Referring to Figure 1, dowel and glue the lower end frame rails H to the front and back rails G. After this frame has been clamped and allowed to dry, set the panel in place and fasten it from the bottom as you did with the tabletop. Cut the record dividers to size as shown in Figure 1 and glue them into place. The left and right upper end rails I can now be cut; set them aside until you begin final assembly. The folding stereo-speaker wings should now be built (unless the piece is to be used as an end table). Refer to Figures 2 and 3 for all details and dimensions. Use %" x dowels to strengthen all joints. Before assembly apply a generous radius (see Detail B) to the rounding of all edges marked with a check 07) in Figure 2. This radius helps to give the table its clean lines, so use eare here. After careful sanding, the table is ready for assembly. Referring to Figure 2. drill dowel holes in parts A, H, and I as shown. Glue the four W pivot pins into the frames, but do not glue the ends that insert into the speaker wings. The wings must be free to pivot so that, if desired, they can be folded up and out of the way. Perhaps the easiest way to assemble the table is to lay the back frame assembly on its side, then fit up and glue one end of each upper end rail [. Then add the record-shelf assembly. Next, slip one end of each speaker wing onto the pivot pins. Take the front frame assembly and lower it onto the mating parts. Use a pipe clamp at each joint and allow to dry overnight. The top can be joined by centering it on the upper rails and fastening from underneath with six 2" round-headed wood screws, as shown in Figure 2. The bottom of the rails must be counterbored with a %" drill. Finish sand all surfaces, paying particular attention to the radius between the legs and rails. Thoroughly dust all parts with a tack rag, or go over the table with a vacuum cleaner dusting attachment. An oil finish such as Watco Danish Oil is both appropriate and easy to apply. This is a deep penetrating oil and resin sealer-finish available in natural or dark shades. The natural oil contains no pigments and will not color the wood. Apply according to the directions on the label. Tung oil is another penetrating oil finish that can be applied with a brush or rubbed on with a cloth. It's available in both clear and colored finishes. As always, apply according to the manufacturer's directions. BILL OF MATERIALS BILL OF MATERIALS
171 |


