Woodworker's Journal 101-Projects-for-Woodworkers, страница 179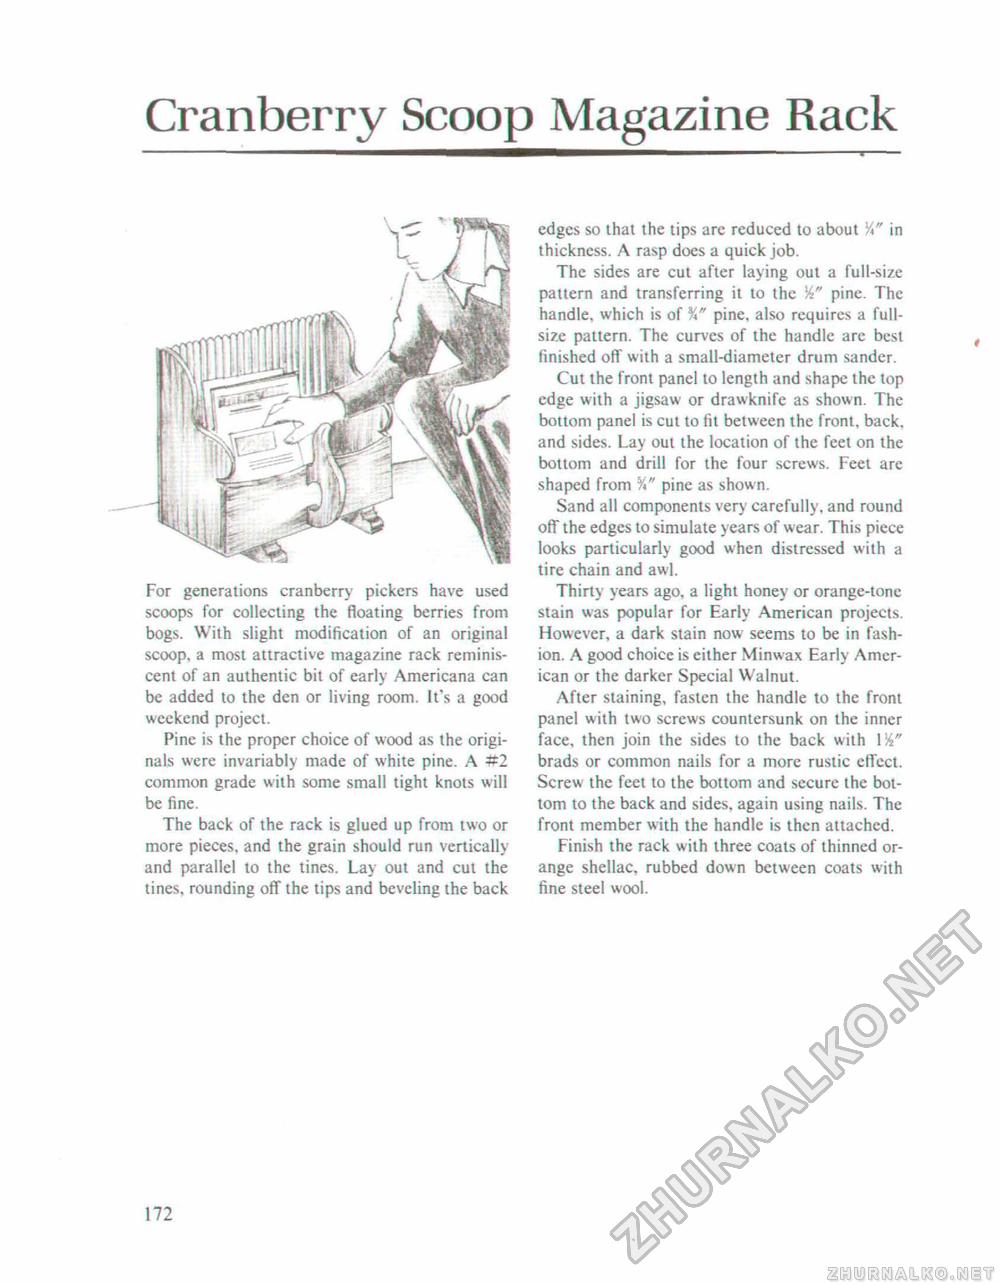
Cranberry Scoop Magazine Rackedges so that the tips are reduced to about V*" in thickness. A rasp does a quick job. The sides are cut after laying out a full-size pattern and transferring it to the pine. The handle, which is of ¥*" pine, also requires a full-size pattern. The curves of the handle arc best finished off with a small-diameter drum sander. Cut the front panel to length and shape the lop edge with a jigsaw or drawknife as shown The bottom panel is cut to fil between the front, back, and sides. Lay out the location of the feet on the bottom and drill for the four screws. Feet arc shaped from pine as shown. Sand all components very carefully, and round off the edges to simulate years of w ear. This piece looks particularly good when distressed with a tire chain and awl. Thirty years ago, a light honey or orange-tone stain was popular for Early American projects. However, a dark stain now seems to be in fashion. A good choice is either Minwax Early American or the darker Special Walnut. After staining, fasten the handle to the front panel with two screws countersunk on the inner face, then join the sides to the back with 114" brads or common nails for a more rustic elfect. Screw the feet to the bottom and secure the bottom to the back and sides, again using nails. The front member with the handle is then attached. Finish the rack with three coats of thinned orange shellac, rubbed down between coats with fine steel wool. For generations cranberry pickers have used scoops for collecting the floating berries from bogs. With slight modification of an original scoop, a most attractive magazine rack reminiscent of an authentic bit of early Americana can be added to the den or living room. It's a good weekend project. Pine is the proper choice of wood as the originals were invariably made of white pine. A #2 common grade with some small tight knots will be fine. The back of the rack is glued up from two or more pieces, and the grain should run vertically and parallel to the tines. Lay out and cut the tines, rounding off the tips and beveling the back 172 |


