Woodworker's Journal 101-Projects-for-Woodworkers, страница 187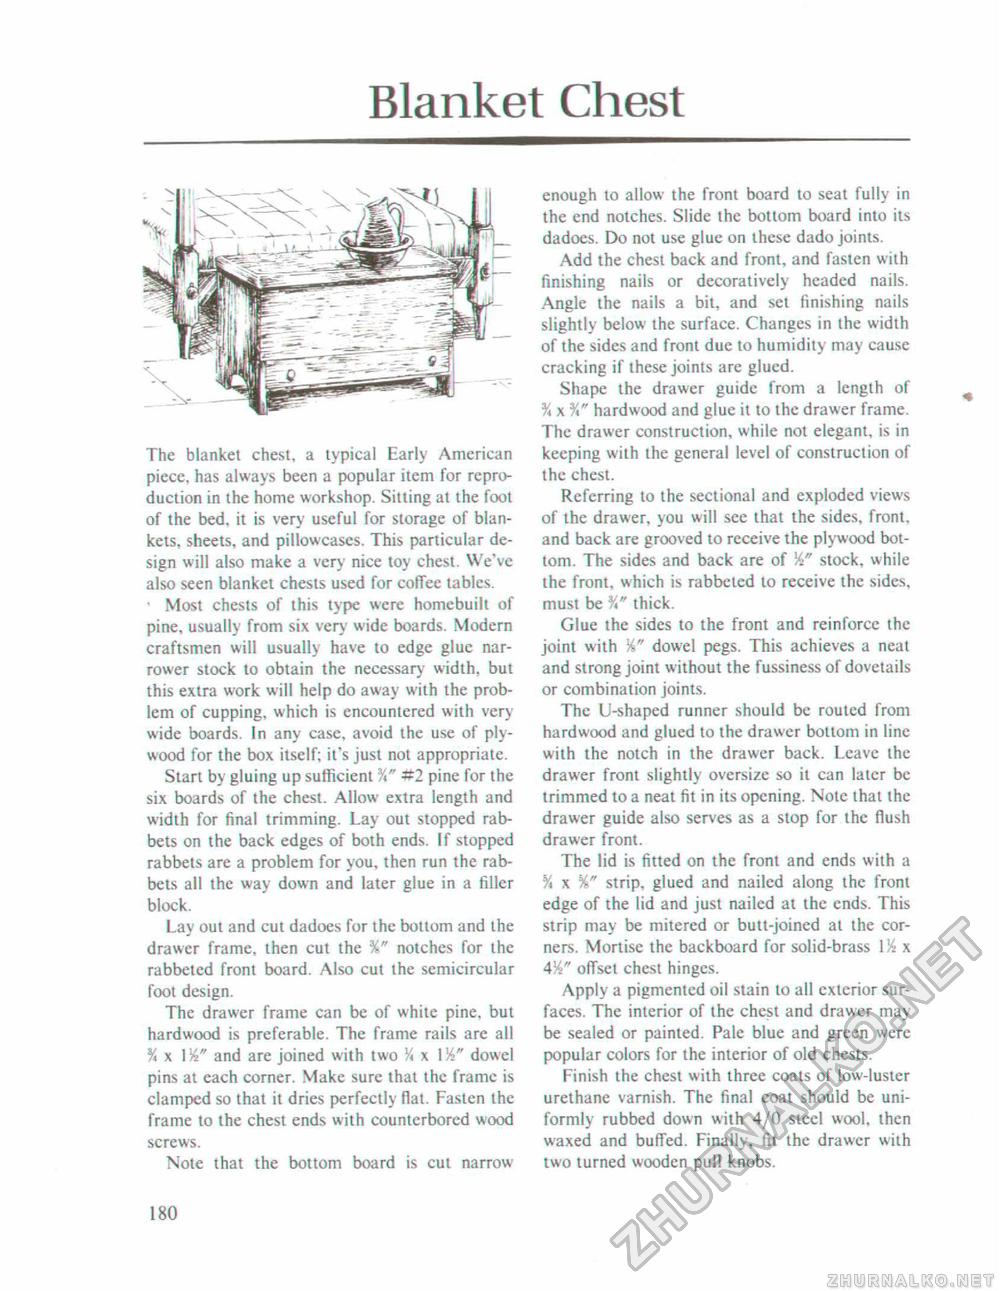
Blanket ChestThe blanket chest, a typical Early American piece, has always been a popular item for reproduction in the home workshop. Sitting at the foot of the bed. it is very useful for storage of blankets, sheets, and pillowcases. This particular design will also make a very nice toy chest. We've also seen blanket chests used for coffee tables. ' Most chests of this type were homebuilt of pine, usually from six very wide boards. Modern craftsmen will usually have to edge glue narrower stock to obtain the necessary width, but this extra work will help do away with the problem of cupping, which is encountered with very wide boards. In any case, avoid the use of plywood for the box itself; it's just not appropriate. Start by gluing up sufficient #2 pine for the six boards of the chest. Allow extra length and width for final trimming. Lay out stopped rabbets on the back edges of both ends. If stopped rabbets are a problem for you, then run the rabbets all the way down and later glue in a filler block. Lay out and cut dadoes for the bottom and the drawer frame, then cut the %" notches for the rabbeted front board. Also cut the semicircular foot design. The drawer frame can be of white pine, but hardwood is preferable. The frame rails are all % x and are joined with two V* x IW dowel pins at each corner. Make sure that the frame is clamped so that it dries perfectly Hat. Fasten the frame to the chest ends with counterbored wood screws. Note that the bottom board is cut narrowr enough to allow the front board to seat fully in the end notches. Slide the bottom board into its dadoes. Do not use glue on these dado joints. Add the chest back and front, and fasten with finishing nails or decoratively headed nails. Angle the nails a bit, and set finishing nails slightly below the surface. Changes in the width of the sides and front due to humidity may cause cracking if these joints are glued. Shape the drawer guide from a length of % x %" hardwood and glue it to the drawer frame. The drawer construction, while not elegant, is in keeping with the general level of construction of the chest. Referring to the sectional and exploded views of the drawer, you will see that the sides, front, and back are grooved to receive the plywood bottom. The sides and back are of stock, while the front, which is rabbeted to receive the sides, must be thick. Glue the sides to the front and reinforce the joint with dowel pegs. This achieves a neat and strong joint without the fussiness of dovetails or combination joints. The U-shaped runner should be routed from hardwood and glued to the drawer bottom in line with the notch in the drawer back. Leave the drawer front slightly oversize so it can later be trimmed to a neat fit in its opening. Note that the drawer guide also serves as a stop for the flush drawer front. The lid is fitted on the front and ends with a % x %" strip, glued and nailed along the front edge of the lid and just nailed at the ends. This strip may be mitered or butt-joined at the corners. Mortise the backboard for solid-brass 1 'A x 4offset chest hinges. Apply a pigmented oil stain to all exterior surfaces. The interior of the chest and drawer may be sealed or painted. Pale blue and green were popular colors for the interior of old chests. Finish the chest with three coats of low-luster urethane varnish. The final coat should be uniformly rubbed down with 4/0 steel wool, then waxed and buffed. Finally, fit the drawer with two turned wooden pull knobs. 180 |


