Woodworker's Journal 101-Projects-for-Woodworkers, страница 189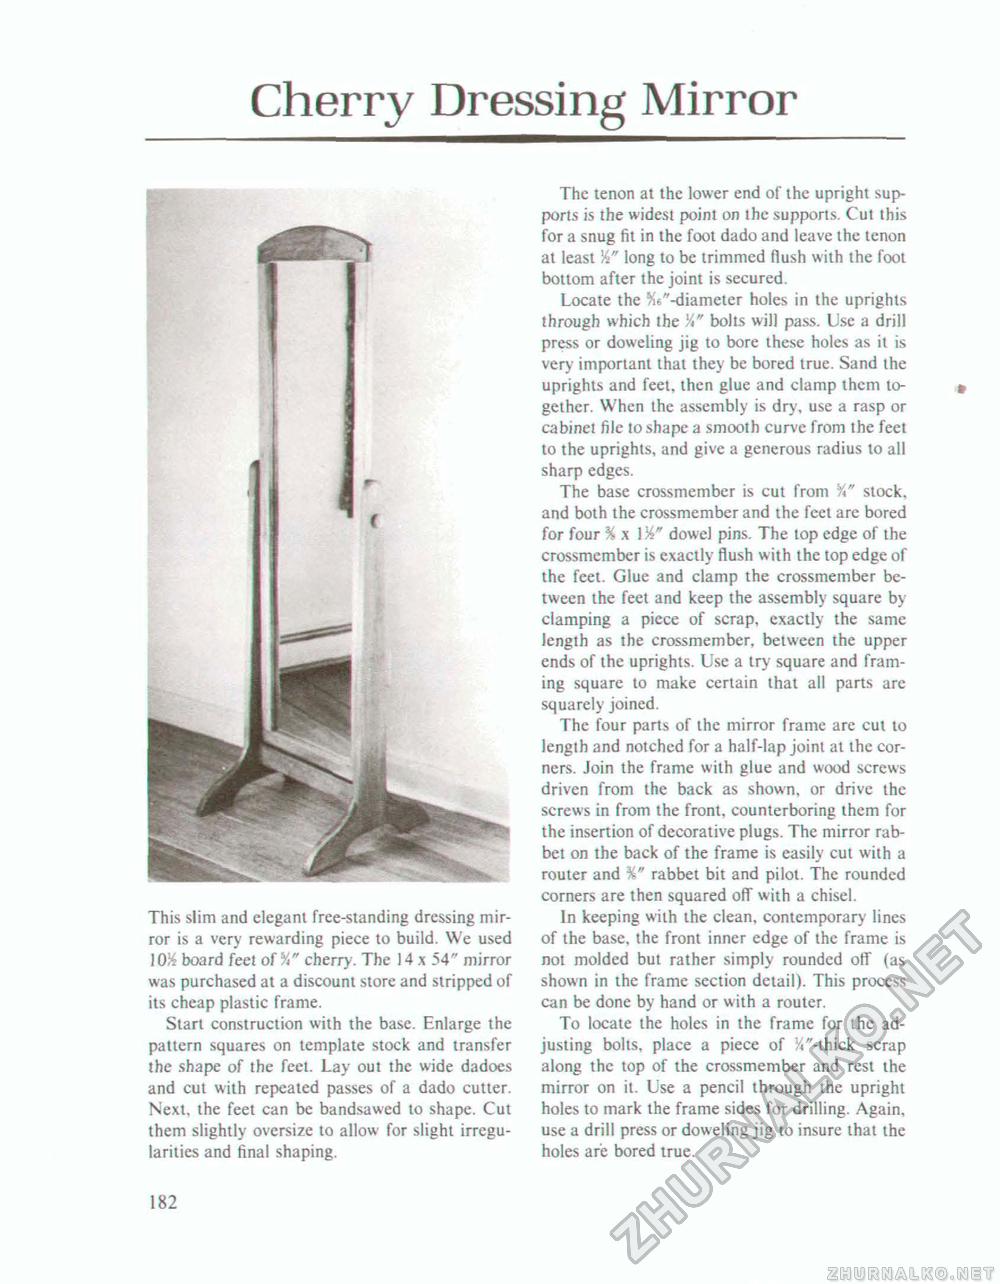
Cherry Dressing MirrorThis slim and eleganl free-standing dressing mirror is a very rewarding piece to build. We used 10X board feet of V*" cherry. The 14 x 54" mirror was purchased at a discount store and stripped of its cheap plastic frame. Start construction with the base. Enlarge the pattern squares on template stock and transfer the shape of the feel. Lay out the wide dadoes and cut with repeated passes of a dado cutter. Next, the feet can be bandsawed to shape. Cut them slightly oversize to allow for slight irregularities and final shaping. The tenon at the lower end of the upright supports is the widest point on the supports. Cut this for a snug fit in the foot dado and leave the tenon at least W long to be trimmed (lush with the foot bottom after the joint is secured. Locate the "-diameter holes in the uprights through which ihe M" bolts will pass. Use a drill press or doweling jig to bore these holes as it is very important that they be bored true. Sand ihe uprights and feet, then glue and clamp them together. When the assembly is dry, use a rasp or cabinet file to shape a smooth curve from the feet to the uprights, and give a generous radius to all sharp edges. The base crossmember is cut from stock, and both the crossmember and the feet are bored for four % x 1dowel pins. The top edge of the crossmember is exactly flush with the top edge of the feet. Glue and clamp the crossmember between the feet and keep the assembly square by clamping a piece of scrap, cxactly the same length as the crossmember. between the upper ends of the uprights. Use a try square and framing square to make certain that all parts are squarely joined. The four parts of the mirror frame are cul to lenglh and notched for a half-lap joint at the corners. Join the frame with glue and wood screws driven from the back as shown, or drive the screws in from the front, counterboring them for the insertion of decorative plugs. The mirror rabbet on the back of the frame is easily cul with a router and %" rabbet bit and pilot. The rounded corners are then squared olf with a chisel. In keeping with the clean, contemporary lines of the base, the front inner edge of the frame is not molded but rather simply rounded off (as shown in the frame section detail). This process can be done by hand or with a router. To locate the holes in the frame for the adjusting bolts, place a piece of %"-thick scrap along the top of the crossmember and rest the mirror on it. Use a pencil through the upright holes to mark the frame sides for drilling. Again, use a drill press or doweling jig to insure that the holes are bored true. 182 |


