Woodworker's Journal 101-Projects-for-Woodworkers, страница 193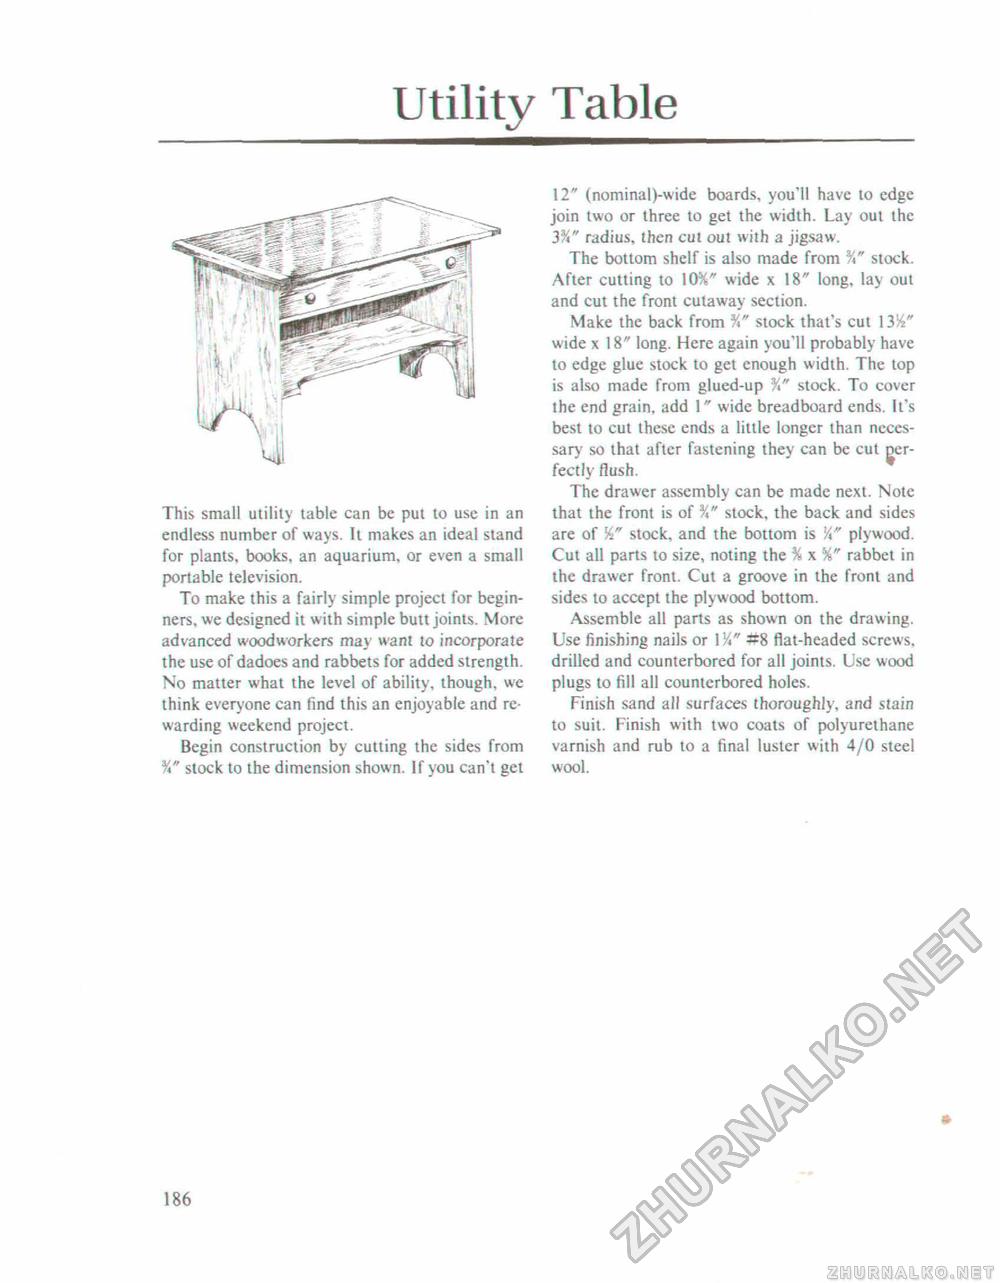
Utility TableThis small utility table can be put to use in an endless number of ways. It makes an ideal stand for plants, books, an aquarium, or even a small portable television. To make this a fairly simple project for beginners, we designed it with simple butt joints. More advanced woodworkers may want to incorporate the use of dadoes and rabbets for added strength. No matter what the level of ability, though, we think everyone can find this an enjoyable and rewarding weekend project. Begin construction by cutting the sides from stock to the dimension shown. If you can't get 12" (nominal)-wide boards, you'll have to edge join two or three to get the width. Lay out the 3%" radius, then cul out with a jigsaw. The bottom shelf is also made from stock. Afler cutting to 10%" wide x 18" long, lay out and cut the front cutaway section. Make the back from stock that's cut 1354" wide x 18" long. Here again you'll probably have to edge glue stock to get enough width. The top is also made from glued-up stock. To cover ihe end grain, add \ 'r wide breadboard ends. It's best to cut these ends a little longer than necessary so that after fastening they can be cut gcr-fectly flush. The drawer assembly can be made next. Note that the front is of %" stock, the back and sides are of V" stock, and the bottom is A" plywood. Cut all parts to size, noting the % x %" rabbet in the drawer front. Cut a groove in the front and sides to accept the plywood bottom. Assemble all parts as shown on the drawing. Use finishing nails or IK" =8 flat-headed screws, drilled and counterbored for all joints. Use wood plugs to fill all counterbored holes. Finish sand all surfaces thoroughly, and stain to suit. Finish with two coats of polyurethane varnish and rub to a final luster with 4/0 steel wool. 186 |


