Woodworker's Journal 101-Projects-for-Woodworkers, страница 195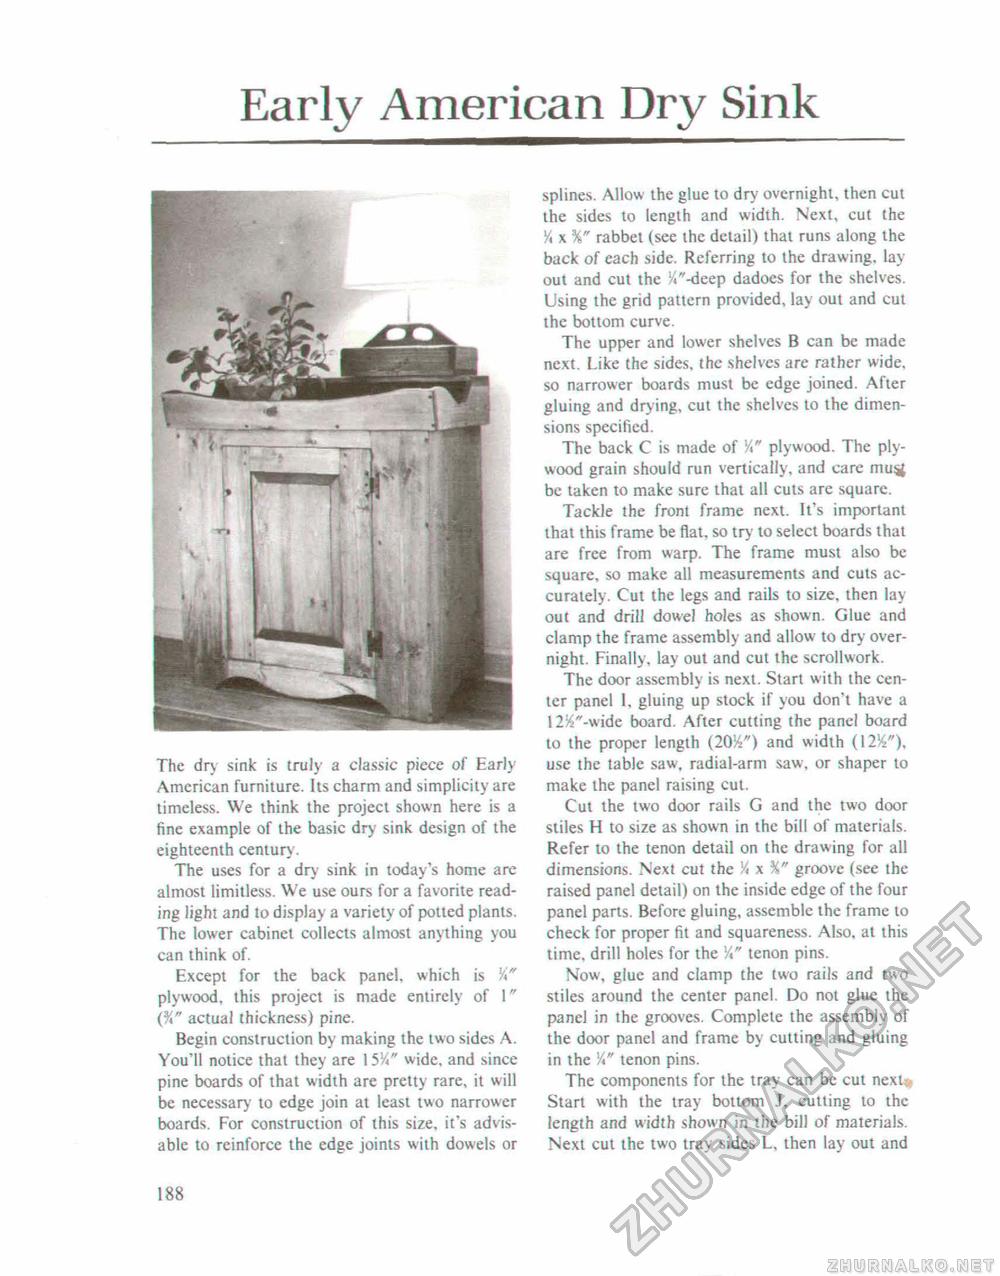
Early American Dry SinkThe dry sink is truly a classic piece of Early American furniture. Its charm and simplicity are timeless. We think the project shown here is a fine example of the basic dry sink design of the eighteenth century. The uses for a dry sink in today's home are almost limitless. We use ours for a favorite reading light and to display a variety of potted plants. The lower cabinet collects almost anything you can think of. Except for the back panel, which is Y" plywood, this project is made entirely of I" {%" actual thickness) pine. Begin construction by making the two sides A. You'll notice that they are 15Y*" wide, and since pine boards of that width are pretty rare, it will be necessary to edge join at least two narrower boards. For construction of this size, it's advisable to reinforce the edge joints with dowels or splines. Allow the glue to dry overnight, then cut the sides to length and width. Next, cut the Y\ x %" rabbet (see the detail) that runs along the back of each side. Referring to the drawing, lay out and cut the K"-deep dadoes for the shelves. Using the grid pattern provided, lay out and cut the bottom curve. The upper and lower shelves B can be made next. Like the sides, the shelves are rather wide, so narrower boards must be edge joined. After gluing and drying, cut the shelves to the dimensions specified. The back C is made of plywood. The plywood grain should run vertically, and care mu^ be taken to make sure that all cuts are square. Tackle the front frame next. It's important that this frame be flat, so try'10 select boards that are free from warp. The frame must also be square, so make all measurements and cuts accurately. Cut the legs and rails to size, then lay out and drill dowel holes as shown. Glue and clamp the frame assembly and allow to dry overnight. Finally, lay out and cut the scrollwork. The door assembly is next. Start with the center panel 1. gluing up stock if you don't have a l2%"-wide board. After cutting the panel board to the proper length (20%") and width (12%"), use the table saw, radial-arm saw, or shaper to make the panel raising cut. Cut the two door rails G and the two door stiles H to size as shown in the bill of materials. Refer to the tenon detail on the drawing for all dimensions. Next cut the Y* x %" groove (see the raised panel detail) on the inside edge of the four panel parts. Before gluing, assemble the frame to check for proper fit and squareness. Also, at this time, drill holes for the Yi" tenon pins. Now, glue and clamp the two rails and two stiles around the center panel. Do not glue the panel in the grooves. Complete the assembly of the door panel and frame by cutting and gluing in the V\" tenon pins. The components for the tray can be cut next?, Start with the tray bottom J, cutting to the length and width shown in the bill of materials. Next cut the two tray sides L. then lay out and 188 |


