Woodworker's Journal 101-Projects-for-Woodworkers, страница 207
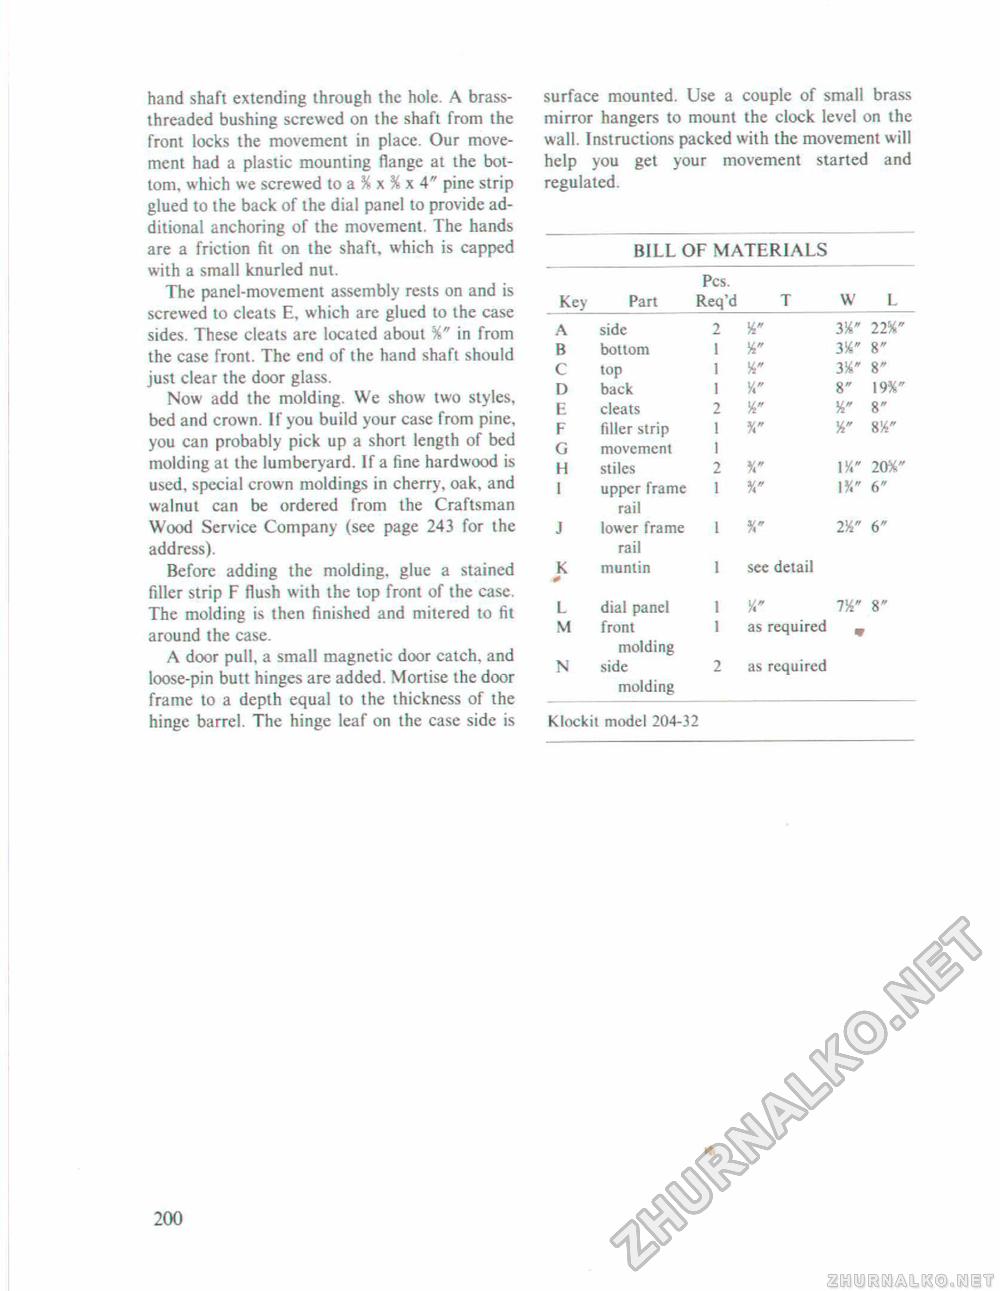
hand shaft extending through the hole. A brass-threaded bushing screwed on the shaft from the front locks the movement in place. Our movement had a plastic mounting fiangc at the bottom, which we screwed to a % x % x 4" pine strip glued to the back of the dial panel to provide additional anchoring of the movement. The hands are a friction fit on the shaft, which is capped with a small knurled nut. The panel-movement assembly rests on and is screwed to cleats E, which are glued to the case sides. These cleats are located about %" in from the case front. The end of the hand shaft should just clear the door glass. Now add the molding. We show two styles, bed and crown. If you build your case from pine, you can probably pick up a short length of bed molding at the lumberyard. If a fine hardwood is used, special crown moldings in cherry, oak, and walnut can be ordered from the Craftsman Wood Service Company (see page 243 for the address). Before adding the molding, glue a stained filler strip F flush with the top front of the case. The molding is then finished and mitered to fit around the case. A door pull, a small magnetic door catch, and loose-pin butt hinges are added. Mortise the door frame to a depth equal to the thickness of the hinge barrel. The hinge leaf on the case side is surface mounted. Use a couple of small brass mirror hangers to mount the clock level on the wall. Instructions packed with the movement will help you get your movement started and regulated.
Klockit model 204-32 Klockit model 204-32 ■j 200 |
||||||||||||||||||||||||||||||||||||||||||||||||||||||||||||||||||||||||||||||||||||||||||||||||||||||||||||||||||||||||||||||


