Woodworker's Journal 101-Projects-for-Woodworkers, страница 204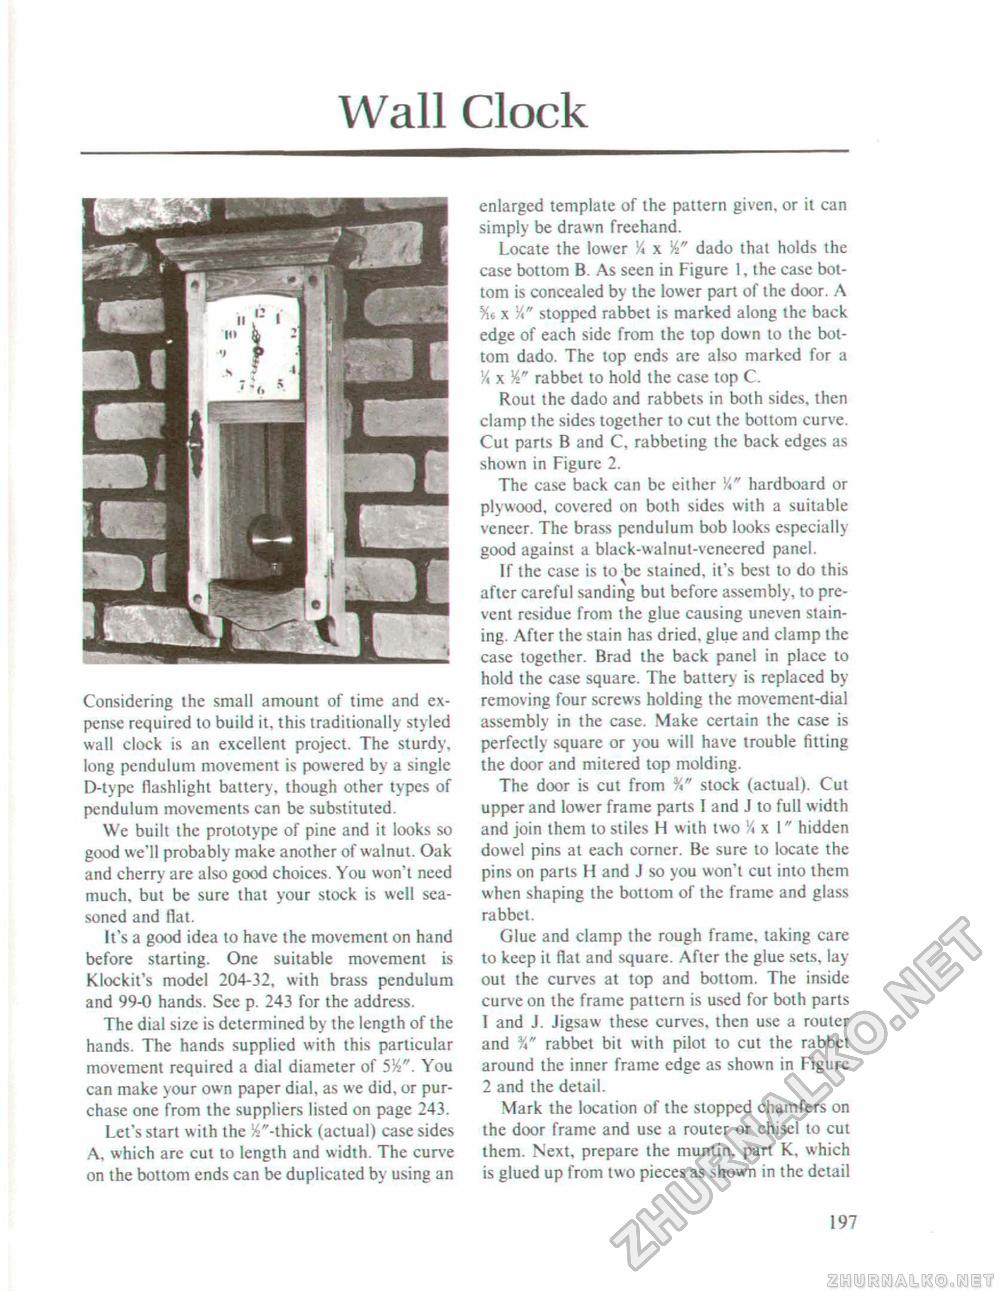
Wall Clock Considering the smalt amount of time and expense required to build it, this traditionally styled wall clock is an excellent project. The sturdy, long pendulum movement is powered by a single D-type flashlight battery, though other types of pendulum movements can be substituted. We built the prototype of pine and it looks so good we'll probably make another of walnut. Oak and cherry are also good choices. You won't need much, but be sure that your stock is well seasoned and flat. It's a good idea to have the movement on hand before starting. One suitable movement is Klockit's model 204-32, with brass pendulum and 99-0 hands. See p. 243 for the address. The dial size is determined by the length of the hands. The hands supplied with this particular movement required a dial diameter of 554". You can make your own paper dial, as we did, or purchase one from the suppliers listed on page 243. Let's start with the 54"-thick (actual) case sides A. which are cut to length and width. The curve on the bottom ends can be duplicated by using an enlarged template of the pattern given, or it can simply be drawn freehand. Locate the lower % x 54" dado that holds the case bottom B. As seen in Figure 1, the case bottom is concealed by the lower part of the door. A Ms x y<" stopped rabbet is marked along the back edge of each side from the top down to the bottom dado. The top ends are also marked for a 54 x 54" rabbet to hold the case top C. Rout the dado and rabbets in both sides, then clamp the sides together to cut the bottom curve. Cut parts B and C, rabbeting the back edges as shown in Figure 2. The case back can be either 5i" hardboard or plywood, covered on both sides with a suitable veneer. The brass pendulum bob looks especially good against a black-walnut-veneered panel. If the case is to be stained, it's best to do this after careful sanding but before assembly, to prevent residue from the glue causing uneven staining. After the stain has dried, glue and clamp the case together. Brad the back panel in place to hold the case square. The battery is replaced by removing four screws holding the movement-dial assembly in the case. Make certain the case is perfectly square or you will have trouble fitting the door and mitered top molding. The door is cut from %" stock (actual). Cut upper and lower frame parts I and J to full width and join them to stiles H with two % x 1" hidden dowel pins at each corner. Be sure to locate the pins on parts H and J so you won't cut into them when shaping the bottom of the frame and glass rabbet. Glue and clamp the rough frame, taking care to keep it fiat and square. After the glue sets, lay out the curves at top and bottom. The inside curve on the frame pattern is used for both parts 1 and J. jigsaw these curves, then use a router and rabbet bit with pilot to cut the rabbet around the inner frame edge as shown in Figure 2 and the detail. Mark the location of the stopped chamfers on the door frame and use a router or chisel to cut them. Next, prepare the muntin. part K, which is glued up from two pieces as shown in the detail 197 |


