Woodworker's Journal 101-Projects-for-Woodworkers, страница 209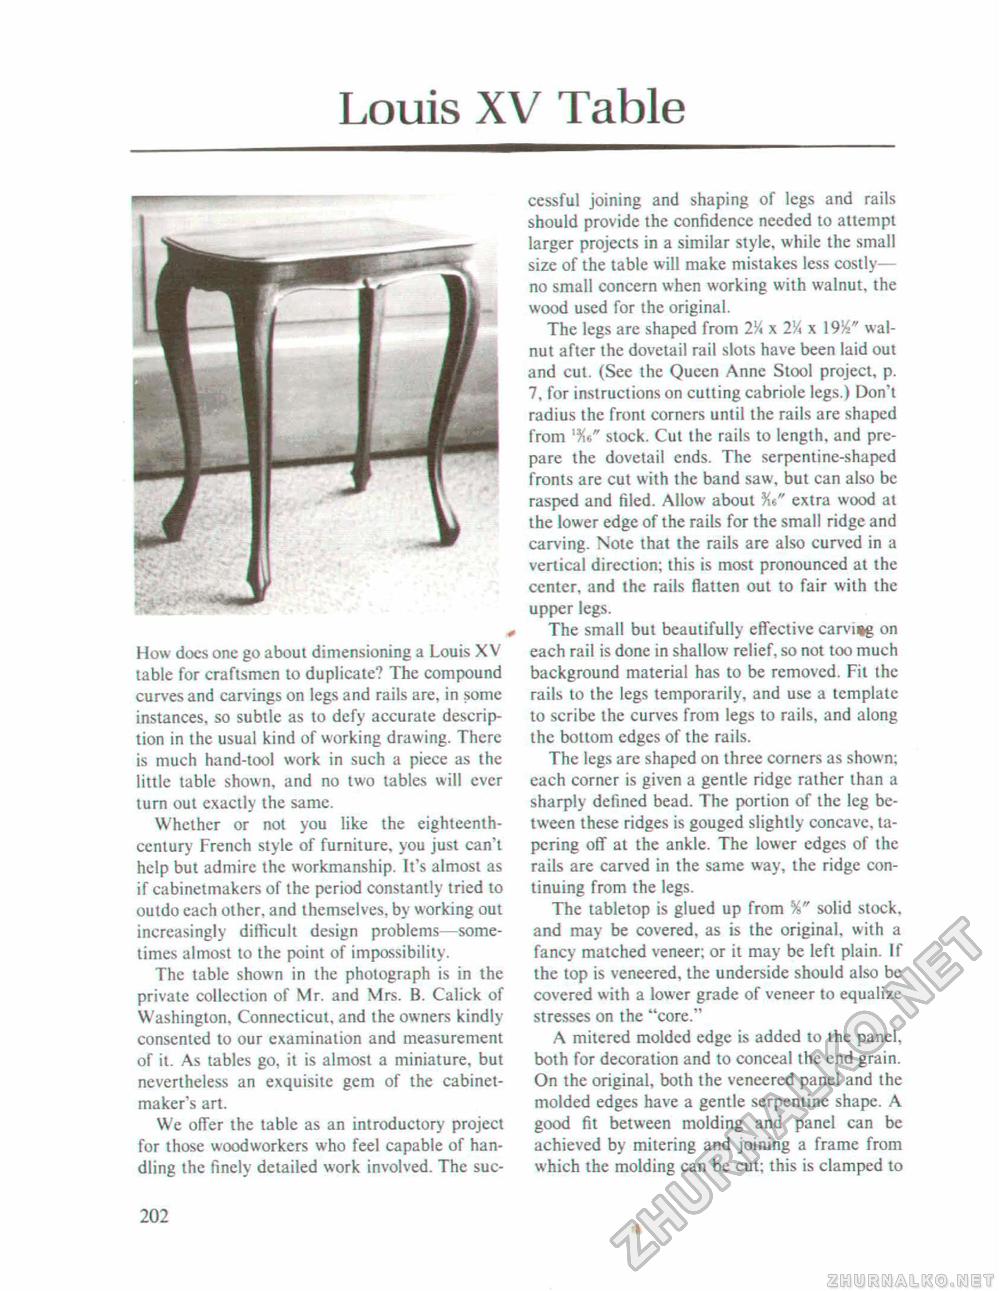
Louis XV TableHow does one go about dimensioning a Louis XV table for craftsmen to duplicate? The compound curves and carvings on legs and rails are. in some instances, so subtle as to defy accurate description in the usual kind of working drawing. There is much hand-tool work in such a piece as the little table shown, and no two tables will ever turn out exactly the same. Whether or not you like the eighteenth-century French style of furniture, you just can't help but admire the workmanship. It's almost as if cabinetmakers of the period constantly tried to outdo each other, and themselves, by working out increasingly difficult design problems—sometimes almost to the point of impossibility. The table shown in the photograph is in the private collection of Mr. and Mrs. B. Calick of Washington, Connecticut, and the owners kindly consented to our examination and measurement of it. As tables go, it is almost a miniature, but nevertheless an exquisite gem of the cabinetmaker's art. We olfer the table as an introductory project for those woodworkers who feel capable of handling the finely detailed work involved. The suc cessful joining and shaping of legs and rails should provide the confidence needed to attempt larger projects in a similar style, while the small size of the table will make mistakes less costly— no small concern when working with walnut, the wood used for the original. The legs are shaped from 2M x 2M x \9%" walnut after the dovetail rail slots have been laid out and cut. (See the Queen Anne Stool project, p. 7, for instructions on cutting cabriole legs.) Don't radius the front corners until the rails are shaped from stock. Cut the rails to length, and prepare the dovetail ends. The serpentine-shaped fronts are cut with the band saw, but can also be rasped and filed. Allow about extra wood at the lower edge of the rails for the small ridge and carving. Note that the rails are also curved in a vertical direction; this is most pronounced at the center, and the rails flatten out to fair with the upper legs. The small but beautifully effective carving on each rail is done in shallow relief, so not too much background material has to be removed. Fit the rails to the legs temporarily, and use a template to scribe the curves from legs to rails, and along the bottom edges of the rails. The legs are shaped on three corners as shown; each corner is given a gentle ridge rather than a sharply defined bead. The portion of the leg between these ridges is gouged slightly concave, tapering off at the ankle. The lower edges of the rails are carved in the same way, the ridge continuing from the legs. The tabletop is glued up from %" solid stock, and may be covered, as is the original, with a fancy matched veneer; or it may be left plain. If the top is veneered, the underside should also be covered with a lower grade of veneer to equalize stresses on the "core." A mitered molded edge is added to the panel, both for decoration and to conceal the end grain. On the original, both the veneered panel and the molded edges have a gentle serpentine shape. A good fit between molding and panel can be achieved by mitering and joining a frame from which the molding can be cut; this is clamped to 202 |


