Woodworker's Journal 101-Projects-for-Woodworkers, страница 211
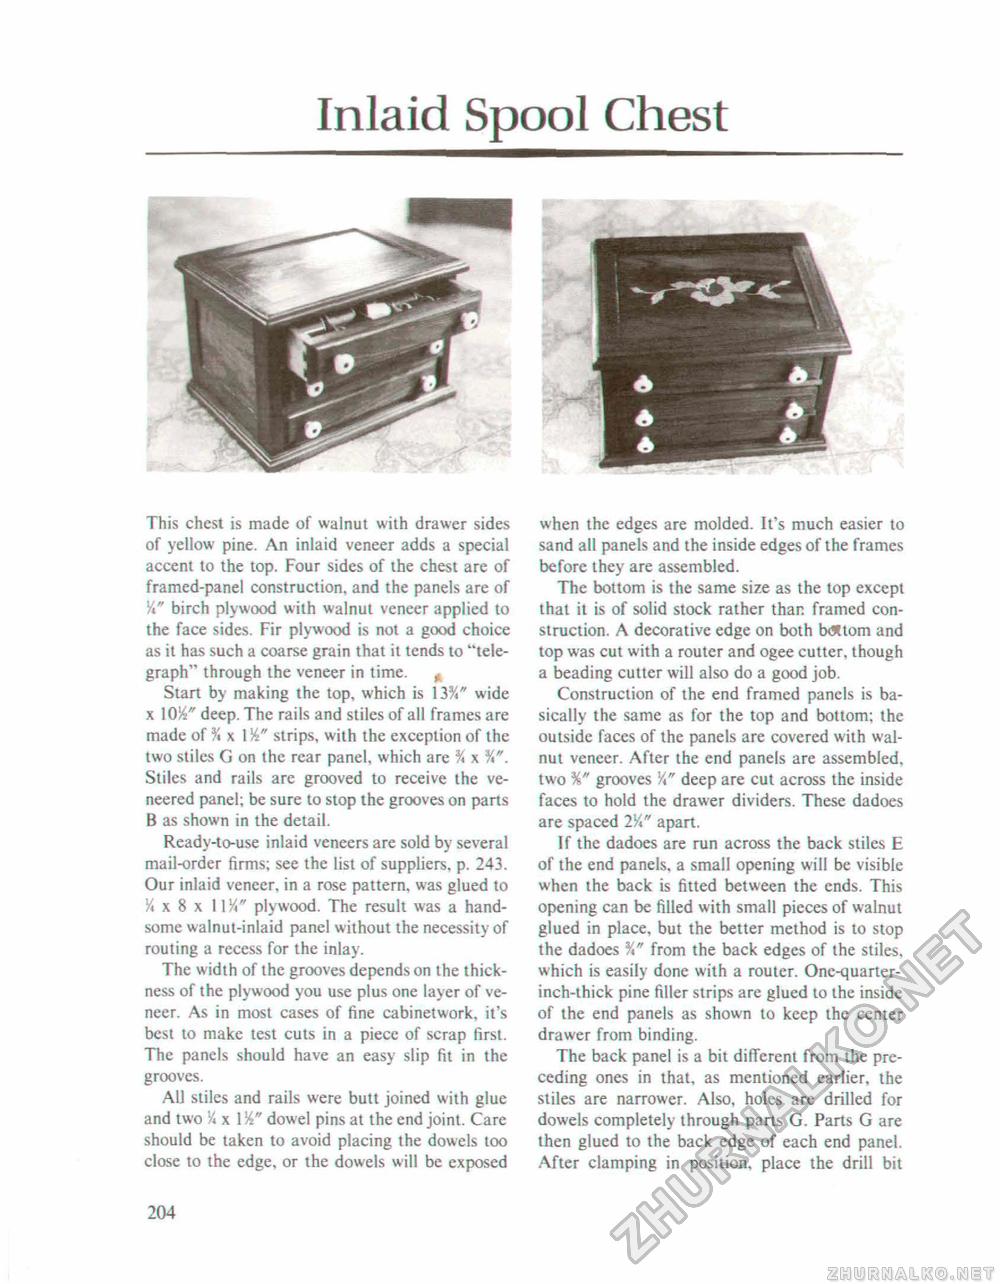
Inlaid Spool ChestThis chest is made of walnut with drawer sides of yellow pine. An inlaid veneer adds a special accent to the top. Four sides of the chest are of framed-panel construction, and the panels are of X" birch plywood with walnut veneer applied to the face sides. Fir plywood is not a good choice as it has such a coarse grain that it tends to "telegraph" through the veneer in time. A Start by making the top, which is 13%" wide x deep. The rails and stiles of all frames are made of % x IX" strips, with the exception of the two stiles G on the rear panel, which are % x X". Stiles and rails are grooved to receive the veneered panel; be sure to stop the grooves on parts B as shown in the detail. Ready-to-use inlaid veneers are sold by several mail-order firms; see the list of suppliers, p. 243. Our inlaid veneer, in a rose pattern, was glued to X x 8 x 1IX" plywood. The result was a handsome walnut-inlaid panel without the necessity of routing a recess for the inlay. The width of the grooves depends on the thickness of the plywood you use plus one layer of veneer. As in most cases of fine cabinetwork, it's best to make test cuts in a piece of scrap first. The panels should have an easy slip fit in the grooves. All stiles and rails were butt joined with glue and two X x 1 dowel pins at the end joint. Care should be taken to avoid placing the dowels too close to the edge, or the dowels will be exposed when the edges are molded. It's much easier to sand all panels and the inside edges of the frames before they are assembled. The bottom is the same size as the top except that it is of solid stock rather than framed construction. A decorative edge on both b<*tom and top was cut with a router and ogee cutter, though a beading cutter will also do a good job. Construction of the end framed panels is basically the same as for the top and bottom; the outside faces of the panels are covered with walnut veneer. After the end panels are assembled, two %" grooves X" deep are cut across the inside faces to hold the drawer dividers. These dadoes are spaced 2X" apart. If the dadoes are run across the back stiles E of the end panels, a small opening will be visible when the back is fitted between the ends. This opening can be filled with small pieces of walnut glued in place, but the better method is to stop the dadoes %" from the back edges of the stiles, which is easily done with a router. One-quarter-inch-thick pine filler strips are glued to the inside of the end panels as shown to keep the center drawer from binding. The back panel is a bit different from the preceding ones in that, as mentioned earlier, the stiles are narrower. Also, holes are drilled for dowels completely through parts G. Parts G are then glued to the back edge of each end panel, After clamping in position, place the drill bit 204 |


