Woodworker's Journal 101-Projects-for-Woodworkers, страница 238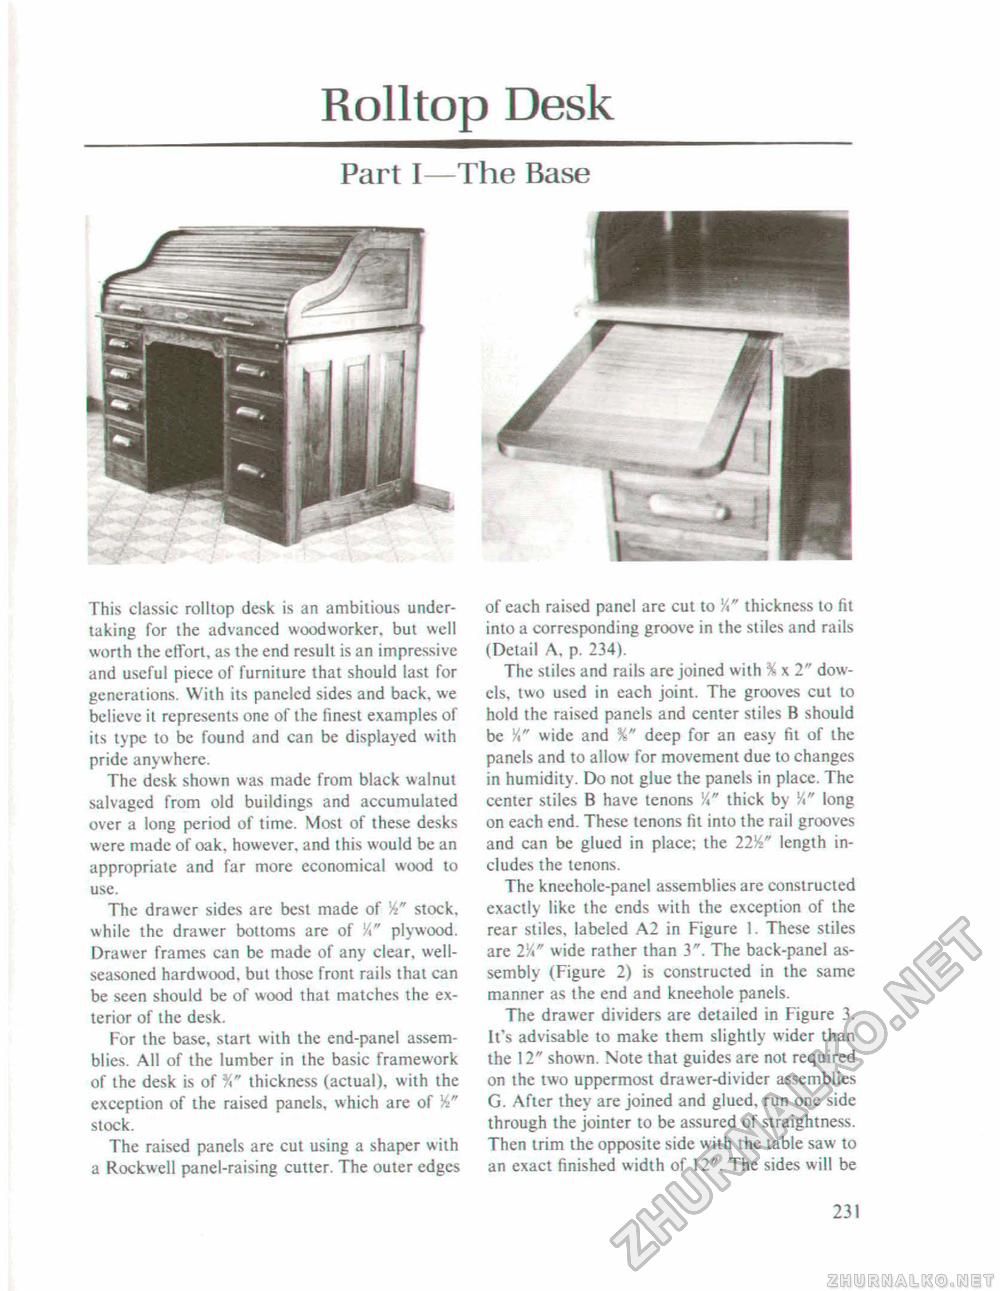
Rolltop DeskPart I—The Base This classic rolltop desk is an ambitious undertaking for the advanced woodworker, but well worth the effort, as the end result is an impressive and useful piece of furniture that should last for generations. With its paneled sides and back, we believe it represents one of the finest examples of its type to be found and can be displayed with pride anywhere. The desk shown was made from black walnut salvaged from old buildings and accumulated over a long period of time. Most of these desks were made of oak. however, and this would be an appropriate and far more economical wood to use. The drawer sides are best made of W stock, while the drawer bottoms are of %" plywood. Drawer frames can be made of any clear, well-seasoned hardwood, but those front rails that can be seen should be of wood that matches the exterior of the desk. For the base, start with the end-panel assemblies. All of the lumber in the basic framework of the desk is of %" thickness (actual), with the exception of the raised panels, which are of W stock. The raised panels are cut using a shaper with a Rockwell panel-raising cutter. The outer edges of each raised panel are cut to %" thickness to fit into a corresponding groove in the stiles and rails (Detail A, p. 234). The stiles and rails are joined with % x 2" dowels, two used in each joint. The grooves cut to hold the raised panels and center stiles B should be V wide and %" deep for an easy fit of the panels and to allow for movement due to changes in humidity. Do not glue the panels in place. The center stiles B have tenons Vi" thick by X" long on each end. These tenons fit into the rail grooves and can be glued in place; the 22W length includes the tenons. The kneeholc-panel assemblies are constructed exactly like the ends with the exception of the rear stiles, labeled A2 in Figure 1. These stiles are 2J4" wide rather than 3". The back-panel assembly (Figure 2) is constructed in the same manner as the end and kneehole panels. The drawer dividers are detailed in Figure 3. It's advisable to make them slightly wider than the 12" shown. Note that guides are not required on the two uppermost drawer-divider assemblies G. After they are joined and glued, run one side through the jointer to be assured of straightness. Then trim the opposite side with the table saw to an exact finished width of 12". The sides will be 231 |


