Woodworker's Journal 101-Projects-for-Woodworkers, страница 48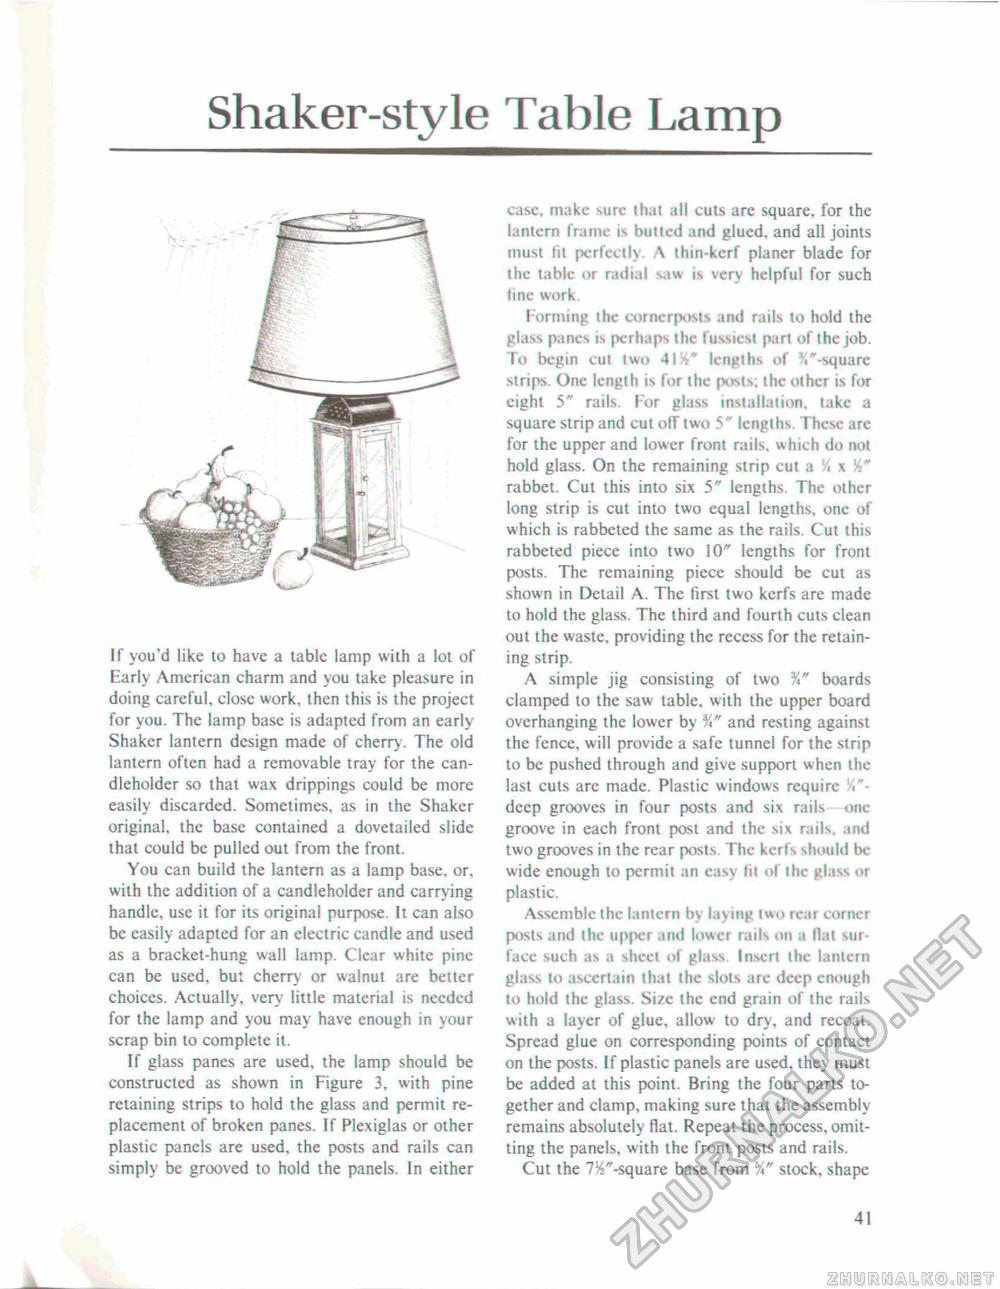
Shaker-style Table LampIf you'd like to have a table lamp with a lot of Early American charm and you take pleasure in doing careful, close work, then this is the project for you. The lamp base is adapted from an early Shaker lantern design made of cherry. The old lantern often had a removable tray for the can-dleholder so that wax drippings could be more easily discarded. Sometimes, as in the Shaker original, the base contained a dovetailed slide that could be pulled out from the front. You can build the lantern as a lamp base, or. with the addition of a candleholder and carrying handle, use it for its original purpose. It can also be easily adapted for an electric candle and used as a bracket-hung wall lamp. Clear white pine can be used, but cherry or walnut are better choices. Actually, very little material is needed for the lamp and you may have enough in your scrap bin to complete it. If glass panes are used, the lamp should be constructed as shown in Figure 3. with pine retaining strips to hold the glass and permit replacement of broken panes. If Plexiglas or other plastic panels are used, the posts and rails can simply be grooved to hold the panels. In either case, make sure that all cuts are square, for the lantern frame is butted and glued, and all joints must fit perfectly \ thin-kerf planer blade for the tabic or radial saw is very helpful for such line work. Forming the cornerposts and rails to hold the glass panes is perhaps ihc fussiest part of the job. To begin cut two 41 lengths of % "-square strips. One length is for the posts; the other is for eight 5" rails. For glass installation, lake a square strip and cut olf two 5" lengths. These arc for the upper and lower front rails, which do not hold glass. On the remaining strip cut a < x rabbet. Cut this into six 5" lengths. The other long strip is cut into two equal lengths, one of which is rabbeted the same as the rails. Cut this rabbeted piece into two 10" lengths for front posts. The remaining piece should be cut as shown in Detail A. The first two kerfs are made to hold the glass. The third and fourth cuts clean out the waste, providing the recess for the retaining strip. A simple jig consisting of two %" boards clamped to the saw table, with the upper board overhanging the lower by and resting against the fence, will provide a safe tunnel for the strip lo be pushed through and give support when the last cuts arc made. Plastic windows require 14"-dcep grooves in four posts and six rails one groove in each front post and the six rails, and iwo grooves in the rear posts The kerfs should Ik* wide enough to permit an easy lit of Ihc glass or plastic. Assemble the lantern by laying two rear corner posts and the upper and lower rails on a flat surface such as a sheet of glass. Insert the lantern glass to ascertain that the slots arc deep enough to hold the glass. Size ihe end grain of the rails with a layer of glue, allow to dry. and recoat. Spread glue on corresponding points of contact on the posts. If plastic panels are used, they must be added at this point. Bring the four parts together and clamp, making sure that the assembly remains absolutely flat. Repeat the process, omitting the panels, with the front posts and rails. Cut the 7%"-square base from '%" stock, shape 41 |


