Woodworker's Journal 1981-5-6, страница 20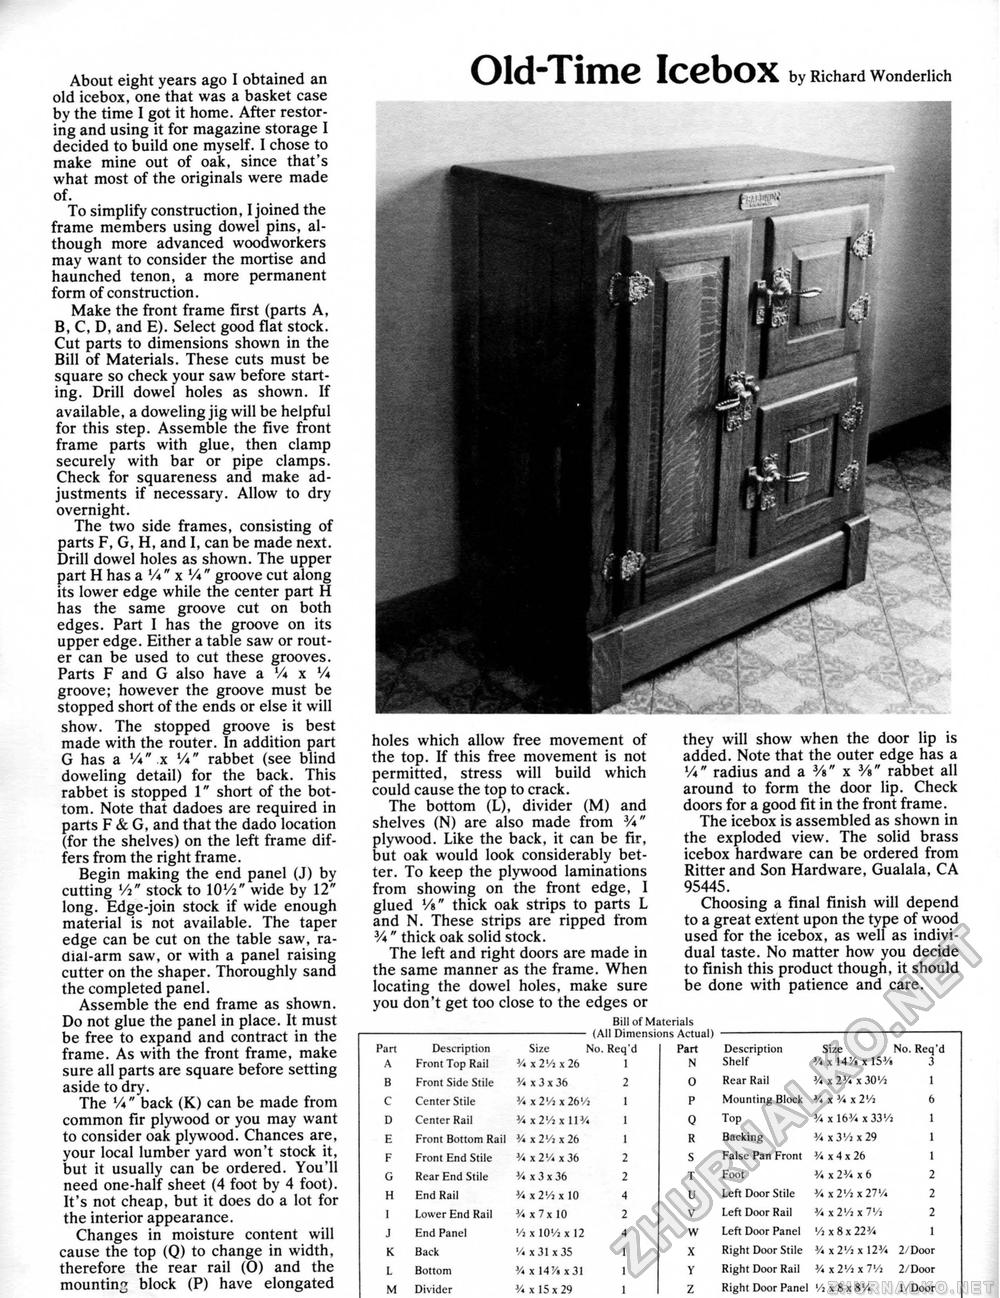
About eight years ago I obtained an old icebox, one that was a basket case by the time I got it home. After restoring and using it for magazine storage I decided to build one myself. I chose to make mine out of oak, since that's what most of the originals were made of. To simplify construction, I joined the frame members using dowel pins, although more advanced woodworkers may want to consider the mortise and haunched tenon, a more permanent form of construction. Make the front frame first (parts A, B, C, D, and E). Select good flat stock. Cut parts to dimensions shown in the Bill of Materials. These cuts must be square so check your saw before starting. Drill dowel holes as shown. If available, a doweling jig will be helpful for this step. Assemble the five front frame parts with glue, then clamp securely with bar or pipe clamps. Check for squareness and make adjustments if necessary. Allow to dry overnight. The two side frames, consisting of parts F, G, H, and I, can be made next. Drill dowel holes as shown. The upper part H has a Vi " x Vi " groove cut along its lower edge while the center part H has the same groove cut on both edges. Part I has the groove on its upper edge. Either a table saw or router can be used to cut these grooves. Parts F and G also have a Vi x Vi groove; however the groove must be stopped short of the ends or else it will show. The stopped groove is best made with the router. In addition part G has a Vi'.x Vi" rabbet (see blind doweling detail) for the back. This rabbet is stopped 1" short of the bottom. Note that dadoes are required in parts F & G, and that the dado location (for the shelves) on the left frame differs from the right frame. Begin making the end panel (J) by cutting Vi" stock to lOVi" wide by 12" long. Edge-join stock if wide enough material is not available. The taper edge can be cut on the table saw, radial-arm saw, or with a panel raising cutter on the shaper. Thoroughly sand the completed panel. Assemble the end frame as shown. Do not glue the panel in place. It must be free to expand and contract in the frame. As with the front frame, make sure all parts are square before setting aside to dry. The Vi" back (K) can be made from common fir plywood or you may want to consider oak plywood. Chances are, your local lumber yard won't stock it, but it usually can be ordered. You'll need one-half sheet (4 foot by 4 foot). It's not cheap, but it does do a lot for the interior appearance. Changes in moisture content will cause the top (Q) to change in width, therefore the rear rail (O) and the mountin3 block (P) have elongated Old-Time Icebox by Richard Wonderlich i 9 holes which allow free movement of the top. If this free movement is not permitted, stress will build which could cause the top to crack. The bottom (L), divider (M) and shelves (N) are also made from 3/i" plywood. Like the back, it can be fir, but oak would look considerably better. To keep the plywood laminations from showing on the front edge, I glued Vt" thick oak strips to parts L and N. These strips are ripped from 3/i " thick oak solid stock. The left and right doors are made in the same manner as the frame. When locating the dowel holes, make sure you don't get too close to the edges or Bill of Materials - (All Dimensions Actual) they will show when the door lip is added. Note that the outer edge has a Vi" radius and a 3/>" x 3/»" rabbet all around to form the door lip. Check doors for a good fit in the front frame. The icebox is assembled as shown in the exploded view. The solid brass icebox hardware can be ordered from Ritter and Son Hardware, Gualala, CA 95445. Choosing a final finish will depend to a great extent upon the type of wood used for the icebox, as well as individual taste. No matter how you decide to finish this product though, it should be done with patience and care. Bill of Materials - (All Dimensions Actual)
|
||||||||||||||||||||||||||||||||||||||||||||||||||||||||||||||||||||||||||||||||||||||||||||||||||||||||||||||||


