Woodworker's Journal 1982-6-5, страница 28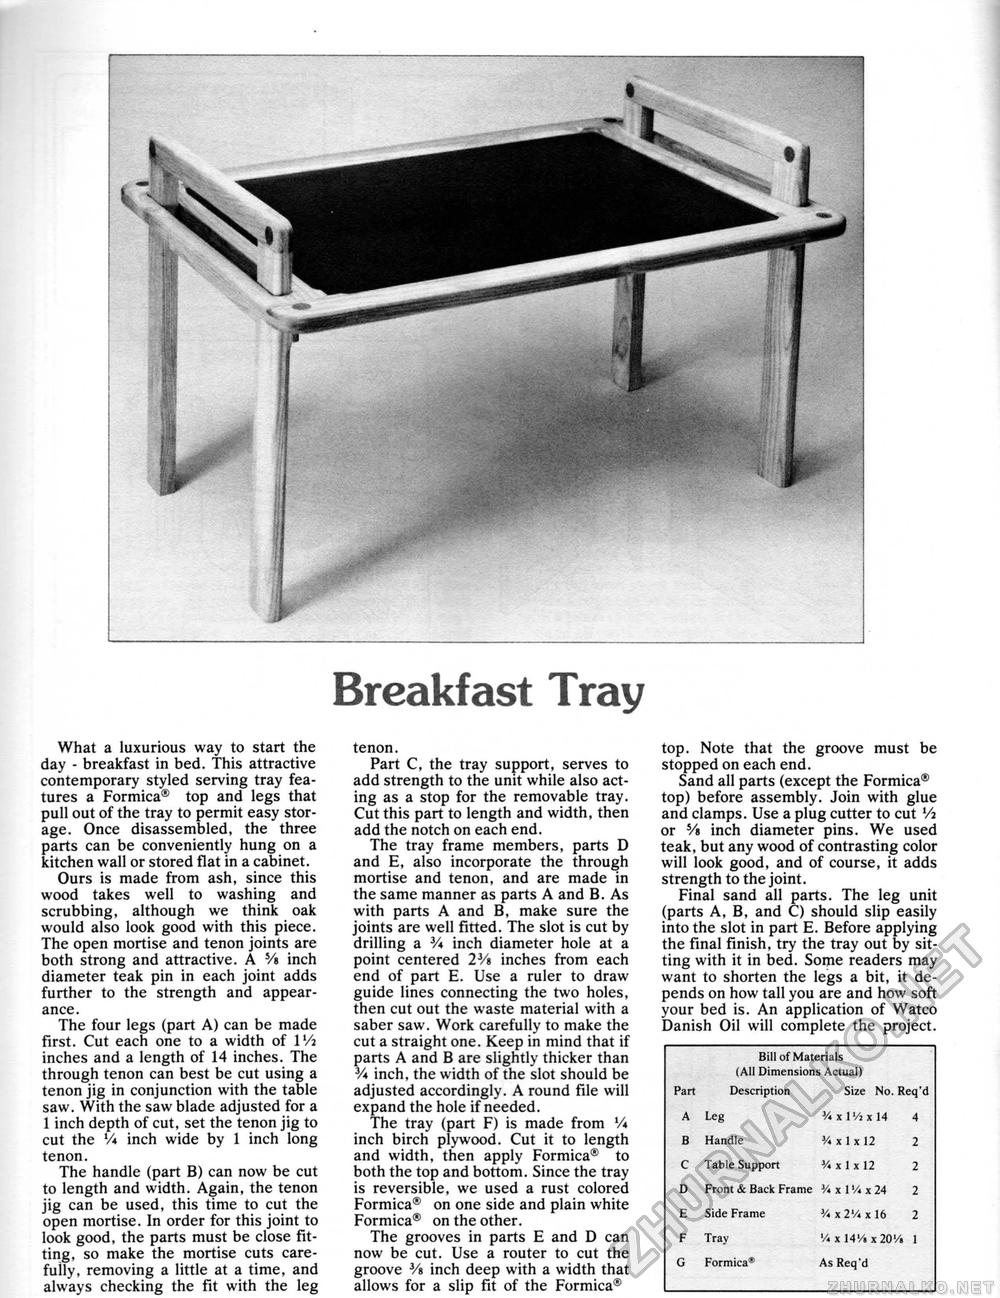
Breakfast Tray What a luxurious way to start the day - breakfast in bed. This attractive contemporary styled serving tray features a Formica® top and legs that pull out of the tray to permit easy storage. Once disassembled, the three parts can be conveniently hung on a kitchen wall or stored flat in a cabinet. Ours is made from ash, since this wood takes well to washing and scrubbing, although we think oak would also look good with this piece. The open mortise and tenon joints are both strong and attractive. A Yt inch diameter teak pin in each joint adds further to the strength and appearance. The four legs (part A) can be made first. Cut each one to a width of l'/i inches and a length of 14 inches. The through tenon can best be cut using a tenon jig in conjunction with the table saw. With the saw blade adjusted for a 1 inch depth of cut, set the tenon jig to cut the V* inch wide by 1 inch long tenon. The handle (part B) can now be cut to length and width. Again, the tenon jig can be used, this time to cut the open mortise. In order for this joint to look good, the parts must be close fitting, so make the mortise cuts carefully, removing a little at a time, and always checking the fit with the leg tenon. Part C, the tray support, serves to add strength to the unit while also acting as a stop for the removable tray. Cut this part to length and width, then add the notch on each end. The tray frame members, parts D and E, also incorporate the through mortise and tenon, and are made in the same manner as parts A and B. As with parts A and B, make sure the joints are well fitted. The slot is cut by drilling a 3/« inch diameter hole at a point centered 2Vt inches from each end of part E. Use a ruler to draw guide lines connecting the two holes, then cut out the waste material with a saber saw. Work carefully to make the cut a straight one. Keep in mind that if parts A and B are slightly thicker than V* inch, the width of the slot should be adjusted accordingly. A round file will expand the hole if needed. The tray (part F) is made from '/* inch birch plywood. Cut it to length and width, then apply Formica® to both the top and bottom. Since the tray is reversible, we used a rust colored Formica® on one side and plain white Formica® on the other. The grooves in parts E and D can now be cut. Use a router to cut the groove 3/8 inch deep with a width that allows for a slip fit of the Formica® top. Note that the groove must be stopped on each end. Sand all parts (except the Formica® top) before assembly. Join with glue and clamps. Use a plug cutter to cut Vi or Vi inch diameter pins. We used teak, but any wood of contrasting color will look good, and of course, it adds strength to the joint. Final sand all parts. The leg unit (parts A, B, and C) should slip easily into the slot in part E. Before applying the final finish, try the tray out by sitting with it in bed. Some readers may want to shorten the legs a bit, it depends on how tall you are and how soft your bed is. An application of Watco Danish Oil will complete the project.
|
||||||||||||||||||||||||||||||||||||||||


