Woodworker's Journal 1983-7-1, страница 35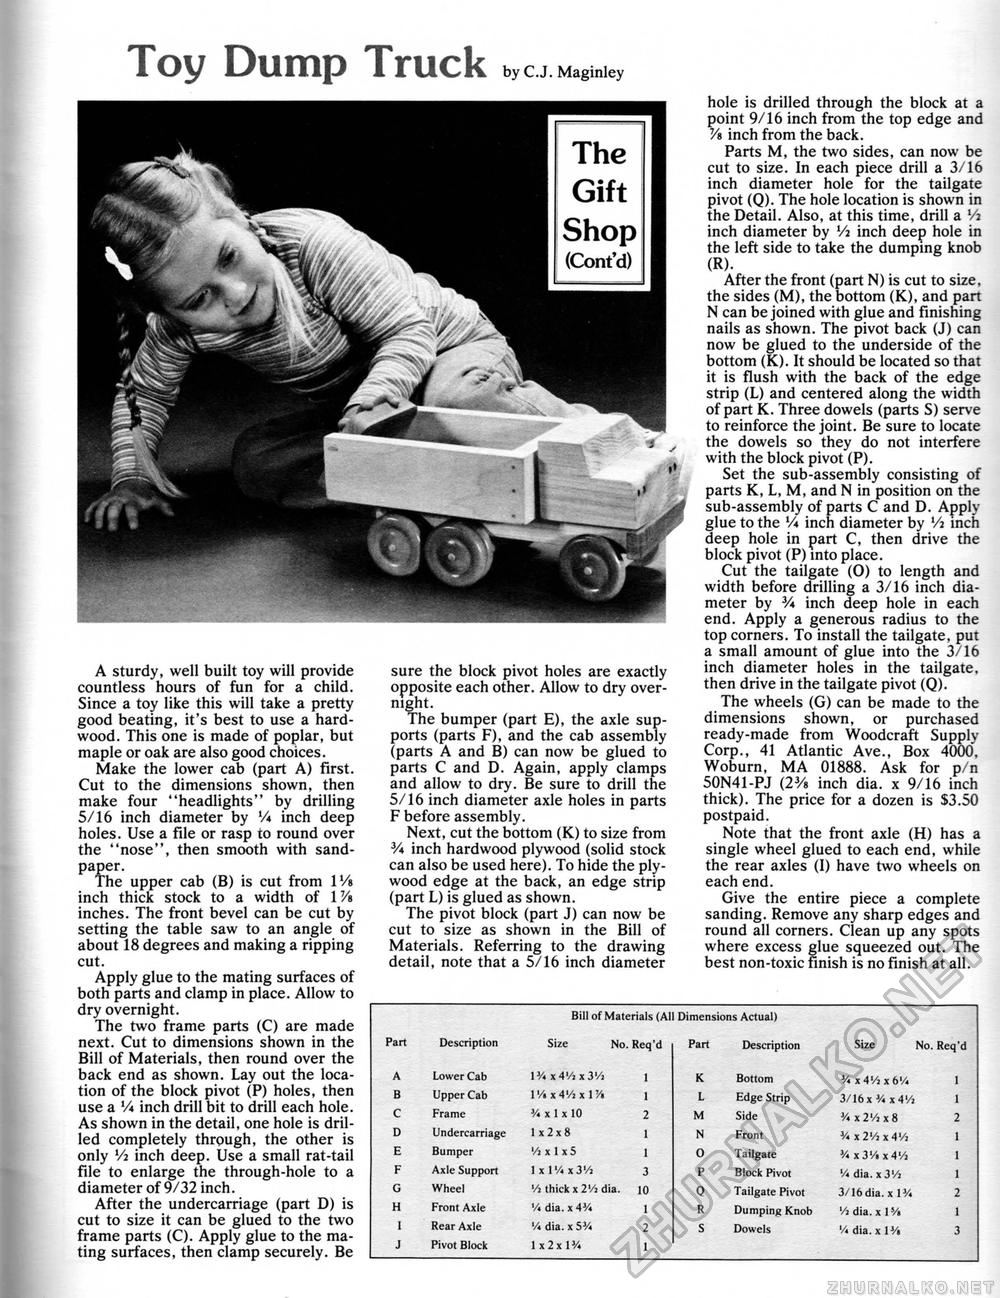
Toy Dump Truck by C.J. Maginley A sturdy, well built toy will provide countless hours of fun for a child. Since a toy like this will take a pretty good beating, it's best to use a hardwood. This one is made of poplar, but maple or oak are also good choices. Make the lower cab (part A) first. Cut to the dimensions shown, then make four "headlights" by drilling 5/16 inch diameter by '/♦ inch deep holes. Use a file or rasp to round over the "nose", then smooth with sandpaper. The upper cab (B) is cut from 1V4 inch thick stock to a width of 1 Vs inches. The front bevel can be cut by setting the table saw to an angle of about 18 degrees and making a ripping cut. Apply glue to the mating surfaces of both parts and clamp in place. Allow to dry overnight. The two frame parts (C) are made next. Cut to dimensions shown in the Bill of Materials, then round over the back end as shown. Lay out the location of the block pivot (P) holes, then use a Vi inch drill bit to drill each hole. As shown in the detail, one hole is drilled completely through, the other is only Vi inch deep. Use a small rat-tail file to enlarge the through-hole to a diameter of 9/32 inch. After the undercarriage (part D) is cut to size it can be glued to the two frame parts (C). Apply glue to the mating surfaces, then clamp securely. Be sure the block pivot holes are exactly opposite each other. Allow to dry overnight. The bumper (part E), the axle supports (parts F), and the cab assembly (parts A and B) can now be glued to parts C and D. Again, apply clamps and allow to dry. Be sure to drill the 5/16 inch diameter axle holes in parts F before assembly. Next, cut the bottom (K) to size from V* inch hardwood plywood (solid stock can also be used here). To hide the plywood edge at the back, an edge strip (part L) is glued as shown. The pivot block (part J) can now be cut to size as shown in the Bill of Materials. Referring to the drawing detail, note that a 5/16 inch diameter hole is drilled through the block at a point 9/16 inch from the top edge and Vs inch from the back. Parts M, the two sides, can now be cut to size. In each piece drill a 3/16 inch diameter hole for the tailgate pivot (Q). The hole location is shown in the Detail. Also, at this time, drill a Vi inch diameter by Vi inch deep hole in the left side to take the dumping knob (R). After the front (part N) is cut to size, the sides (M), the bottom (K), and part N can be joined with glue and finishing nails as shown. The pivot back (J) can now be glued to the underside of the bottom (K). It should be located so that it is flush with the back of the edge strip (L) and centered along the width of part K. Three dowels (parts S) serve to reinforce the joint. Be sure to locate the dowels so they do not interfere with the block pivot (P). Set the sub-assembly consisting of parts K, L, M, and N in position on the sub-assembly of parts C and D. Apply glue to the Vi inch diameter by Vi inch deep hole in part C, then drive the block pivot (P) into place. Cut the tailgate (0) to length and width before drilling a 3/16 inch diameter by V* inch deep hole in each end. Apply a generous radius to the top corners. To install the tailgate, put a small amount of glue into the 3/16 inch diameter holes in the tailgate, then drive in the tailgate pivot (Q). The wheels (G) can be made to the dimensions shown, or purchased ready-made from Woodcraft Supply Corp., 41 Atlantic Ave., Box 4000, Woburn, MA 01888. Ask for p/n 50N41-PJ (23/s inch dia. x 9/16 inch thick). The price for a dozen is $3.50 postpaid. Note that the front axle (H) has a single wheel glued to each end, while the rear axles (I) have two wheels on each end. Give the entire piece a complete sanding. Remove any sharp edges and round all corners. Clean up any spots where excess glue squeezed out. The best non-toxic finish is no finish at all. Bill of Materials (All Dimensions Actual) Bill of Materials (All Dimensions Actual)
No. Req'd No. Req'd |
|||||||||||||||||||||||||||||||||||||||||||||||||||||||||||||||||||||||||||||


