Woodworker's Journal 1983-7-6, страница 56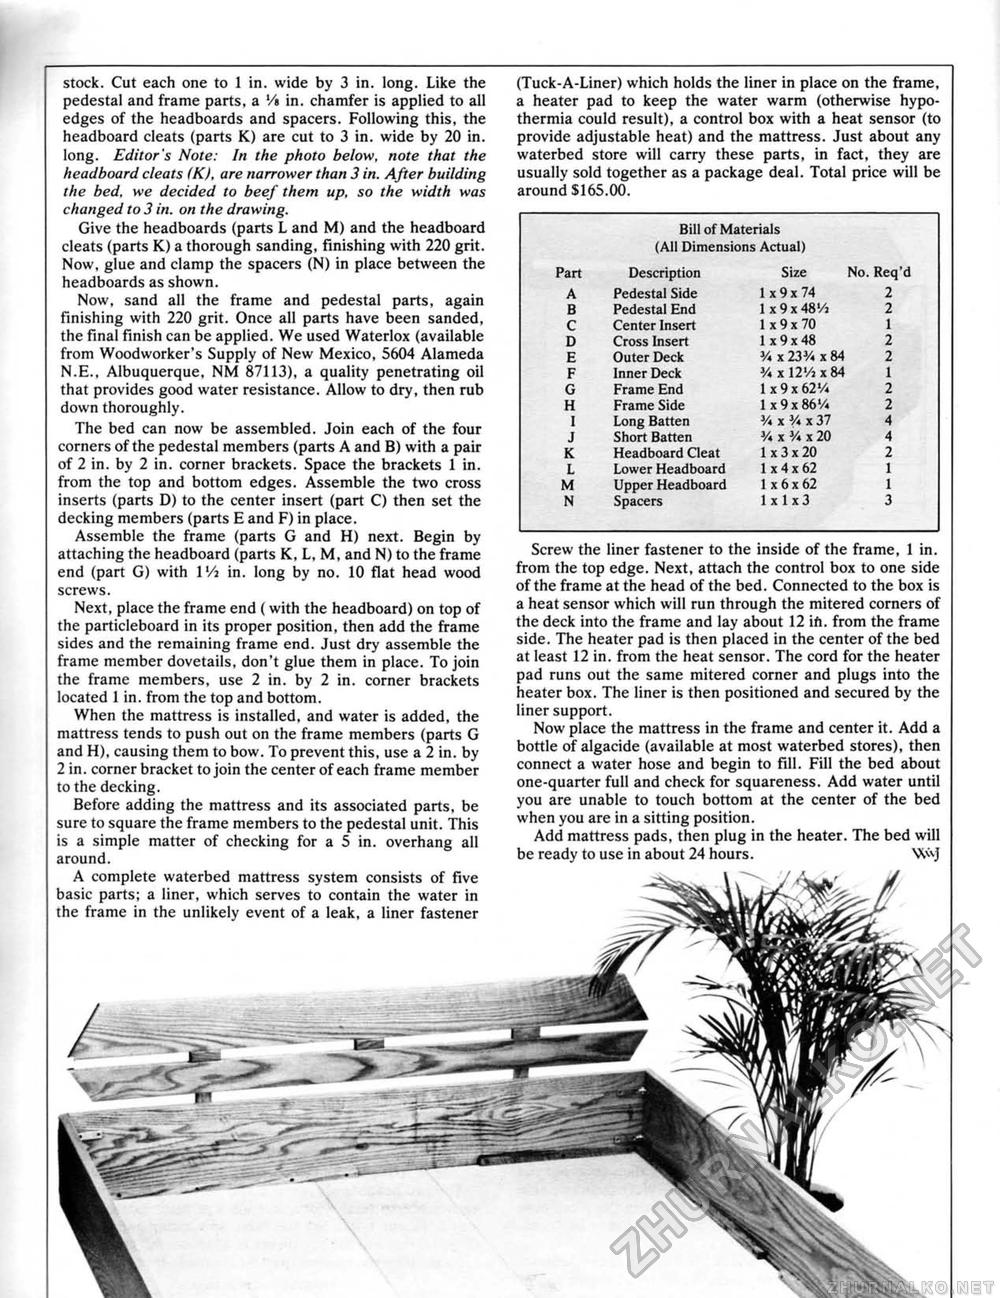
Bill of Materials (All Dimensions Actual)
stock. Cut each one to f in. wide by 3 in. long. Like the pedestal and frame parts, a Yt in. chamfer is applied to all edges of the headboards and spacers. Following this, the headboard cleats (parts K) are cut to 3 in. wide by 20 in. long. Editor's Note: In the photo below, note that the headboard cleats IK), are narrower than 3 in. After building the bed. we decided to beef them up, so the width was changed to 3 in. on the drawing. Give the headboards (parts L and M) and the headboard cleats (parts K) a thorough sanding, finishing with 220 grit. Now, glue and clamp the spacers (N) in place between the headboards as shown. Now, sand all the frame and pedestal parts, again finishing with 220 grit. Once all parts have been sanded, the final finish can be applied. We used Waterlox (available from Woodworker's Supply of New Mexico, 5604 Alameda N.E., Albuquerque, NM 87113), a quality penetrating oil that provides good water resistance. Allow to dry, then rub down thoroughly. The bed can now be assembled. Join each of the four corners of the pedestal members (parts A and B) with a pair of 2 in. by 2 in. corner brackets. Space the brackets 1 in. from the top and bottom edges. Assemble the two cross inserts (parts D) to the center insert (part C) then set the decking members (parts E and F) in place. Assemble the frame (parts G and H) next. Begin by attaching the headboard (parts K, L, M, and N) to the frame end (part G) with l'/i in. long by no. 10 flat head wood screws. Next, place the frame end ( with the headboard) on top of the particleboard in its proper position, then add the frame sides and the remaining frame end. Just dry assemble the frame member dovetails, don't glue them in place. To join the frame members, use 2 in. by 2 in. corner brackets located 1 in. from the top and bottom. When the mattress is installed, and water is added, the mattress tends to push out on the frame members (parts G and H), causing them to bow. To prevent this, use a 2 in. by 2 in. corner bracket to join the center of each frame member to the decking. Before adding the mattress and its associated parts, be sure to square the frame members to the pedestal unit. This is a simple matter of checking for a 5 in, overhang all around. A complete waterbed mattress system consists of five basic parts; a liner, which serves to contain the water in the frame in the unlikely event of a leak, a liner fastener (Tuck-A-Liner) which holds the liner in place on the frame, a heater pad to keep the water warm (otherwise hypothermia could result), a control box with a heat sensor (to provide adjustable heat) and the mattress. Just about any waterbed store wilt carry these parts, in fact, they are usually sold together as a package deal. Total price will be around $165.00, Screw the liner fastener to the inside of the frame, 1 in. from the top edge. Next, attach the control box to one side of the frame at the head of the bed. Connected to the box is a heat sensor which will run through the mitered corners of the deck into the frame and lay about 12 ifi. from the frame side. The heater pad is then placed in the center of the bed at least 12 in. from the heat sensor. The cord for the heater pad runs out the same mitered corner and plugs into the heater box. The liner is then positioned and secured by the liner support. Now place the mattress in the frame and center it. Add a bottle of algacide (available at most waterbed stores), then connect a water hose and begin to fill. Fill the bed about one-quarter full and check for squareness. Add water until you are unable to touch bottom at the center of the bed when you are in a sitting position. Add mattress pads, then plug in the heater. The bed will be ready to use in about 24 hours. W^j |


