Woodworker's Journal 1984-8-1, страница 61
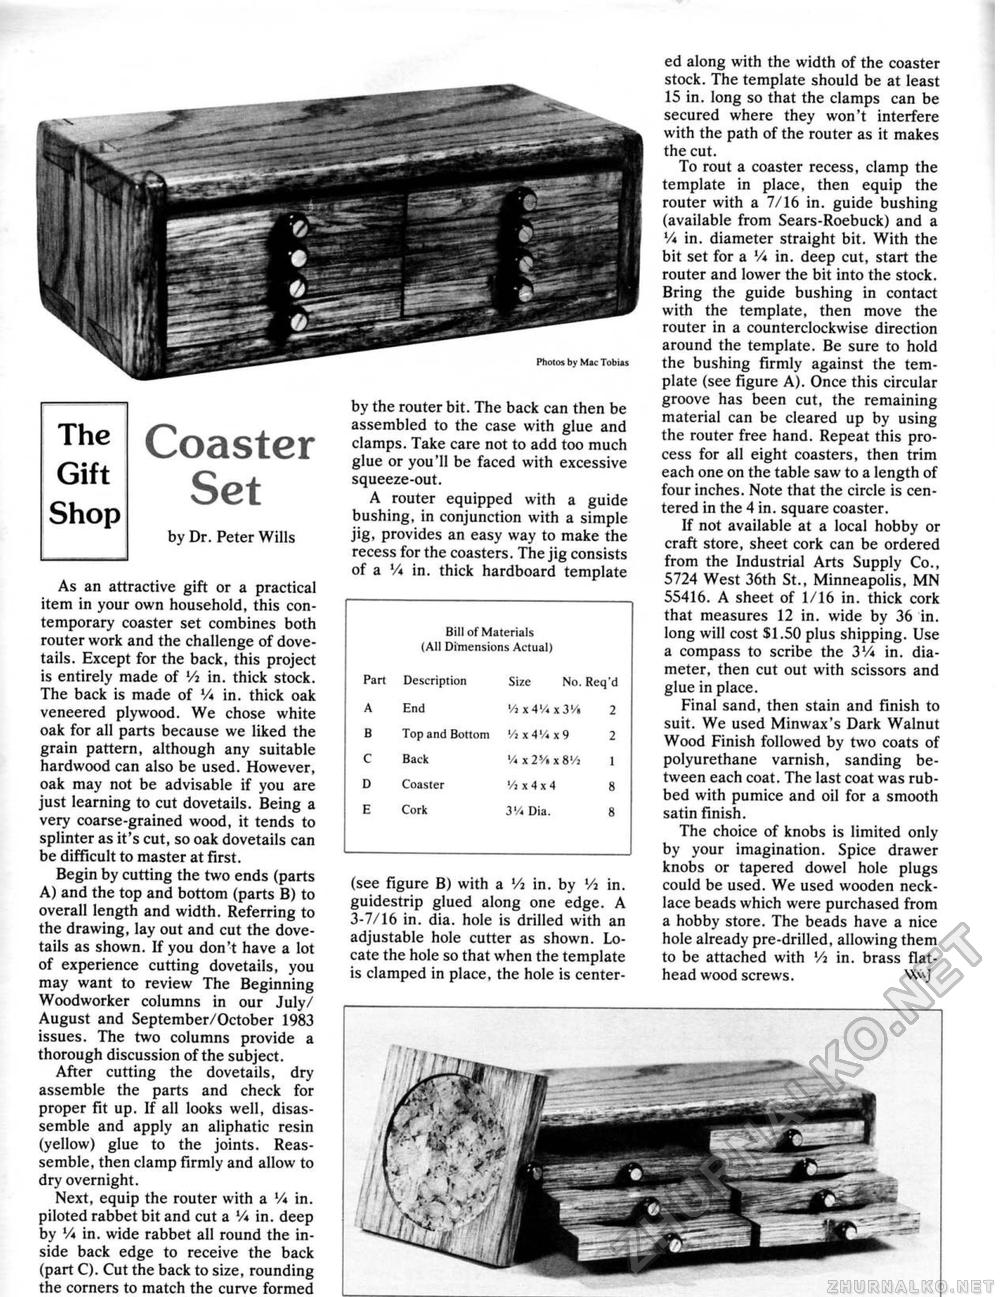
Coaster Setby Dr. Peter Wills As an attractive gift or a practical item in your own household, this contemporary coaster set combines both router work and the challenge of dovetails. Except for the back, this project is entirely made of Vi in. thick stock. The back is made of V* in, thick oak veneered plywood. We chose white oak for all parts because we liked the grain pattern, although any suitable hardwood can also be used. However, oak may not be advisable if you are just learning to cut dovetails. Being a very coarse-grained wood, it tends to splinter as it's cut, so oak dovetails can be difficult to master at first. Begin by cutting the two ends (parts A) and the top and bottom {parts B) to overall length and width. Referring to the drawing, lay out and cut the dovetails as shown. If you don't have a lot of experience cutting dovetails, you may want to review The Beginning Woodworker columns in our July/ August and September/October 1983 issues. The two columns provide a thorough discussion of the subject. After cutting the dovetails, dry assemble the parts and check for proper fit up. If all looks well, disassemble and apply an aliphatic resin (yellow) glue to the joints. Reassemble, then clamp firmly and allow to dry overnight. Next, equip the router with a V* in. piloted rabbet bit and cut a V* in. deep by '/* in. wide rabbet all round the inside back edge to receive the back (part C). Cut the back to size, rounding the corners to match the curve formed Bill of Materials (All Dimensions Actual) Bill of Materials (All Dimensions Actual)
ed along with the width of the coaster stock. The template should be at least 15 in. long so that the clamps can be secured where they won't interfere with the path of the router as it makes the cut. To rout a coaster recess, clamp the template in place, then equip the router with a 7/16 in. guide bushing (available from Sears-Roebuck) and a V* in. diameter straight bit. With the bit set for a '/« in. deep cut, start the router and lower the bit into the stock. Bring the guide bushing in contact with the template, then move the router in a counterclockwise direction around the template. Be sure to hold the bushing firmly against the template (see figure A). Once this circular groove has been cut, the remaining material can be cleared up by using the router free hand. Repeat this process for all eight coasters, then trim each one on the table saw to a length of four inches. Note that the circle is centered in the 4 in. square coaster. If not available at a local hobby or craft store, sheet cork can be ordered from the Industrial Arts Supply Co., 5724 West 36th St., Minneapolis, MN 55416. A sheet of 1/16 in. thick cork that measures 12 in. wide by 36 in, long will cost SI.50 plus shipping. Use a compass to scribe the 3'/* in, diameter, then cut out with scissors and glue in place. Final sand, then stain and finish to suit. We used Minwax's Dark Walnut Wood Finish followed by two coats of polyurethane varnish, sanding between each coat. The last coat was rubbed with pumice and oil for a smooth satin finish. The choice of knobs is limited only by your imagination. Spice drawer knobs or tapered dowel hole plugs could be used. We used wooden necklace beads which were purchased from a hobby store. The beads have a nice hole already pre-drilled, allowing them to be attached with '/j in. brass flat-head wood screws. Wvj (see figure B) with a V% in. by Vi in. guidestrip glued along one edge. A 3-7/16 in. dia. hole is drilled with an adjustable hole cutter as shown. Locate the hole so that when the template is clamped in place, the hole is center Photos by Mac Tobias by the router bit. The back can then be assembled to the case with glue and clamps. Take care not to add too much glue or you'll be faced with excessive squeeze-out. A router equipped with a guide bushing, in conjunction with a simple jig, provides an easy way to make the recess for the coasters. The jig consists of a V* in. thick hardboard template |


