Woodworker's Journal 1984-8-2, страница 42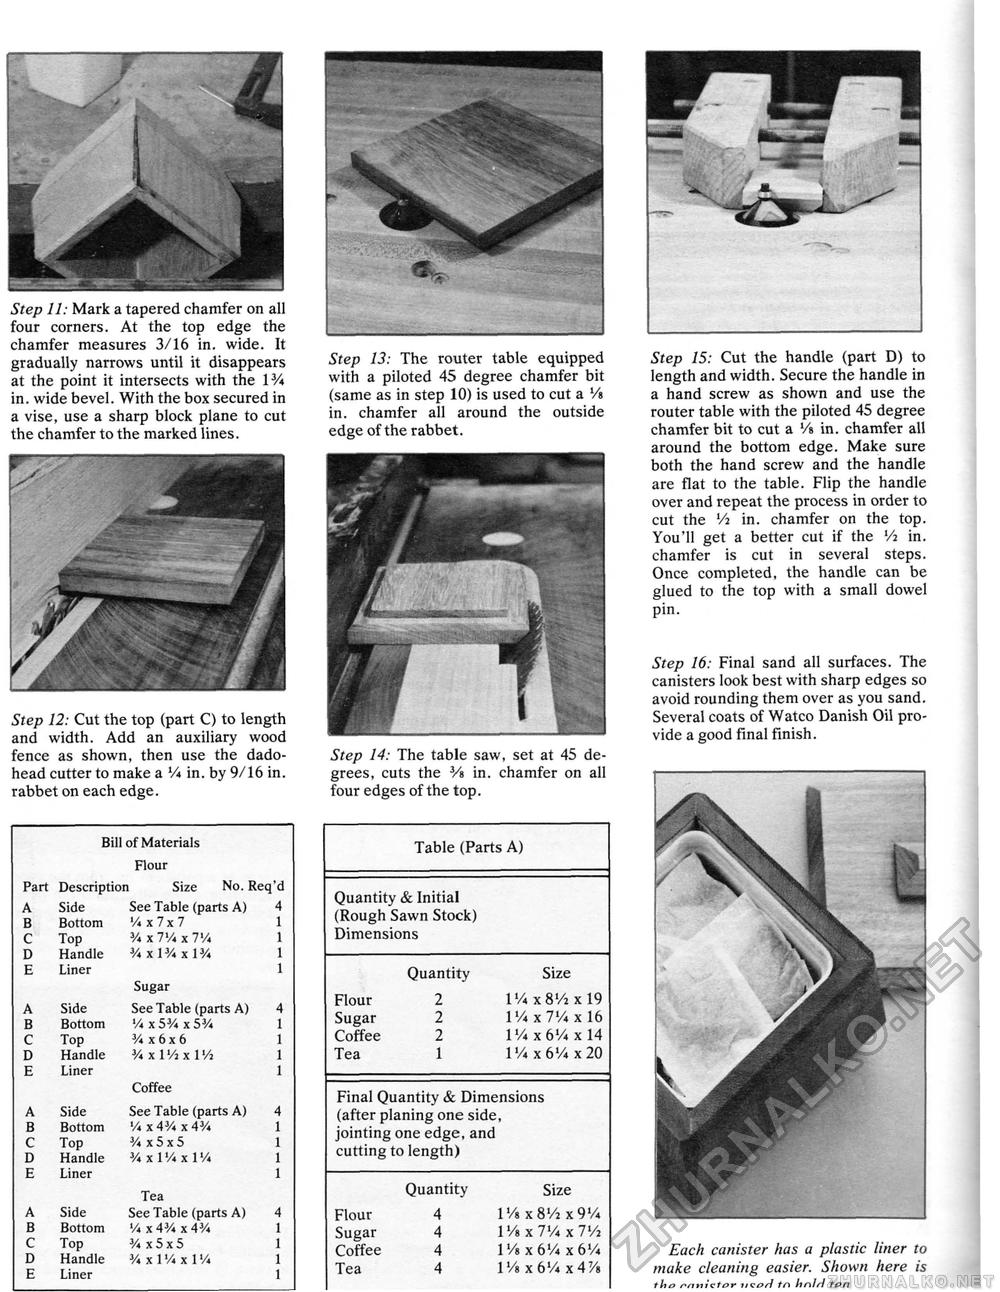
Step 11: Mark a tapered chamfer on all four corners. At the top edge the chamfer measures 3/16 in. wide. It gradually narrows until it disappears at the point it intersects with the 1V* in. wide bevel. With the box secured in a vise, use a sharp block plane to cut the chamfer to the marked lines. Step 12: Cut the top (part C) to length and width. Add an auxiliary wood fence as shown, then use the dado-head cutter to make a Vi in. by 9/16 in. rabbet on each edge.
Step 13: The router table equipped with a piloted 45 degree chamfer bit (same as in step 10) is used to cut a Vi in. chamfer all around the outside edge of the rabbet. Step 14: The table saw, set at 45 degrees, cuts the Vi in. chamfer on all four edges of the top. Table (Parts A) Quantity & Initial (Rough Sawn Stock) Dimensions Quantity Flour 2 Sugar 2 Coffee 2 Tea 1 Size 1 % x 8Vi x 19 1 Vi x 7V4 x 16 l'A x6'/4 x 14 1 '/4 x 6'A x 20 Final Quantity & Dimensions (after planing one side, jointing one edge, and cutting to length) Quantity Flour 4 Sugar 4 Coffee 4 Tea 4 Size 1 Vs x 8V2 x 9 V* l'/s x 7'A x IVi 1 Vi x 6 Vi x 6 % 1 '/a x 6 Vi x 4 Vi Step 15: Cut the handle (part D) to length and width. Secure the handle in a hand screw as shown and use the router table with the piloted 45 degree chamfer bit to cut a Vi in. chamfer all around the bottom edge. Make sure both the hand screw and the handle are flat to the table. Flip the handle over and repeat the process in order to cut the Va in. chamfer on the top. You'll get a better cut if the V2 in. chamfer is cut in several steps. Once completed, the handle can be glued to the top with a small dowel pin. Step 16: Final sand all surfaces. The canisters look best with sharp edges so avoid rounding them over as you sand. Several coats of Watco Danish Oil provide a good final finish. Each canister has a plastic liner to make cleaning easier. Shown here is ttit> ncarl tn hnl/i ten |
||||||||||||||||||||||||||||||||||||||||||||||||||||||||||||||||||||||||||||||||||||||||||||


