Woodworker's Journal 1984-8-2, страница 52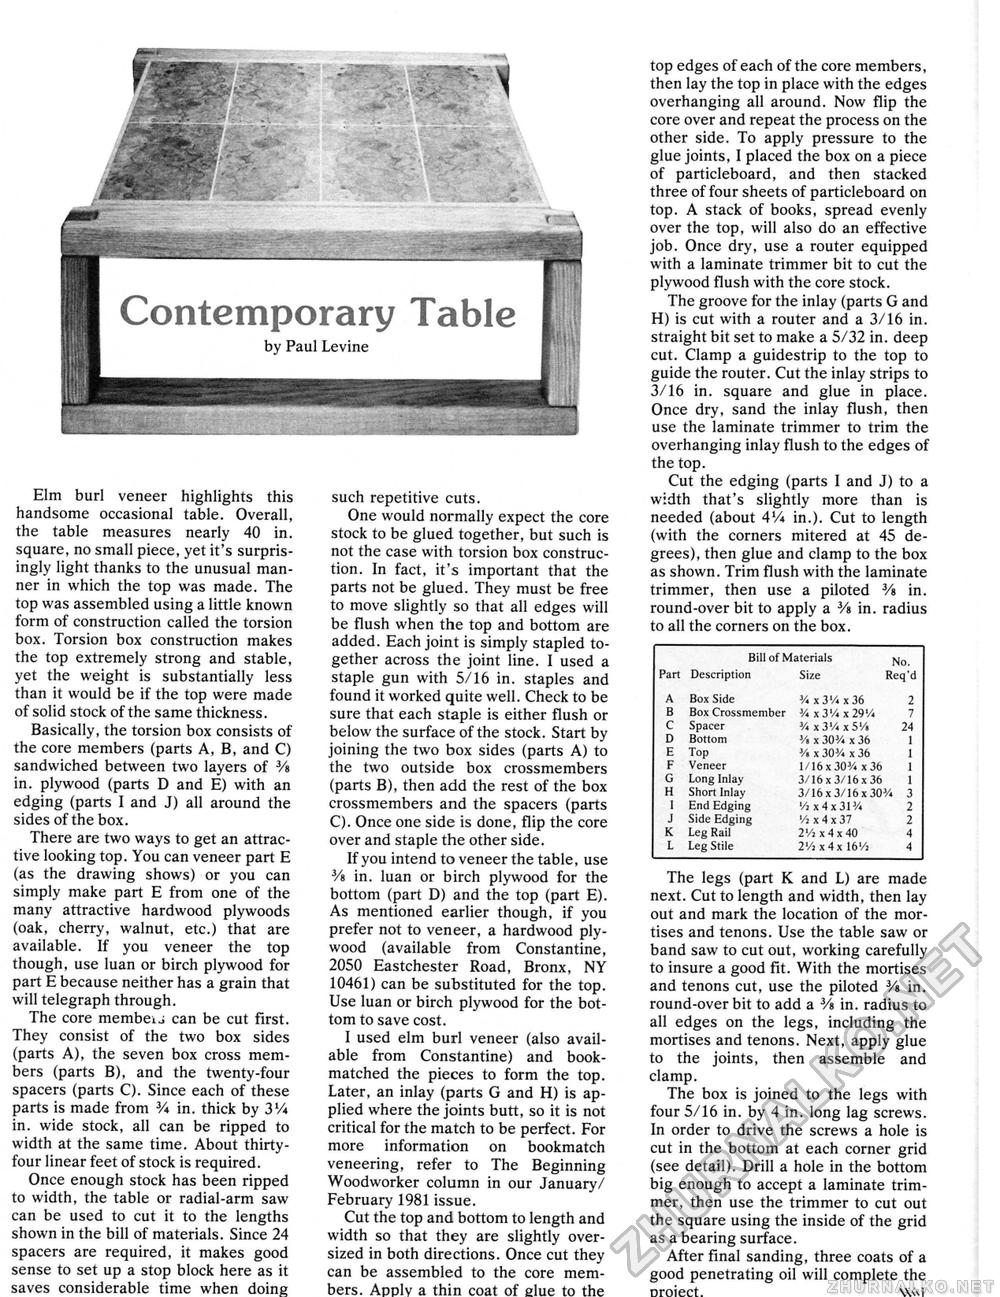
Elm burl veneer highlights this handsome occasional table. Overall, the table measures nearly 40 in. square, no small piece, yet it's surprisingly light thanks to the unusual manner in which the top was made. The top was assembled using a little known form of construction called the torsion box. Torsion box construction makes the top extremely strong and stable, yet the weight is substantially less than it would be if the top were made of solid stock of the same thickness. Basically, the torsion box consists of the core members (parts A, B, and C) sandwiched between two layers of Va in. plywood (parts D and E) with an edging (parts I and J) all around the sides of the box. There are two ways to get an attractive looking top. You can veneer part E (as the drawing shows) or you can simply make part E from one of the many attractive hardwood plywoods (oak, cherry, walnut, etc.) that are available. If you veneer the top though, use luan or birch plywood for part E because neither has a grain that will telegraph through. The core member can be cut first. They consist of the two box sides (parts A), the seven box cross members (parts B), and the twenty-four spacers (parts C). Since each of these parts is made from 3A in. thick by 3% in. wide stock, all can be ripped to width at the same time. About thirty-four linear feet of stock is required. Once enough stock has been ripped to width, the table or radial-arm saw can be used to cut it to the lengths shown in the bill of materials. Since 24 spacers are required, it makes good sense to set up a stop block here as it saves considerable time when doing such repetitive cuts. One would normally expect the core stock to be glued together, but such is not the case with torsion box construction. In fact, it's important that the parts not be glued. They must be free to move slightly so that all edges will be flush when the top and bottom are added. Each joint is simply stapled together across the joint line. I used a staple gun with 5/16 in. staples and found it worked quite well. Check to be sure that each staple is either flush or below the surface of the stock. Start by joining the two box sides (parts A) to the two outside box crossmembers (parts B), then add the rest of the box crossmembers and the spacers (parts C). Once one side is done, flip the core over and staple the other side. If you intend to veneer the table, use Vi in. luan or birch plywood for the bottom (part D) and the top (part E). As mentioned earlier though, if you prefer not to veneer, a hardwood plywood (available from Constantine, 2050 Eastchester Road, Bronx, NY 10461) can be substituted for the top. Use luan or birch plywood for the bottom to save cost. I used elm burl veneer (also available from Constantine) and book-matched the pieces to form the top. Later, an inlay (parts G and H) is applied where the joints butt, so it is not critical for the match to be perfect. For more information on bookmatch veneering, refer to The Beginning Woodworker column in our January/ February 1981 issue. Cut the top and bottom to length and width so that they are slightly oversized in both directions. Once cut they can be assembled to the core members. Applv a thin coat of glue to the top edges of each of the core members, then lay the top in place with the edges overhanging all around. Now flip the core over and repeat the process on the other side, To apply pressure to the glue joints, I placed the box on a piece of particleboard, and then stacked three of four sheets of particleboard on top, A stack of books, spread evenly over the top, will also do an effective job. Once dry, use a router equipped with a laminate trimmer bit to cut the plywood flush with the core stock. The groove for the inlay (parts G and H) is cut with a router and a 3/16 in. straight bit set to make a 5/32 in. deep cut. Clamp a guidestrip to the top to guide the router. Cut the inlay strips to 3/16 in. square and glue in place. Once dry, sand the inlay flush, then use the laminate trimmer to trim the overhanging inlay flush to the edges of the top. Cut the edging (parts I and J) to a width that's slightly more than is needed (about 4'/« in.). Cut to length (with the corners mitered at 45 degrees), then glue and clamp to the box as shown. Trim flush with the laminate trimmer, then use a piloted V» in. round-over bit to apply a Vt. in. radius to all the corners on the box.
The legs (part K and L) are made next. Cut to length and width, then lay out and mark the location of the mortises and tenons. Use the table saw or band saw to cut out, working carefully to insure a good fit. With the mortises and tenons cut, use the piloted Va in. round-over bit to add a V» in. radius to all edges on the legs, including the mortises and tenons. Next, apply glue to the joints, then assemble and clamp. The box is joined to the legs with four 5/16 in. by 4 in. long lag screws. In order to drive the screws a hole is cut in the bottom at each corner grid (see detail). Drill a hole in the bottom big enough to accept a laminate trimmer, then use the trimmer to cut out the square using the inside of the grid as a bearing surface. After final sanding, three coats of a good penetrating oil will complete the oroiect. VwT |
||||||||||||||||||||||||||||||||||||||||||||||||||||||||


