Woodworker's Journal 1984-8-4, страница 26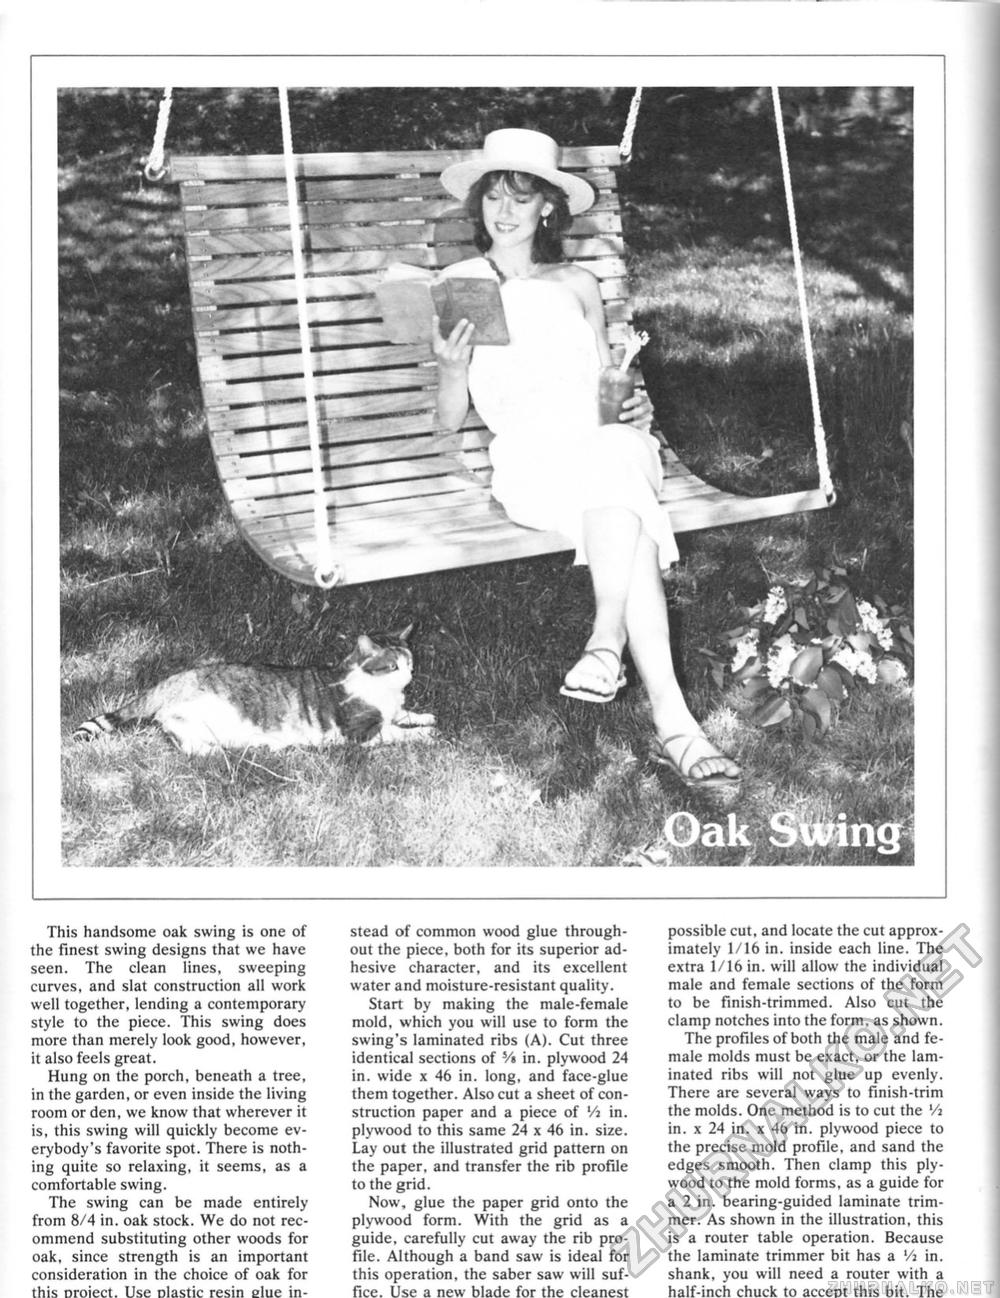
i •tail This handsome oak swing is one of the finest swing designs that we have seen. The clean lines, sweeping curves, and slat construction all work well together, lending a contemporary style to the piece. This swing does more than merely look good, however, it also feels great. Hung on the porch, beneath a tree, in the garden, or even inside the living room or den, we know that wherever it is, this swing will quickly become everybody's favorite spot. There is nothing quite so relaxing, it seems, as a comfortable swing. The swing can be made entirely from 8/4 in. oak stock. We do not recommend substituting other woods for oak, since strength is an important consideration in the choice of oak for this Droiect, Use Dlastic resin slue in stead of common wood glue throughout the piece, both for its superior adhesive character, and its excellent water and moisture-resistant quality. Start by making the male-female mold, which you will use to form the swing's laminated ribs (A). Cut three identical sections of V» in. plywood 24 in. wide x 46 in. long, and face-glue them together. Also cut a sheet of construction paper and a piece of '/j in. plywood to this same 24 x 46 in. size. Lay out the illustrated grid pattern on the paper, and transfer the rib profile to the grid. Now, glue the paper grid onto the plywood form. With the grid as a guide, carefully cut away the rib profile. Although a band saw is ideal for this operation, the saber saw will suffice. Use a new blade for the cleanest possible cut, and locate the cut approximately 1/16 in. inside each line. The extra 1/16 in. will allow the individual male and female sections of the form to be finish-trimmed. Also cut the clamp notches into the form, as shown. The profiles of both the male and female molds must be exact, or the laminated ribs will not glue up evenly. There are several ways to finish-trim the molds. One method is to cut the Vi in. x 24 in. x 46 in. plywood piece to the precise mold profile, and sand the edges smooth. Then clamp this plywood to the mold forms, as a guide for a 2 in. bearing-guided laminate trimmer. As shown in the illustration, this is a router table operation. Because the laminate trimmer bit has a Vi in. shank, you will need a router with a half-inch chuck to accept this bit. The |


