Woodworker's Journal 1984-8-4, страница 29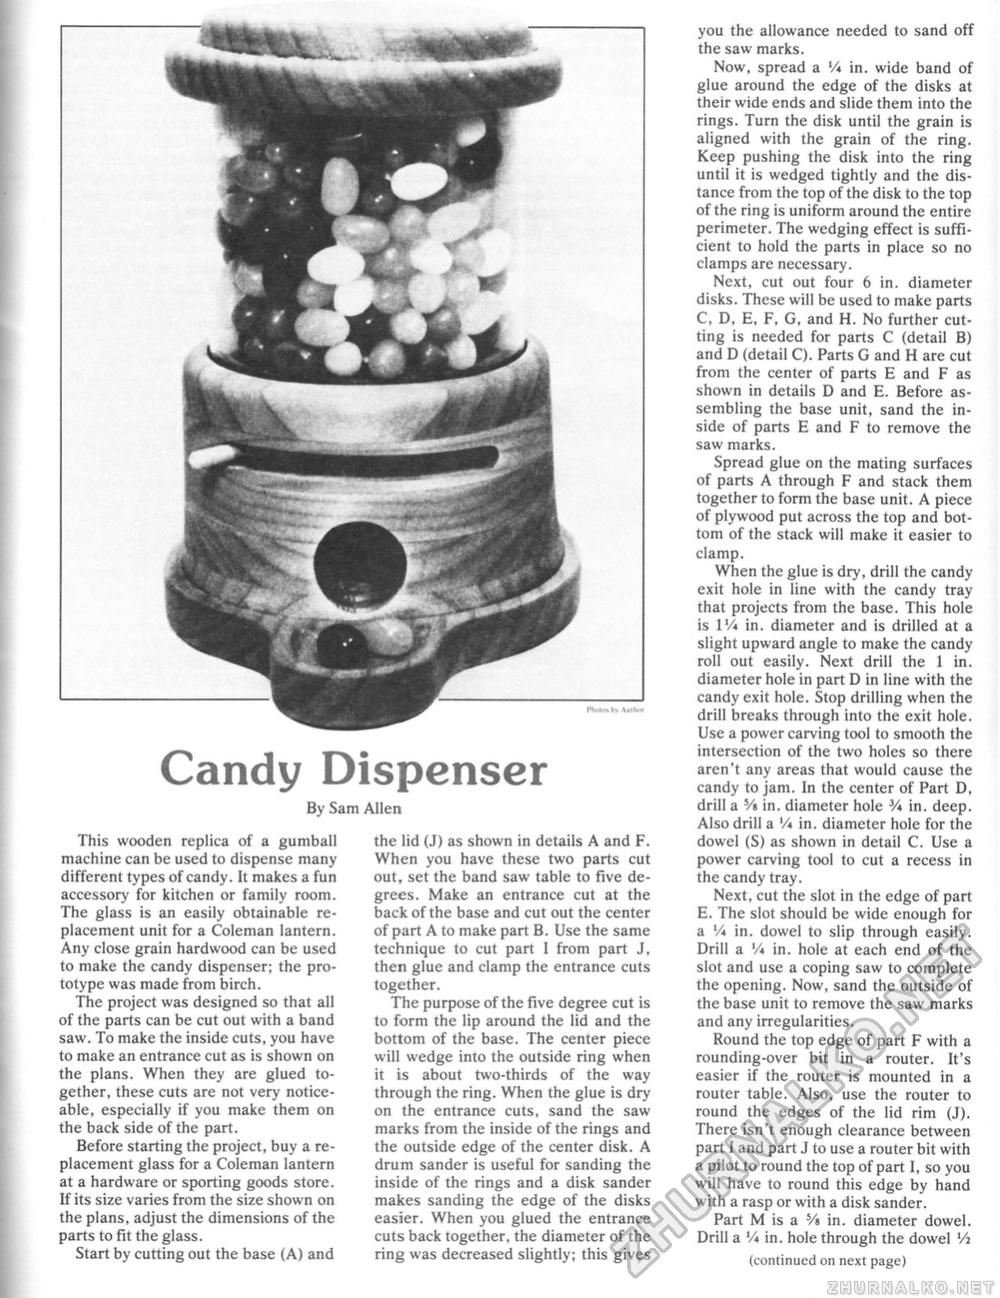
Candy Dispenser By Sam Alien This wooden replica of a gumbail machine can be used to dispense many different types of candy. It makes a fun accessory for kitchen or family room. The glass is an easily obtainable replacement unit for a Coleman lantern. Any close grain hardwood can be used to make the candy dispenser; the prototype was made from birch. The project was designed so that all of the parts can be cut out with a band saw. To make the inside cuts, you have to make an entrance cut as is shown on the plans. When they are glued together, these cuts are not very noticeable, especially if you make them on the back side of the part. Before starting the project, buy a replacement glass for a Coleman lantern at a hardware or sporting goods store. If its size varies from the size shown on the plans, adjust the dimensions of the parts to fit the glass. Start by cutting out the base (A) and the lid (J) as shown in details A and F. When you have these two parts cut out, set the band saw table to five degrees. Make an entrance cut at the back of the base and cut out the center of part A to make part B. Use the same technique to cut part I from part J, then glue and clamp the entrance cuts together. The purpose of the five degree cut is to form the lip around the lid and the bottom of the base. The center piece will wedge into the outside ring when it is about two-thirds of the way through the ring. When the glue is dry on the entrance cuts, sand the saw marks from the inside of the rings and the outside edge of the center disk. A drum sander is useful for sanding the inside of the rings and a disk sander makes sanding the edge of the disks easier. When you glued the entrance cuts back together, the diameter of the ring was decreased slightly; this gives you the allowance needed to sand off the saw marks. Now, spread a V* in. wide band of glue around the edge of the disks at their wide ends and slide them into the rings. Turn the disk until the grain is aligned with the grain of the ring. Keep pushing the disk into the ring until it is wedged tightly and the distance from the top of the disk to the top of the ring is uniform around the entire perimeter. The wedging effect is sufficient to hold the parts in place so no clamps are necessary. Next, cut out four 6 in. diameter disks. These will be used to make parts C. D. E, F, G, and H. No further cutting is needed for parts C (detail B) and D (detail C). Parts G and H are cut from the center of parts E and F as shown in details D and E. Before assembling the base unit, sand the inside of parts E and F to remove the saw marks. Spread glue on the mating surfaces of parts A through F and stack them together to form the base unit. A piece of plywood put across the top and bottom of the stack will make it easier to clamp. When the glue is dry, drill the candy exit hole in line with the candy tray that projects from the base. This hole is IV* in. diameter and is drilled at a slight upward angle to make the candy roll out easily. Next drill the I in. diameter hole in part D in line with the candy exit hole. Stop drilling when the drill breaks through into the exit hole. Use a power carving tool to smooth the intersection of the two holes so there aren't any areas that would cause the candy to jam. In the center of Part D, drill a Vi in, diameter hole V* in. deep. Also drill a V* in. diameter hole for the dowel (S) as shown in detail C, Use a power carving tool to cut a recess in the candy tray. Next, cut the slot in the edge of part E. The slot should be wide enough for a '/* in. dowel to slip through easily. Drill a V* in. hole at each end of the slot and use a coping saw to complete the opening. Now, sand the outside of the base unit to remove the saw marks and any irregularities. Round the top edge of part F with a rounding-over bit in a router. It's easier if the router is mounted in a router table. Also, use the router to round the edges of the lid rim (J). There isn't enough clearance between part I and part J to use a router bit with a pilot to round the top of part I, so you will have to round this edge by hand with a rasp or with a disk sander. Part M is a Vi in. diameter dowel. Drill a V* in. hole through the dowel Vi (continued on next page) |


