Woodworker's Journal 1984-8-4, страница 30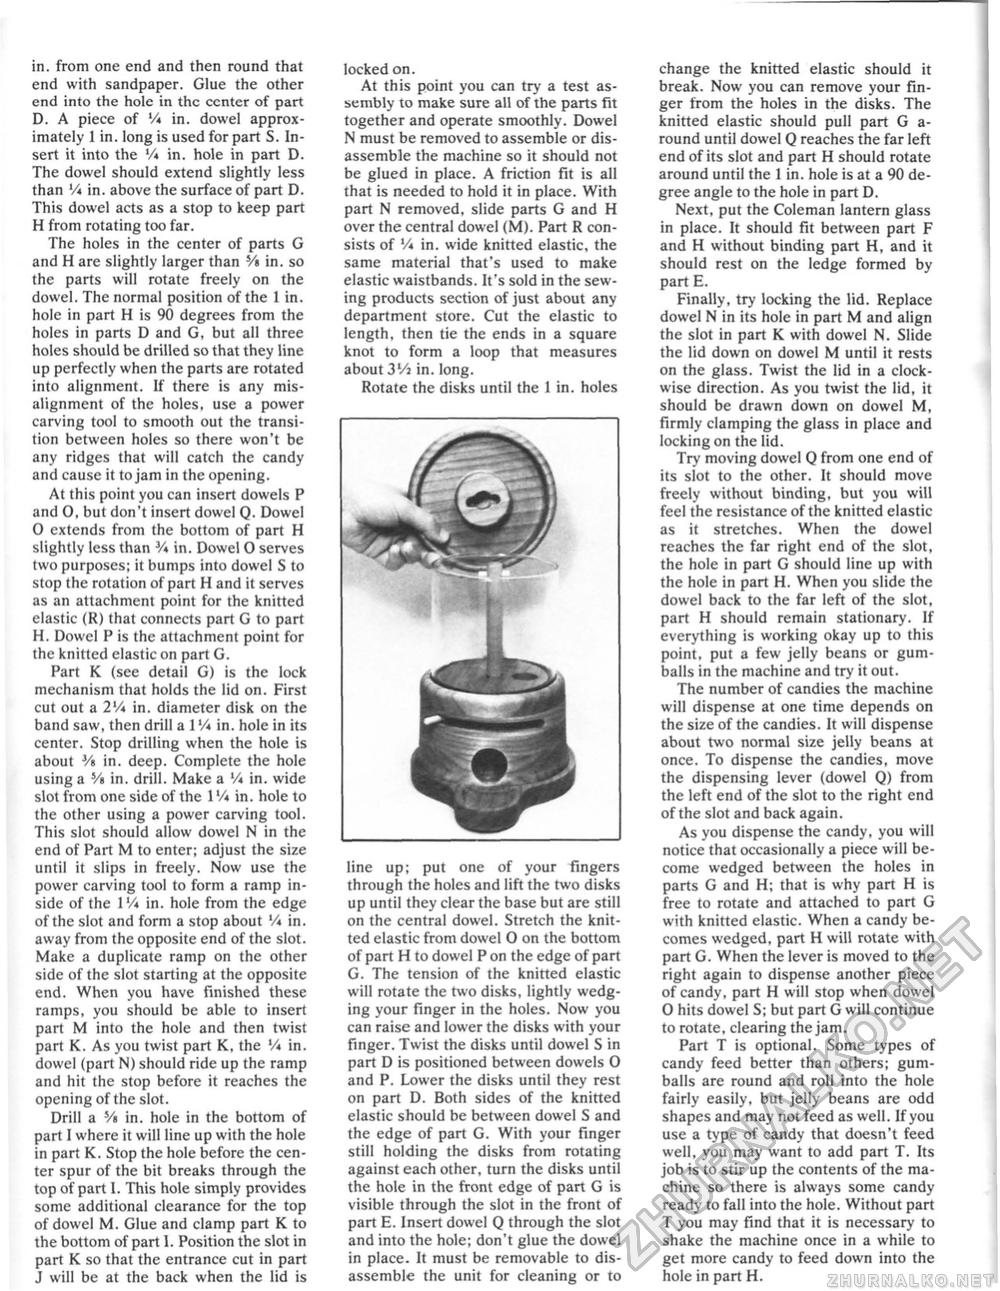
in. from one end and then round that end with sandpaper. Glue the other end into the hole in the ccnter of part D. A piece of V* in. dowel approximately 1 in. long is used for part S. Insert it into the in. hole in part D. The dowel should extend slightly less than V* in. above the surface of part D. This dowel acts as a stop to keep part H from rotating too far. The holes in the center of parts G and H are slightly larger than V» in. so the parts will rotate freely on the dowel. The normal position of the 1 in. hole in part H is 90 degrees from the holes in parts D and G, but all three holes should be drilled so that they line up perfectly when the parts are rotated into alignment. If there is any misalignment of the holes, use a power carving tool to smooth out the transition between holes so there won't be any ridges that will catch the candy and cause it to jam in the opening. At this point you can insert dowels P and 0, but don't insert dowel Q. Dowel 0 extends from the bottom of part H slightly less than V* in. Dowel O serves two purposes; it bumps into dowel S to stop (he rotation of part H and it serves as an attachment point for the knitted elastic (R) that connects part G to part H. Dowel P is the attachment point for the knitted elastic on part G. Part K (see detail G) is the lock mechanism that holds the lid on. First cut out a 2V* in. diameter disk on the band saw, then drill a IVi in. hole in its center. Stop drilling when the hole is about Vi in. deep. Complete the hole using a s/t in. drill. Make a V* in. wide slot from one side of the 1'/« in. hole to the other using a power carving tool. This slot should allow dowel N in the end of Part M to enter; adjust the size until it slips in freely. Now use the power carving tool to form a ramp inside of the 1V* in. hole from the edge of the slot and form a stop about '/* in. away from the opposite end of the slot. Make a duplicate ramp on the other side of the slot starting at the opposite end. When you have finished these ramps, you should be able to insert part M into the hole and then twist part K. As you twist part K, the V* in. dowel (part N) should ride up the ramp and hit the stop before it reaches the opening of the slot. Drill a Vt in. hole in the bottom of part I where it will line up with the hole in part K. Stop the hole before the center spur of the bit breaks through the top of part I. This hole simply provides some additional clearance for the top of dowel M. Glue and clamp part K to the bottom of part I. Position the slot in part K so that the entrance cut in part J will be at the back when the lid is locked on. At this point you can try a test assembly to make sure all of the parts fit together and operate smoothly. Dowel N must be removed to assemble or disassemble the machine so it should not be glued in place. A friction fit is all that is needed to hold it in place. With part N removed, slide parts G and H over the central dowel (M). Part R consists of V* in. wide knitted elastic, the same material that's used to make elastic waistbands. It's sold in the sewing products section of just about any department store. Cut the elastic to length, then tie the ends in a square knot to form a loop that measures about ZVi in. long. Rotate the disks until the 1 in. holes line up; put one of your fingers through the holes and lift the two disks up until they clear the base but are still on the central dowel. Stretch the knitted elastic from dowel O on the bottom of part H to dowel P on the edge of part G. The tension of the knitted elastic will rotate the two disks, lightly wedging your finger in the holes. Now you can raise and lower the disks with your finger. Twist the disks until dowel S in part D is positioned between dowels 0 and P. Lower the disks until they rest on part D. Both sides of the knitted elastic should be between dowel S and the edge of part G. With your finger still holding the disks from rotating against each other, turn the disks until the hole in the front edge of part G is visible through the slot in the front of part E. Insert dowel Q through the slot and into the hole; don't glue the dowel in place. It must be removable to disassemble the unit for cleaning or to change the knitted elastic should it break. Now you can remove your finger from the holes in the disks. The knitted elastic should pull part G around until dowel Q reaches the far left end of its slot and part H should rotate around until the 1 in. hole is at a 90 degree angle to the hole in part D. Next, put the Coleman lantern glass in place. It should fit between part F and H without binding part H, and it should rest on the ledge formed by part E. Finally, try locking the lid. Replace dowel N in its hole in part M and align the slot in part K with dowel N. Slide the lid down on dowel M until it rests on the glass. Twist the lid in a clockwise direction. As you twist the lid, it should be drawn down on dowel M, firmly clamping the glass in place and locking on the lid. Try moving dowel 0 from one end of its slot to the other. It should move freely without binding, but you will feel the resistance of the knitted elastic as it stretches. When the dowel reaches the far right end of the slot, the hole in part G should line up with the hole in part H. When you slide the dowel back to the far left of the slot, part H should remain stationary. If everything is working okay up to this point, put a few jelly beans or gum-balls in the machine and try it out. The number of candies the machine will dispense at one time depends on the size of the candies. It will dispense about two normal size jelly beans at once. To dispense the candies, move the dispensing lever (dowel Q) from the left end of the slot to the right end of the slot and back again. As you dispense the candy, you will notice that occasionally a piece will become wedged between the holes in parts G and H; that is why part H is free to rotate and attached to part G with knitted elastic. When a candy becomes wedged, part H will rotate with part G. When the lever is moved to the right again to dispense another piece of candy, part H will stop when dowel 0 hits dowel S; but part G will continue to rotate, clearing the jam. Part T is optional. Some types of candy feed better than others; gum-balls are round and roll into the hole fairly easily, but jelly beans are odd shapes and may not feed as well. If you use a type of candy that doesn't feed well, you may want to add part T. Its job is to stir up the contents of the machine so there is always some candy ready to fall into the hole. Without part T you may find that it is necessary to shake the machine once in a while to get more candy to feed down into the hole in part H. |


