Woodworker's Journal 1984-8-6, страница 29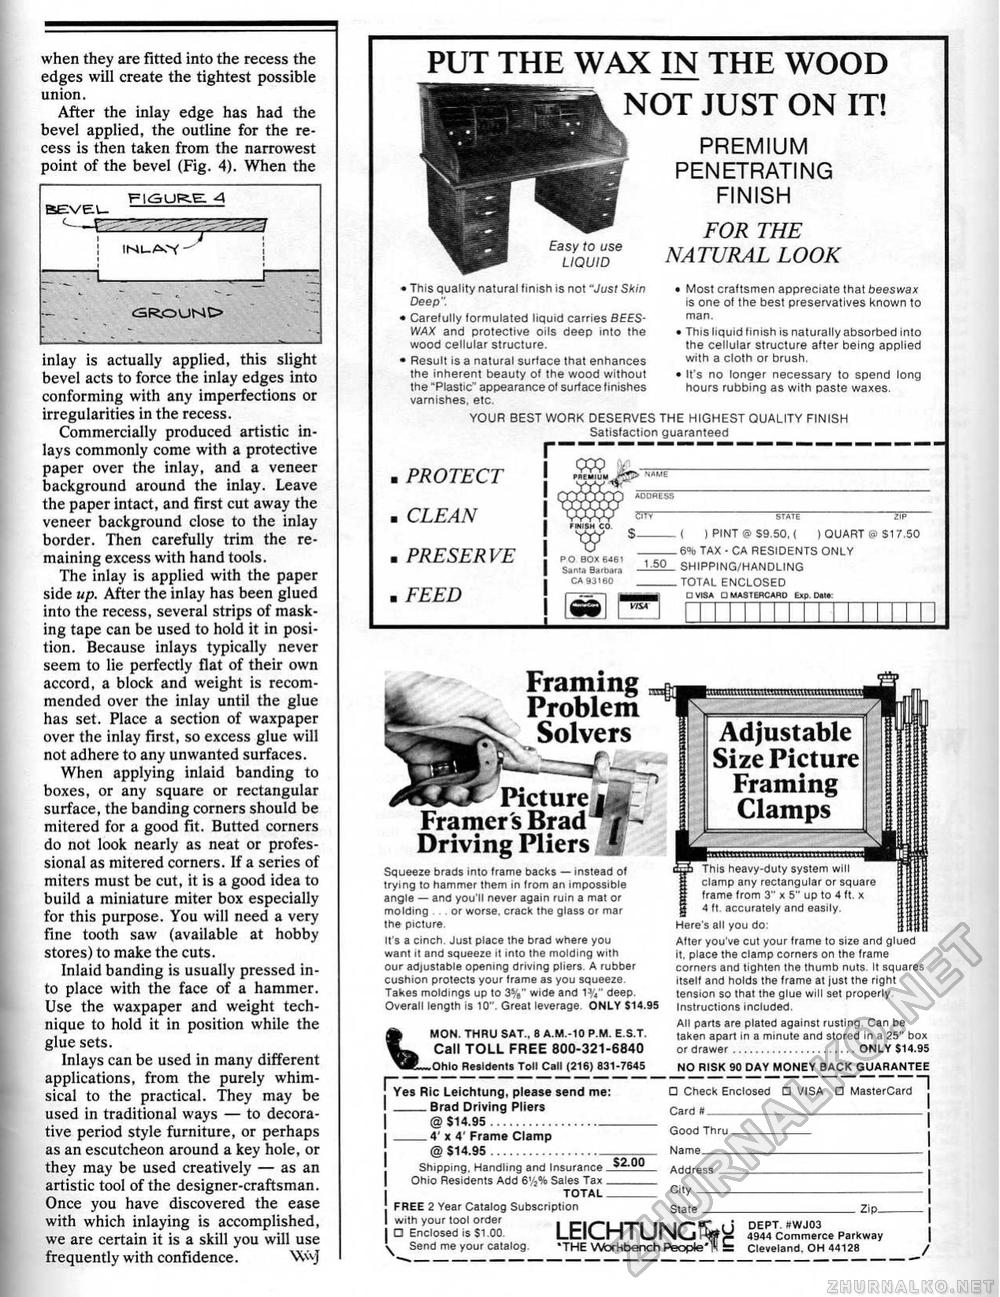
when they are fitted into the recess the edges will create the tightest possible union, After the inlay edge has had the bevel applied, the outline for the recess is then taken from the narrowest point of the bevel (Fig. 4). When the
inlay is actually applied, this slight bevel acts to force the inlay edges into conforming with any imperfections or irregularities in the recess. Commercially produced artistic inlays commonly come with a protective paper over the inlay, and a veneer background around the inlay. Leave the paper intact, and first cut away the veneer background close to the inlay border. Then carefully trim the remaining excess with hand tools. The inlay is applied with the paper side up. After the inlay has been glued into the recess, several strips of masking tape can be used to hold it in position. Because inlays typically never seem to lie perfectly flat of their own accord, a block and weight is recommended over the inlay until the glue has set. Place a section of waxpaper over the inlay first, so excess glue will not adhere to any unwanted surfaces, When applying inlaid banding to boxes, or any square or rectangular surface, the banding corners should be mitered for a good fit. Butted corners do not look nearly as neat or professional as mitered corners. If a series of miters must be cut, it is a good idea to build a miniature miter box especially for this purpose. You will need a very fine tooth saw (available at hobby stores) to make the cuts. Inlaid banding is usually pressed into place with the face of a hammer. Use the waxpaper and weight technique to hold it in position while the glue sets. Inlays can be used in many different applications, from the purely whimsical to the practical. They may be used in traditional ways — to decorative period style furniture, or perhaps as an escutcheon around a key hole, or they may be used creatively — as an artistic tool of the designer-craftsman. Once you have discovered the ease with which inlaying is accomplished, we are certain it is a skill you will use frequently with confidence. WvJ PUT THE WAX IN THE WOOD NOT JUST ON IT! PREMIUM PENETRATING FINISH FOR THE NATURAL LOOK Easy to use LIQUID ' This quality natural finish is not "Just Skin Deep". • Carefully formulated liquid carries BEESWAX and protective oils deep into the wood cellular structure. • Result is a natural surface that enhances the inherent beauty of the wood without the "Plastic" appearance ol surface finishes varnishes, etc. YOUR BEST WORK DESERVES THE HIGHEST QUALITY FINISH Satisfaction guaranteed • Most craftsmen appreciate that beeswax is one of the best preservatives known to man. • This liquid finish is naturally absorbed into the cellular structure after being applied with a cloth or brush. • It's no longer necessary to spend long hours rubbing as with paste waxes. PROTECT CLEAN PRESERVE FEED ( ) PINT @ S9.S0, ( t QUART @ $17,SO 6% TAX - CA RESIDENTS ONLY SHIPPING/HANDLING TOTAL ENCLOSED ( ) PINT @ S9.S0, ( t QUART @ $17,SO 6% TAX - CA RESIDENTS ONLY SHIPPING/HANDLING TOTAL ENCLOSED
Framing Problem Solvers 'iiifli^M........mm Ifll-B^ MON, THRU SAT.. 8 A.M.-10 P.M. E.S.T. Call TOLL FREE 800-321-6840 Ohio Residents Toll Call (216) 831-7645 Picture Mut Framer's Brad^p Driving Pliers m Squeeze brads into frame backs — instead of trying to hammer them in Irom an impossible angle — ana you'll never again ruin a mat or molding or worse, crack the glass Or mar the picture. It's a cinch. Just place the brad where you want it and squeeze it into the molding with our adjustable opening driving pliers. A rubber cushion protects your Irame as you squeeze Takes moldings up to wide and deep. Overall length is 10". Great leverage ONLY $14.95 Adjustable Size Picture Framing Clamps This heavy-duty system will clamp any rectangular or square frame from 3" * 5" up to 4 ft. x 4 ft accurately and easily. Here's all you do; After you've cut your frame to size and glued it, place the clamp corners on the frame corners and tighten the thumb nuts. II squares Itself and holds the frame at iust the right tension so that the glue will set properly Instructions included. All parts are plated against rusting. Can be taken apart In a minute and stored in a 25" box or drawer......................ONLY S14.95 NO RISK 90 DAY MONEY BACK GUARANTEE Yes Ric Lelchturg, please send me: _Brad Driving Pliers @ $14.95.................._ _4' it 4' Frame Clamp @ $14.95.............. \ Shipping, Handling and Insurance Ohio Residents Add 6'/,% Sales Tax TOTAL FREE 2 Year Catalog Subscription wilh your loo I order □ Enclosed is SI.00 Send me your catalog. $2.00 □ Check Enclosed Card ft_ Good Thru__ Name_ Address______ City___ State _ □ VISA □ MasterCard LEICHTUNG%g ■THE Workbench People*! is _Zip_ DEPT. 9WJ03 4944 Commerce Parkway Cleveland. OH 44128 |
||||||||||||||||||||||||||||||||||||||||||||||||||||||||||||||||


