Woodworker's Journal 1985-9-3, страница 16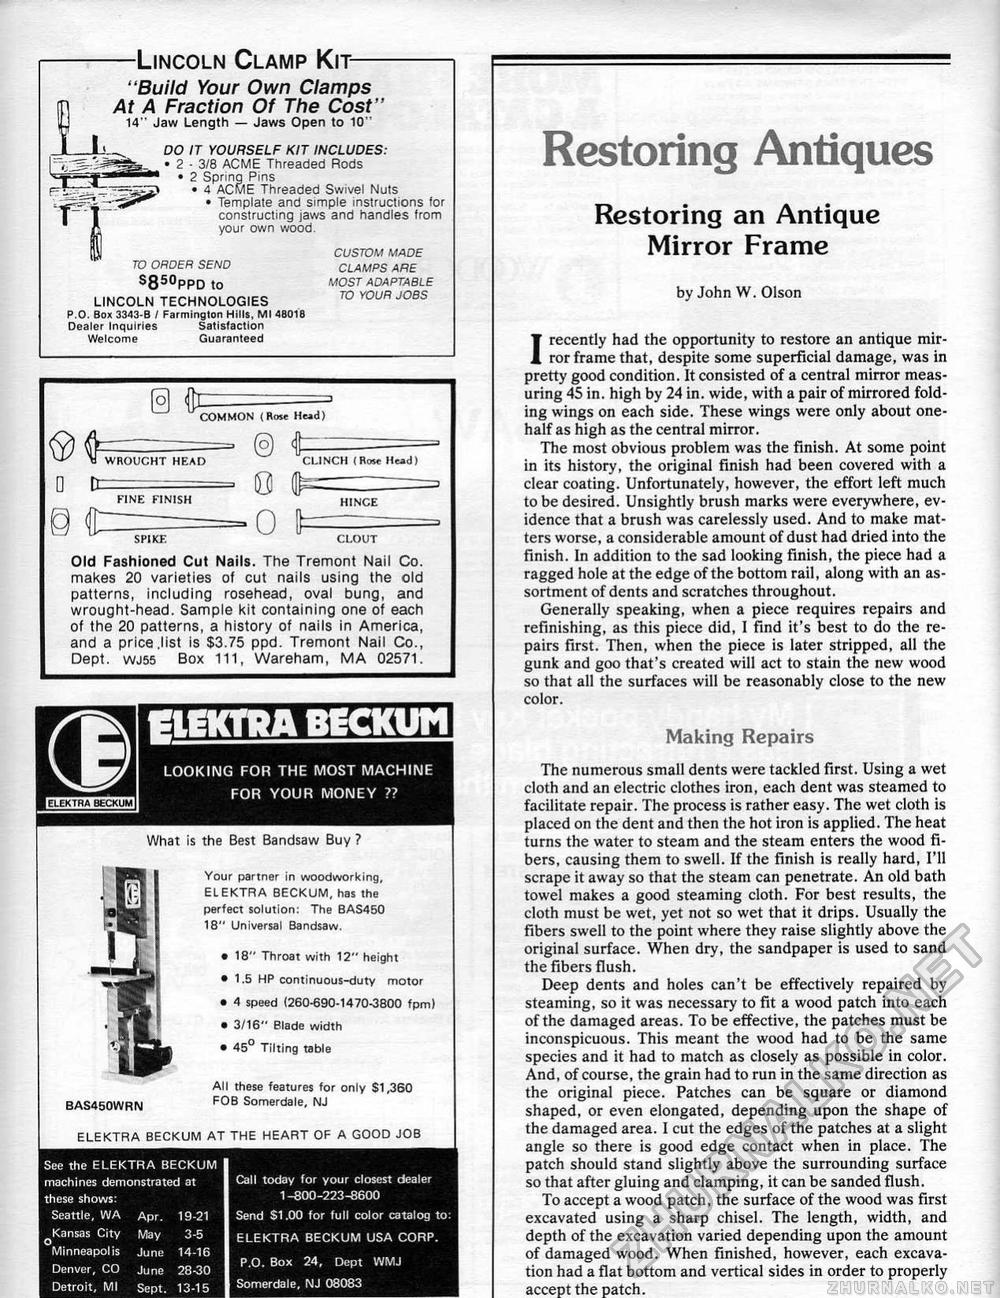
-Lincoln Clamp Kit- "Build Your Own Clamps At A Fraction Of The Cost" 14" Jaw Length — Jaws Open to 10" DO IT YOURSELF KIT INCLUDES: • 2-3/8 ACME Threaded Rods • 2 Sprinq Pins » 4 ACME Threaded Swivel Nuts • Template and simple instructions tor constructing jaws and handles from your own wood. TO ORDER SEND s850ppd to LINCOLN TECHNOLOGIES P.O. Bo* 3343-b / Farminglon Hills, Ml 4B01B Dealer Inquiries Satisfaction Welcome Guaranteed CUSTOM MADE CLAMPS ARE MOST ADAPTABLE TO YOUR JOBS WROUGHT HEAD COMMON (Bote Hud) © te CLINCH (Rest llud) = 0 fs= @ r~z—-o \= KINE FINISH HINCE SPIKE CLOUT Old Fashioned Cut Nails. The Trernont Nail Co. makes 20 varieties of cut nails using the old patterns, including rosehead, oval bung, and wrought-head. Sample kit containing one of each of the 20 patterns, a history of nails in America, and a price .list is $3,75 ppd. Trernont Nail Co., Dept. WJS5 Box 111, Wareham, MA 02571. looking for the most machine for vour money ?? What Is the Best Bandsaw Buy ? Your partner in woodworking, ELEKTRA BECKUM, has the perfect solution: The BAS450 18" Universal Bandsaw. • 18" Throat with 12" height • 1.5 HP continuous-duty motor • 4 speed (260-690-1470-3800 fpml • 3/16" Blade width • 45° Tilting table All these features for only $1,360 BAS450WRN F0B Somerdale, NJ ELEKTRA BECKUM AT THE HEART OF A GOOD JOB Restoring AntiquesRestoring an Antique Mirror Frame by John W.Olson I recently had the opportunity to restore an antique mirror frame that, despite some superficial damage, was in pretty good condition. It consisted of a central mirror measuring 45 in. high by 24 in. wide, with a pair of mirrored folding wings on each side. These wings were only about one-half as high as the central mirror. The most obvious problem was the finish. At some point in its history, the original finish had been covered with a clear coating. Unfortunately, however, the effort left much to be desired. Unsightly brush marks were everywhere, evidence that a brush was carelessly used. And to make matters worse, a considerable amount of dust had dried into the finish. In addition to the sad looking finish, the piece had a ragged hole at the edge of the bottom rail, along with an assortment of dents and scratches throughout. Generally speaking, when a piece requires repairs and reftnishing, as this piece did, I find it's best to do the repairs first. Then, when the piece is later stripped, all the gunk and goo that's created will act to stain the new wood so that all the surfaces will be reasonably close to the new color. Making Repairs The numerous small dents were tackled first. Using a wet cloth and an electric clothes iron, each dent was steamed to facilitate repair. The process is rather easy. The wet cloth is placed on the dent and then the hot iron is applied. The heat turns the water to steam and the steam enters the wood fibers, causing them to swell. If the finish is really hard, I'll scrape it away so that the steam can penetrate. An old bath towel makes a good steaming cloth. For best results, the cloth must be wet, yet not so wet that it drips. Usually the fibers swell to the point where they raise slightly above the original surface. When dry, the sandpaper is used to sand the fibers flush. Deep dents and holes can't be effectively repaired by steaming, so it was necessary to fit a wood patch into each of the damaged areas. To be effective, the patches must be inconspicuous. This meant the wood had to be the same species and it had to match as closely as possible in color. And, of course, the grain had to run in the same direction as the original piece. Patches can be square or diamond shaped, or even elongated, depending upon the shape of the damaged area. I cut the edges of the patches at a slight angle so there is good edge contact when in place. The patch should stand slightly above the surrounding surface so that after gluing and clamping, it can be sanded flush. To accept a wood patch, the surface of the wood was first excavated using a sharp chisel. The length, width, and depth of the excavation varied depending upon the amount of damaged wood. When finished, however, each excavation had a flat bottom and vertical sides in order to properly accept the patch. See the ELEKTRA BECKUM machines demonstrated at these shows: Seattle, WA Apr. 19-21 Kansas City May 3-5 o Minneapolis June 14-16 Denver, CO June 28-30 Detroit, Mi Sept. 13-15 Call today for your closest dealer 1-800-223-8600 Send $1.00 for full color catalog to: ELEKTRA BECKUM USA CORP. P.O. Box 24, Dept WMJ Somerdale, NJ 08083 |


