Woodworker's Journal 1992-16-5, страница 27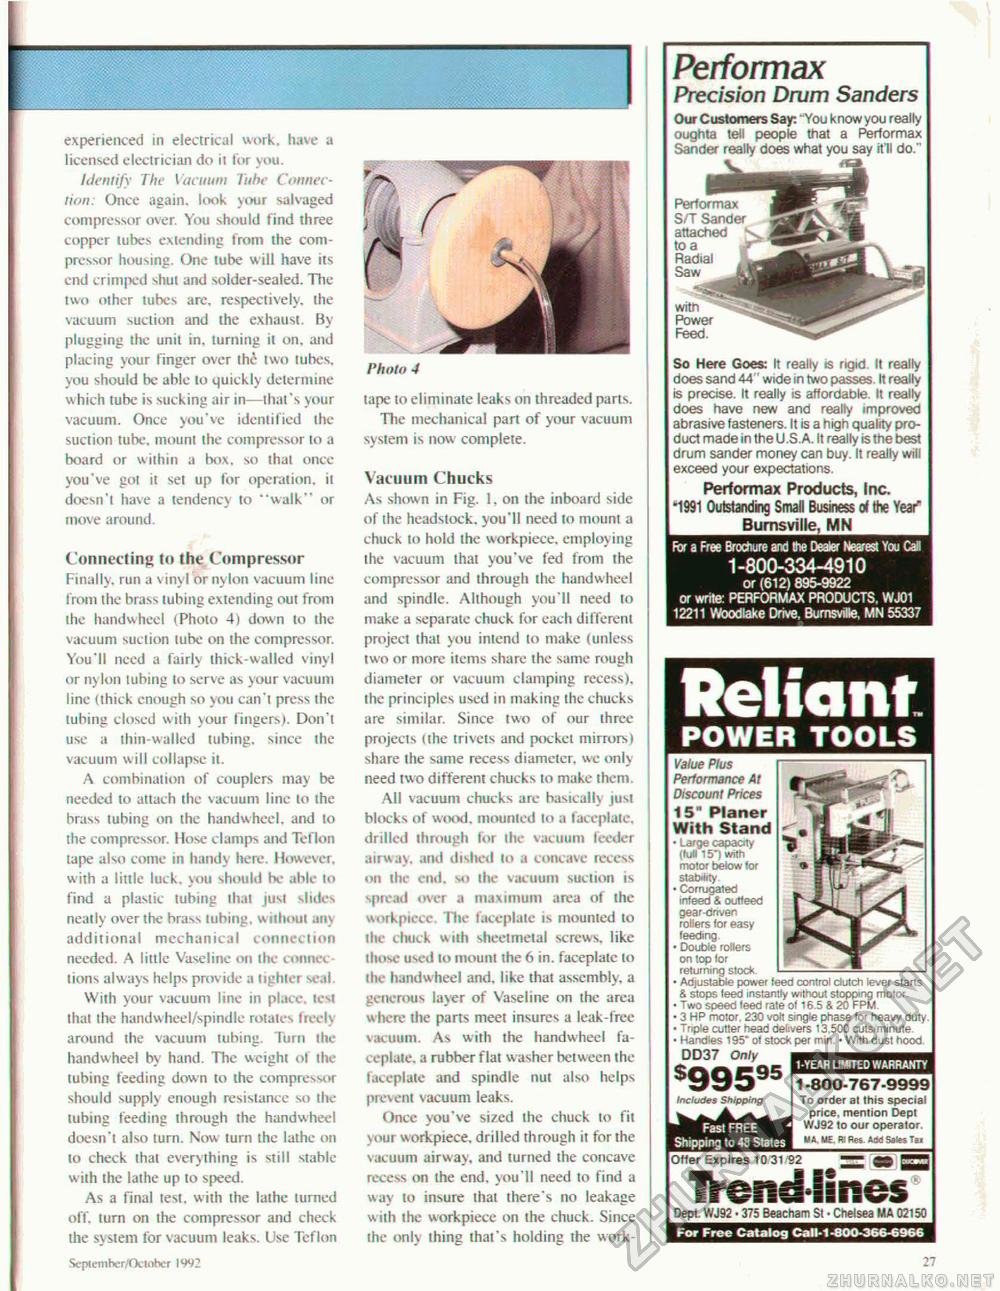
experienced in electrical work, have a licensed electrician do it for you. Identify The Vacuum Tube Connection: Once again, look your salvaged compressor over. You should find three copper tubes extending from the compressor housing. One tube will have its end crimped shut and solder-sealed. The two other lubes are, respectively, the vacuum suction and the exhaust. By plugging the unit in. turning it on. and placing your finger over ihe two tubes, you should be able to quickly determine which tube is sucking air in—that's your vacuum. Once you've identified the suction tube, mount the compressor to a board or within a box, so thai once you've got it set up for operation, it doesn't have a tendency to "walk" or move around. Connecting to the Compressor Finally, run a vinyl or nylon vacuum line from the brass tubing extending out from the handwheel (Photo 4) down to the vacuum suction tube on the compressor. You'll need a fairly thick-walled vinyl or nylon tubing to serve as your vacuum line (thick enough so you can't press the tubing closed with your fingers). Don't use a thin-walled tubing, since the vacuum will collapse it. A combination of couplers may be needed to attach the vacuum line to the brass tubing on the handwheel. and lo the compressor. Hose clamps and Teflon tape also come in handy here. However, with a little luck, you should be able lo find a plastic tubing that just slides neatly over the brass lubing, w ithout any additional mcchanical connection needed. A little Vaseline on the connections always helps provide a lighter seal. With your vacuum line in place, test that the liandwheel/spindle rotates freely around the vacuum tubing. Turn the handwheel by hand. The weight of the tubing feeding down to the compressor should supply enough resistance so the lubing feeding through the handwheel doesn't also turn. Now turn the lathe on to check that everything is still stable with the lathe up to speed. As a final test, with the lathe turned off. turn on the compressor and check the system for vacuum leaks. Use Teflon Seplemher/Oclober 1V42 Photo 4 tape to eliminate teaks on threaded parts. The mechanical part of your vacuum system is now complete. Vacuum Chucks As shown in Fig. 1. on the inboard side of the headstock, you'll need to mount a chuck to hold the workpiece, employing the vacuum that you've fed from the compressor and through the handwheel and spindle. Although you'll need lo make a separate chuck for each different project that you intend to make (unless two or more items share the same rough diameter or vacuum clamping recess), the principles used in making the chucks are similar. Since two of our three projects (the trivets and pocket mirrors) share the same recess diameter, we only need two different chucks to make them. AH vacuum chucks are basically just blocks of wrxxl. mounted to a faceplate, drilled through for the vacuum feeder airway, and dished to a concave recess on the end. so the vacuum suction is spread over a maximum area of the workpiece. The faceplate is mounted lo ihe chuck with sheet metal screws, like those used to mount the 6 in. faceplate to ihe handwheel and. like that assembly, a generous layer of Vaseline on the area where the parts meet insures a leak-free vacuum. As with the handwheel faceplate. a rubber flat washer between the faceplate and spindle nut also helps prevent vacuum leaks. Once you've sized the chuck to fit your workpiece. drilled through it for the vacuum airway, and turned the concave recess on the end. you'll need to find a way to insure that there's no leakage with the workpiece on the chuck. Since the only thing that's holding the work- Performax Precision Drum Sanders So Here Goes: It really is rigid It really does sand 44 wide in two passes. It really is precise. It really is affordable. It really does have new and really improved abrasive fasteners. It is a high quality product made in the U ,S .A. It realty is the best drum sander money can buy. It really will exceed your expectations. Performax Products, Inc. '1991 Outstanding Small Business of the Year _Bumsville, MN_ Value Plus Performance At Discount Prices 15" Planer With Stand • large capacity (tun 15") with motor below tor stability. ■ Corrugated rnfeed & outfeeO gear-driven rollers lor easy feeding • Double rollers on top lor returning slock • Adjustable power feed control clutch lever starts & stops teed instantly without stopping motor • Two speed feed rate of 16.5 & 20 FPW ■ 3 HP motor. 230 volt single phase for heavy duty. • Triple cutter head delivers 13.500 cuts/minute • Handles 195* ol stock per min. • With dust hood
27 Our Customers Say: "You know you really oughta tell people ttiat a Performax Sander really does what you say it'll do.' Performax S/T Sander attached tos Radial Saw with Power Feed, |
||||||||||||||


