Woodworker's Journal 1993-17-4, страница 40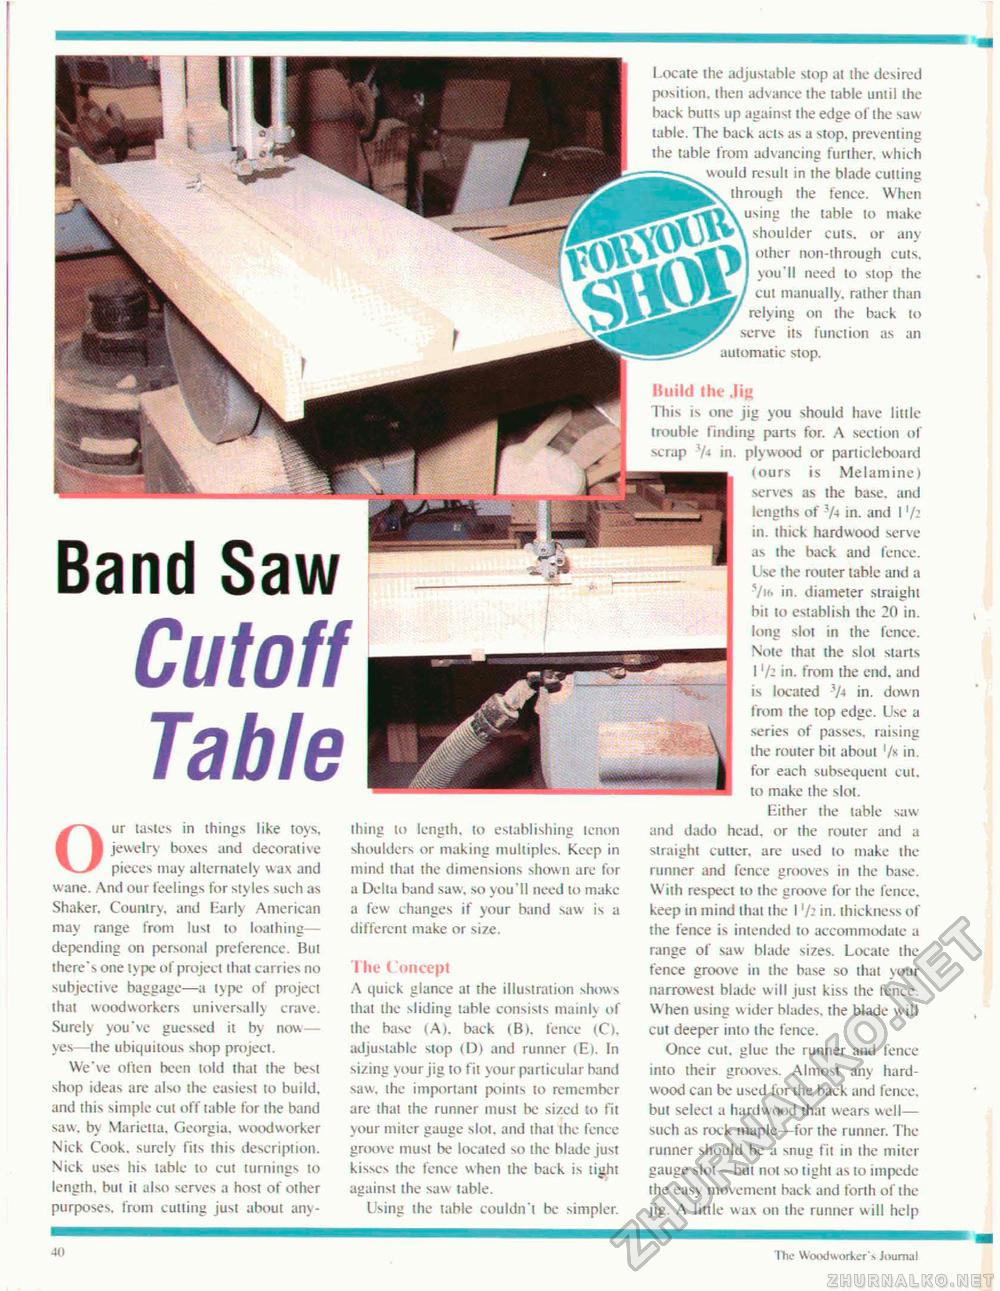
Locate the adjustable stop at the desired position, then advance the table until the back butts up against the edge oi" the saw table. I he back acts as a stop, preventing the table from advancing further, which would result in the blade cutting through the fence. When using the table to make shoulder cuts, or any other non-through cuts, you'll need to stop the cut manually, rather than relying on the back to serve its function as an automatic stop. Band Saw Cutoff Table Our tastes in things like toys, jewelry boxes and decorative pieces may alternately wax and wane. And our feelings for styles such as Shaker. Country, and Early American may range from lusi to loathing— depending on personal preference. But there's one type of project that carries no subjective baggage—a type of project that woodworkers universally crave. Surely you've guessed it by now — yes—the ubiquitous shop project. We've often been told that the best shop ideas are also the easiest to build, and this simple cut off table for the band saw. by Marietta, Georgia, woodworker Nick Cook, surely fits this description. Nick uses his table to cut turnings to length, but it also serves a host of other purposes, from cutting just about any thing to length, to establishing tenon shoulders or making multiples. Keep in mind that the dimensions shown are for a Delta band saw. so you'll need to make a few changes if your band saw is a different make or size. I he Concept A quick glance at the illustration shows that the sliding table consists mainly of the base (A), back (B>. fence (C>, adjustable stop (D) and runner (E). In sizing your jig lo fit your particular band saw, the important points to remember arc lhat the runner must be sized to fit your miter gauge slot, and that the fence groove must be located so the blade just kisses the fence when the back is tight against the saw table. Using the table couldn't be simpler. Build the Jig This is one jig you should have little trouble finding parts for. A section of scrap 7« in. plywood or particleboard (ours is Melamine) serves as the base, and lengths of 3A in. and 17: in. thick hardwood serve as the back and fence. Use the router table and a 7tr> in. diameter straight bit to establish the 20 in. long slot in the fence. Note lhat the slot starts I in. from ihe end. and is located -7* in. down from the top edge. Use a series of passes, raising the router bit about '/* in. for each subsequent cut, to make the slot. Either the table saw and dado head, or the rouier and a straight cutter, are used to make the runner and fence grooves in the base. With respect to the groove for the fence, keep in mind that the I 7: in. ihickness of the fence is intended to accommodate a range of saw blade sizes. Locate the fence groove in the base so thai your narrowest blade will just kiss the fence. When using w ider blades, the blade will cut deeper into the fence. Once cut, glue the runner and fence into their grooves. Almost any hardwood can be used for the back and fence, but select a hardwood thai wears well— such as rock maple—for the runner. The runner should be a snug fit in the miter gauge slot—but not so tight as to impede the easy movement back and forth of the jig. A little wax on the runner will help t(l The Woodworker's Journal |


