Woodworker's Journal 1994-18-1, страница 31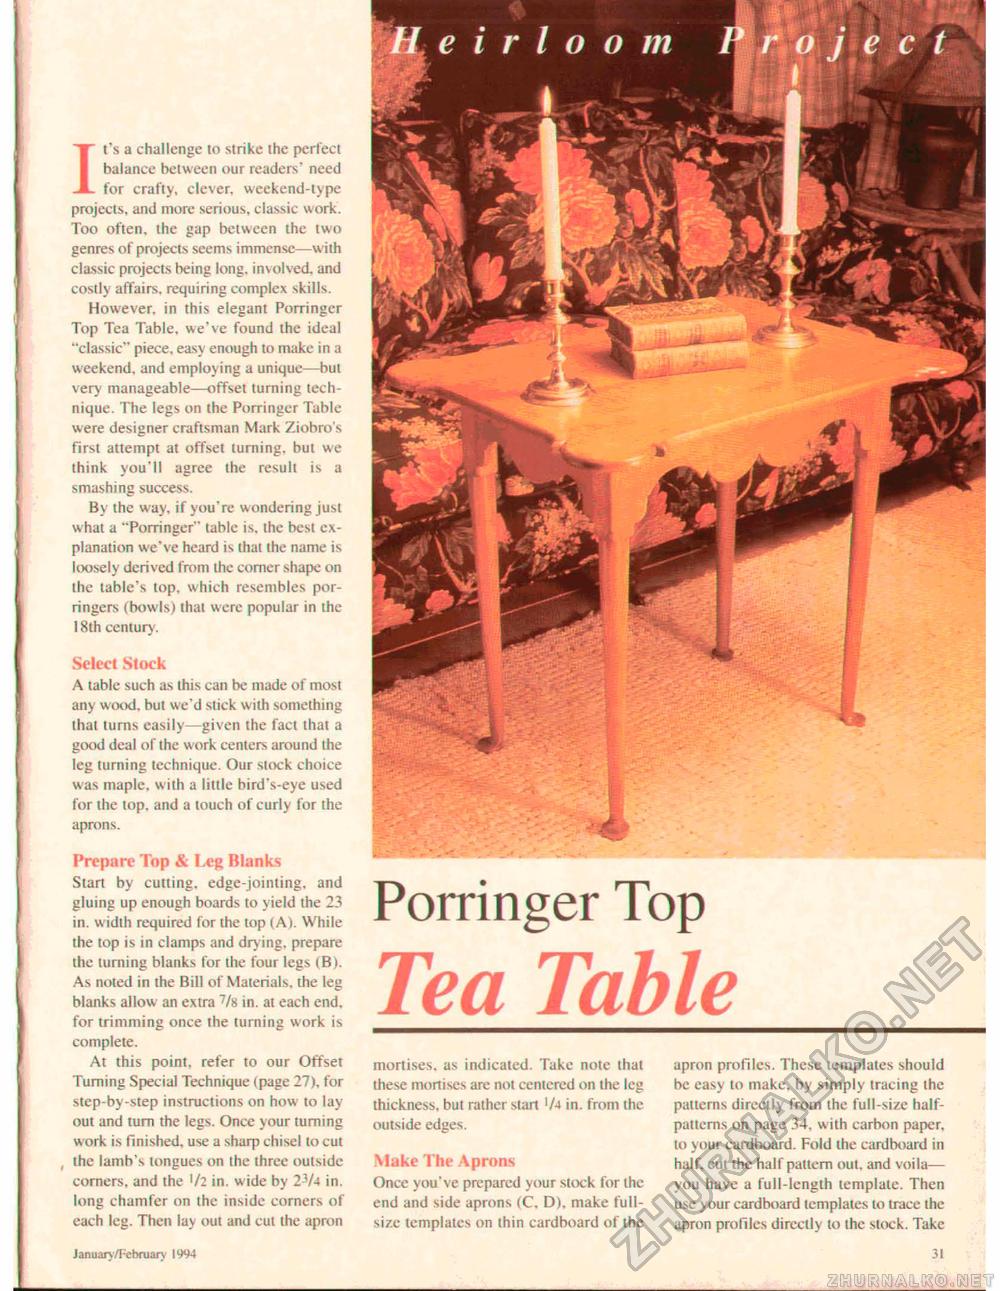
It's a challenge to strike the perfect balance between our readers' need for crafty, clever, weekend-type projects, and more serious, classic work. Too often, the gap between the two genres of projects seems immense—with classic projects being long, involved, and costly affairs, requiring complex skills. However, in this elegant Porringer Top Tea Table, we've found the ideal "classic" piece, easy enough to make in a weekend, and employing a unique—but very manageable—offset turning technique. The legs on the Porringer Table were designer craftsman Mark Ziobro's First attempt at offset turning, but we think you'll agree the result is a smashing success. By the way, if you're wondering just w hat a "Porringer" table is. the best explanation we've heard is that the name is loosely derived from the comer shape on the table's top, which resembles porringers (bowls) that were popular in the 18th century. Select Stock A table such as this can be made of most any wood, but we'd slick with something that turns easily—given the faci that a good deal of the work centers around the leg turning technique. Our stock choice was maple, with a little bird's-eye used for ihe top. and a touch of curly for the aprons. Prepare Top & Leg Blanks Start by cutting, edge-jointing, and gluing up enough boards to yield the 23 in. width required for the top (A). While the top is in clamps and dry ing, prepare the turning blanks for the four legs (B). As noted in the Bill of Materials, the leg blanks allow an extra 7/» in. at each end. for trimming once the turning work is complete. At this point, refer to our Offset Turning Special Technique (page 27), for step-by-step instructions on how to lay out and turn the legs. Once your turning work is finished, use a sharp chisel to cut the lamb's tongues on the three outside corners, and the '/2 in. wide by 2-V4 in. long chamfer on the inside corners of each leg. Then lay out and cut the apron Porringer Top Tea Tablemortises, as indicated. Take note that these mortises are not centered on the leg thickness, but rather start '/4 in. from the outside edges. Make The Aprons Once you've prepared your stock for the end and side aprons (C. D), make full-size templates on thin cardboard of the apron profiles. These templates should be easy to make, by simply tracing the patterns directly from the full-size half-patterns on page 34. with carbon paper, to your cardboard. Fold the cardboard in half, cut the half pattern out, and voila— you have a full-length template. Then use your cardboard templates to trace the apron profiles directly to the stock. Take January/February 1994 31 |


