Woodworker's Journal 1994-18-2, страница 45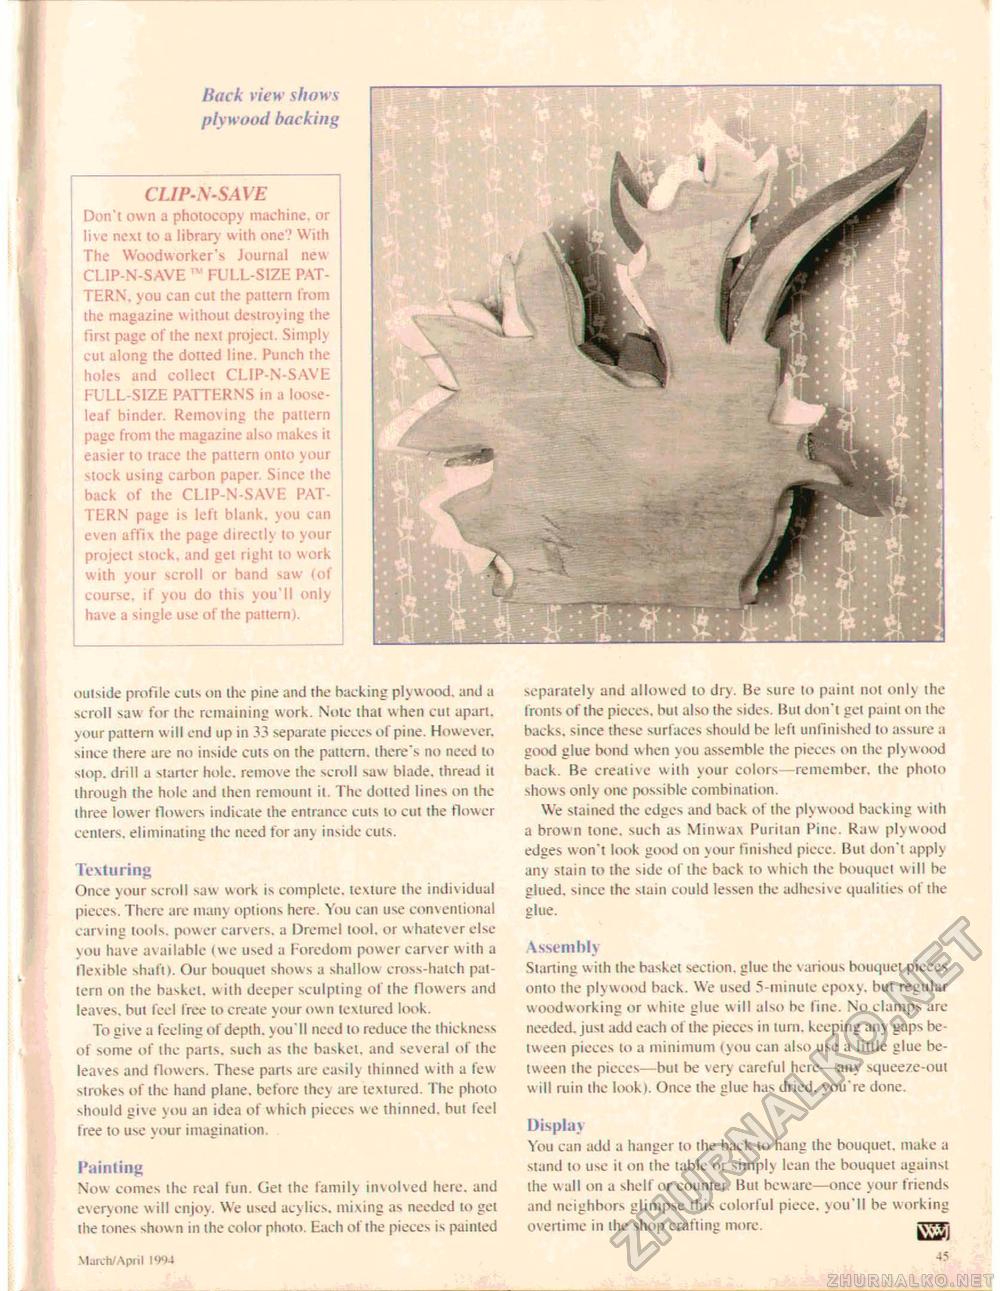
CUP-N-SAVE Don't own a photocopy machine, or live next to a library with one? With The Woodworker's Journal new CUP-N-SAVE ™ FULL-SIZE PATTERN, you can cut the pattern from the maga/ine without destroying the first page of the next project. Simply cut along the dotted line. Punch the holes and collect CLIP-N-SAVE FULL-SIZE PATTERNS in a loose-leaf binder. Removing the pattern page from the magazine also makes it easier to trace the pattern onto your stock using carbon paper. Since the back of the CLIP-N-SAVE PATTERN page is left blank, you can even affix the page directly to your project stock, and get right to work with your scroll or band saw (of course, if you do this you'll only have a single use of the pattern). Hack view shows plywood backing outside profile cuts on the pine and the backing ply wood, and a scroll saw for the remaining work. Note that when cut apart, your pattern will end up in 33 separate pieces of pine. However, since there are no inside cuts on the pattern, there's no need to stop, drill a starter hole, remove the scroll saw blade, thread it through the hole and then remount it. The dotted lines on the three lower flowers indicate the entrance cuts to cut the flower centers, eliminating the need for any inside cuts. Texturing Once your stroll saw work is complete, texture the indiv idual pieces. There arc many options here. You can use conventional carving tools, power carvers, a Drcmel tool, or whatever else you have available (we used a Foredom power carver w ith a flexible shaft). Our bouquet shows a shallow cross-hatch pattern on the basket, w ith deeper sculpting of the flowers and leaves, but feel free to create your own textured look. To give a feeling of depth, you'll need to reduce the thickness of some of the parts, such as the basket, and several of the leaves and flowers. These parts are easily thinned with a few strokes of the hand plane, before they are textured. The photo should give you an idea of w hich pieces we thinned, but feel free to use your imagination. Painting Now comes the real fun. Get the family involved here, and everyone will enjoy. We used acylics. mixing as needed to get the tones show n in the color photo. Each of ihe pieces is painted March/ April 1994 separately and allowed to dry. Be sure to paint not only the fronts of the pieces, but also the sides. But don't get paint on the backs, since these surfaces should he left unfinished to assure a good glue bond when you assemble the pieces on the plywood back. Be creative with your colors—remember, the photo shows only one possible combination. We stained the edges and back of the plywood backing with a brown tone, such as Minwax Puritan Pine. Raw plywood edges won't look gtn>d on your finished piece. But don't apply any stain to the side of the back to w hich the bouquet w ill be glued, since the stain could lessen the adhesive qualities of the glue. Assembly Starting with the basket section, glue the various bouquet pieces onto the plywood back. We used 5-minule epoxy, but regular woodworking or white glue w ill also he fine. No clamps arc needed, just add each of the pieccs in turn, keeping any gaps between pieces to a minimum (you can also use a little glue between the pieces—but be very careful here—any squeeze-out will ruin the look). Once the clue has dried, you're done. I) is play You can add a hanger to the back to hang ihe bouquet, make a stand to use it on the table or simply lean the bouquet against the wall on a shelf or counter. But beware—once your friends and neighhors glimpse this colorful piece, you'll be working overtime in the shop crafting more. KvS'l 45 |


