Woodworker's Journal 1994-18-2, страница 46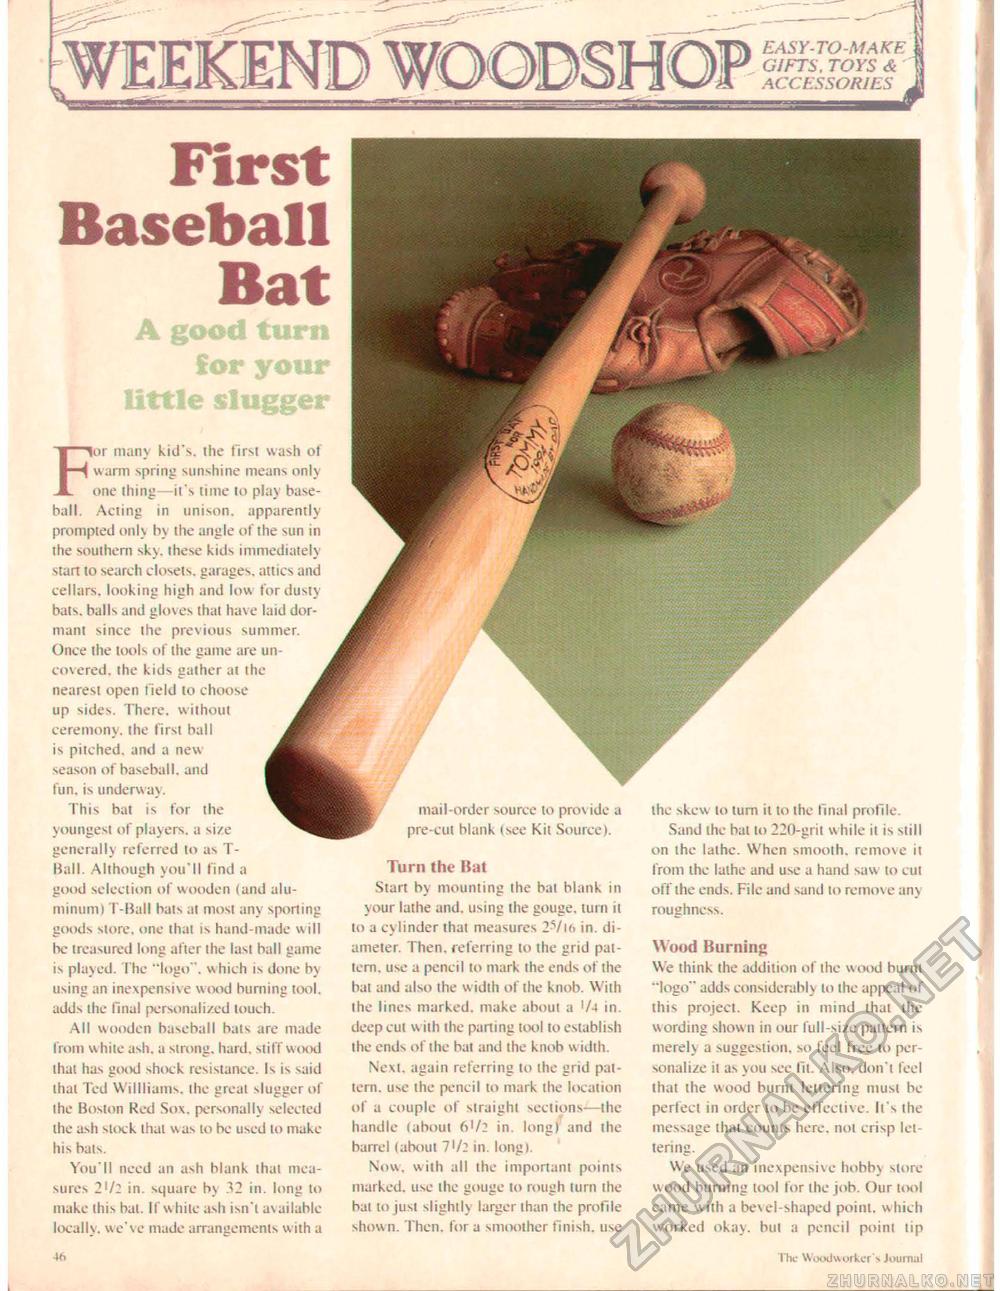
EASY-TO-MAKE GIFTS, TOYS A ACCESSORIES First Baseball Bat For many kid's, ihe first wash of warm spring sunshine means only one thing—it's time to play baseball. Acting in unison, apparently prompted only by the angle of the sun in the southern skv. these kids immediately stan to search closets, garages, attics and cellars, looking high and low for dusty bats, balls and gloves that have laid dormant since the previous summer. Once the tools of the game are uncovered. ihe kids gather at the nearest open field to choose up sides. There, without ceremony, the first ball is pitched, and a new season of baseball, and fun. is underway. This bat is for the youngest of players, a size generally referred to as T-Ball. Although you'll find a good selection of wooden (and aluminum I I -Ball bais at most any sporting goods store, one that is hand-made w ill be treasured long after ihe lasi ball game is played. The "logo", which is done by using an inexpensive wood burning tool, adds the final personalized touch. All wooden baseball bats are made from while ash. a sirong. hard, stiff wood thai has good shock resistance. Is is said that Ted Willliams, ihe greal slugger of the Boston Red Sox. personally selected the ash slock thai was to be used to make his bals, You'll need an ash blank thai measures 2'/2 in. square by 32 in. long to make ihis bai. If w hile ash isn't available locally, we've made arrangements with a the skew to turn it to the final profile. Sand ihe bat to 220-gril while it is still on the lathe. When smooth, remove it from the lathe and use a hand saw to cul off the ends. File and sand to remove any roughness. Wood Burning We think the addition of the wood burnt "logo" adds considerably to ihe appeal of this project. Keep in mind thai the wording shown in our full-size pattern is merely a suggestion, so feel free to personalize il as you see lii. Also, don't feel thai the wood burnt lettering must be perfect in order to be effective. It's the message that counts here, not crisp let -tering. We used an inexpensive hobby store w ood burning tool for the job. Our tool came wiih a bevel-shaped point, which worked okay, bul a pencil point tip mail-order source to prov ide a pre-cui blank (see Kit Source). Turn the Bat Start by mounting the bai blank in your lathe and. using the gouge, turn it to a cylinder ihat measures 2Vl6 in. diameter. Then, referring to the grid pattern. use a pencil to mark the ends of the bat and also the w idlh of the knob. With ihe lines marked, make about a '/-» in. deep cul w ith the parting tool to establish the ends of the bat and the knob width. Next, again referring to the grid pal-tern. use the pencil to mark the location of a couple of straight sections—the handle (about 6'/2 in. long) and the barrel (about 71/: in, long), Now, with all the important points marked, use the gouge to rough turn the bai to jusi slighily larger than ihe profile shown. Then, for a smoother finish, use 46 ilk- Woodworker's Journ.il |


