Woodworker's Journal 2001-25-1, страница 34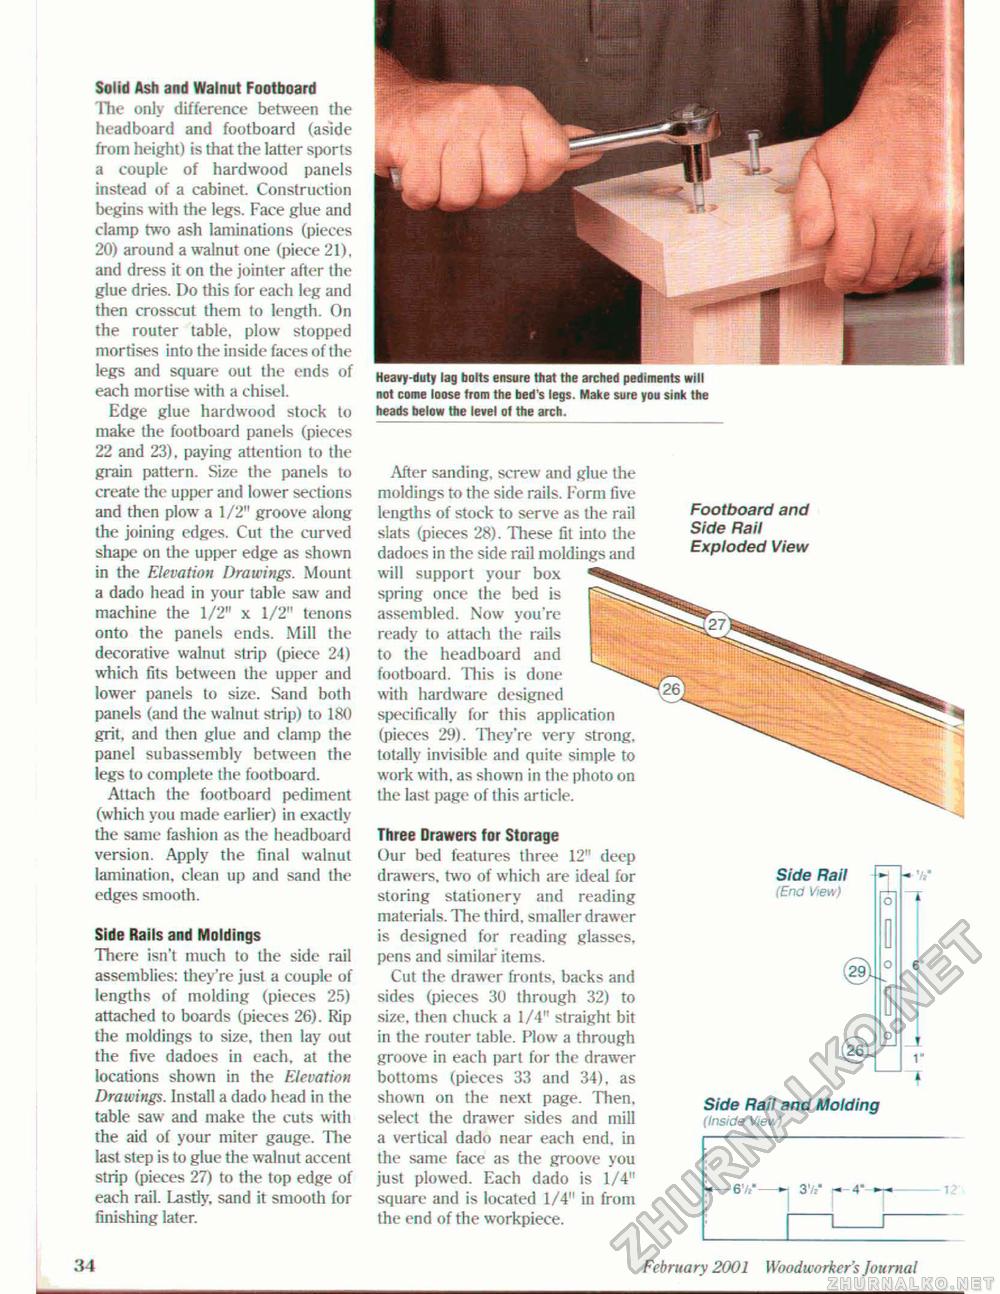
Solid Ash and Walnut Footboard 'Hie only difference between the headboard and footboard (aside from height) is that the latter sports a couple of hardwood panels instead of a cabinet. Construction begins with the legs. Face glue and clamp two ash laminations (pieces 20) around a walnut one (piece 21), and dress it on the jointer after the glue dries. Do this for each leg and then crosscut them to length. On the router table, plow stopped mortises inlo the inside faces of the legs and square out the ends of each mortise with a chisel. Edge glue hardwood stock to make the footboard panels (pieces 22 and 23). paying attention to the grain pattern. Size the panels to create the upper and lower sections and then plow a 1/2'' groove along the joining edges. Cut the curved shape on the upper edge as shown in the Elevation Drawings. Mount a dado head in your table saw and machine the 1/2" x 1/2" tenons onto the panels ends. Mill the decorative walnut strip (piece 24) which fits between the upper and lower panels lo size. Sand both panels (and the walnut strip) to 180 gril, and then glue and clamp the panel subassembly between the legs lo complete the footboard. Attach the footboard pediment (which you made earlier) in exactly the same fashion as the headboard version. Apply the final walnut lamination, clean up and sand the edges smooth. Side Rails and Moldings There isn't much to the side rail assemblies: they're just a couple of lengths of molding (pieces 25) attached to boards (pieces 26). Rip the moldings to size, then lay out the five dadoes in each, at the locations shown in the Elevation Drawings. Install a dado head in the table saw and make the cuts with the aid of your miter gauge. Hie last step is to glue the walnut accent strip (pieces 27) to the top edge of each rail. Lastly, sand it smooth for finishing later. Heavy-duty lag bolts ensure that the arched pediments will not come loose tram the bed's legs. Make sure you sink the heads below the level ot the arch. Three Drawers for Storage Our bed features three 12" deep drawers, two of which are ideal for storing stationery and reading materials. The third, smaller drawer is designed for reading glasses, pens and similar items. Cut the drawer fronts, backs and sides (pieces 30 through 32) to size, then chuck a 1/4" slraight bit in the router table. Plow a through groove in each part for the drawer bottoms (pieces 33 and 34), as shown on the next page. Then, select the drawer sides and mill a vertical dado near each end, in the same face as the groove you just plowed. Each dado is 1/4" square and is located 1/4" in from the end of the workpiece. Side Rail (End View) 1 Side Rail and Molding (Inside View) - V 6' 1" Side Rail and Molding (Inside View)
After sanding, screw and glue the moldings to the side rails. Form live lengths of stock to serve as the rail slats (pieces 28). These fit into the dadoes in the side rail moldings and will support your box spring once Ihe bed is assembled. Now you're ready to attach the rails to the headboard and footboard. This is done with hardware designed specifically for this application (pieces 29). They're very strong, totally invisible and quite simple to work with, as shown in the photo on the last page of this article. Footboard and Side Rail Exploded View 34 February 2001 Wood wo rker's Jo u mat |
||||||


