Woodworker's Journal 2001-25-1, страница 43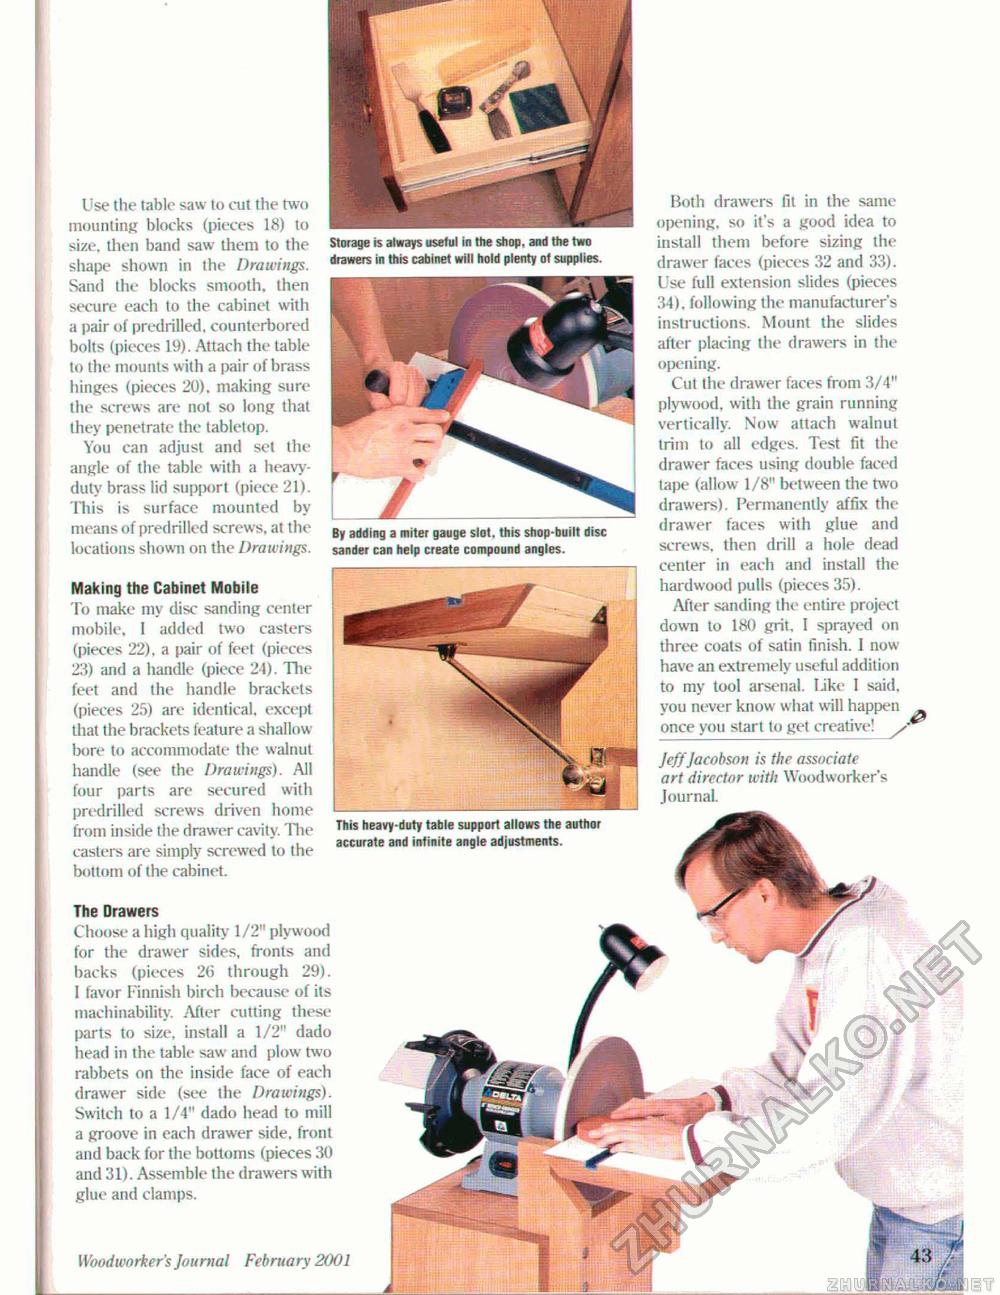
Use the table saw to out the two mounting blocks (pieces 18) to size, then band saw them to the shape shown in the Drawings. Sand the blocks smooth, then secure each to the cabinet with a pair of predrilled, counterbored bolts (pieces 19). Attach the table to the mounts with a pair of brass hinges (pieces 20). making sure the screws are not so long that they penetrate the tabletop. You can adjust and set the angle of the table with a heavy-duty brass lid support (piece 21). This is surface mounted by means of predrilled screws, at the locations shown on the Drawings. Making the Cabinet Mobile To make my disc sanding center mobile, 1 added two casters (pieces 22), a pair of feet (pieces 23) and a handle (piece 24). The feet and the handle brackets (pieces 25) are identical, except that the brackets feature a shallow bore to accommodate the walnut handle (see the Drawings). All four parts are secured with predrilled screws driven home from inside the drawer cavity. The casters are simply screwed to the bottom of the cabinet. Storage is always useful in the shop, and the two drawers in this cabinet will hold plenty of supplies. By adding a miter gauge slot, this shop-built disc sander can help create compound angles. Both drawers fit in the same opening, so it's a good idea to install them before sizing the drawer faces (pieces 32 and 33). Use full extension slides (pieces 34), following the manufacturer's instructions. Mount the slides after placing the drawers in the opening. Cut the drawer faces from 3/4" plywood, with the grain running vertically. Now attach walnut trim to all edges. Test fit the drawer faces using double faced tape (allow 1/8" between the two drawers). Permanently affix the drawer faces with glue and screws, then drill a hole dead center in each and install the hardwood pulls (pieces 35). After sanding the entire project down to 180 grit, I sprayed on three coats of satin finish. I now have an extremely useful addition to my tool arsenal. Like I said, you never know w hat will happen once you start to get creative! / JeffJacobson is the associate art director with Woodworker's Journal. This heavy-duty table support allows the accurate and infinite angle adjustments. The Drawers Choose a high quality 1/2" plywood for the drawer sides, fronts and backs (pieces 26 through 29). I favor Finnish birch because of its machinabUity. After cutting these parts to size, install a 1/2" dado head in the table saw and plow two rabbets on the inside face of each drawer side (sit the Drawings). Switch to a 1/4" dado head to mill a groove in each drawer side, front and back for the bottoms (pieces 30 and 31). Assemble the drawers with glue and clamps. Woodworker's Journal February 2001 43 |


