Woodworker's Journal 2001-25-2, страница 41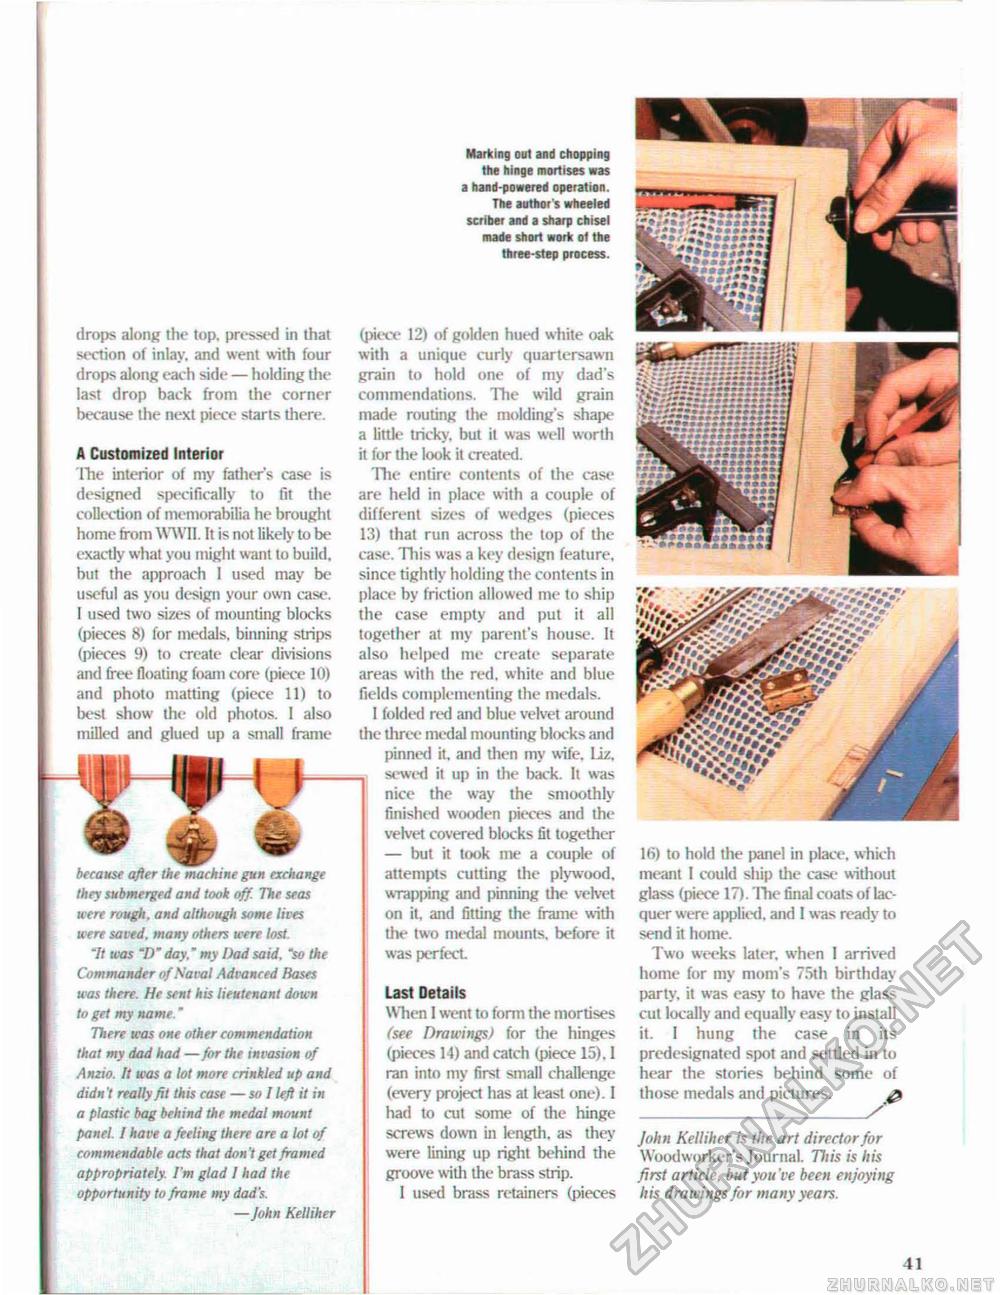
Marking out and chopping the hinge mortises was a hand-powered operation. The author's wheeled scriber and a sharp chisel made short work of the three-step process. drops along the top, pressed in that section of inlay, and went with four drops along each side — holding the last drop back from the corner because the next piece starts there. A Customized Interior the interior of my father's case is designed specifically to fit the collection of memorabilia he brought home from WWII. It is noi likely to be exactly what you might want to build, but the approach I used may be useful as you design your own case. I used two sbes of mounting blocks (pieces 8) for medals, binning strips (pieces 9) to create clear divisions and free floating foam core (piece 10) and photo matting (piece 11) to best show the old photos. I also milled and glued up a small frame (piece 12) of golden hued white oak with a unique curly quartersawn grain to hold one of my dad's commendations. The wild grain made routing the moldings shape a little tricky, but it was well worth it for the look it created. The entire contents of the case are held in place with a couple of different sizes of wedges (pieces 13) that run across the top of the case. This was a key design feature, since tightly holding the contents in place by friction allowed me to ship the case empty and put it all together at my parent's house. It also helped me create separate areas with the red, white and blue fields complementing the medals. I folded red and blue velvet around the three medal mounting blocks and pinned it. and then my wife. Liz. sewed it up in the back. It was nice the way the smoothly finished wooden pieces and the velvet covered blocks fit together — but it took me a couple of attempts cutting the plywood, wrapping and pinning the velvet on it, and fitting the frame with the two medal mounts, before it was perfect Last Details When I went to form the mortises (see Drawings) for the hinges (pieces 14) and catch (piece 15). I ran into my first small challenge (every project has at least one). I had to cut some of the hinge screws down in length, as they were lining up right behind the groove w ith the brass strip. I used brass retainers (pieces 16) to hold the |>anel in place, which meant I could ship the case without glass (piece 17). The final coats of lacquer were applied, and I was ready to send it home. Two weeks later, when 1 arrived home for my mom's 75th birthday party, it was easy to have the glass cut locally and equally easy to install it. I hung the case in its predesignated spot and settled in to hear the stories behind some of those medals and pictures. g John Kelliher is the art director for Woodworker's Journal. This is his first article, but you 've been enjoying his drawings for many years. because after the machine gun exchange they submerged and took off. The seas were rough, and although some lives were saved, many others were lost 'It was "D" day," my Dad said, "so the Commander of Naval Advanced Bases was there. He sent his lieutenant down to get my name.' There was one other commendation that my dad had — for the invasion of Amio. It was a lot more crinkled up and didn't really fit this case — sol left it in a plastic bag behind the medal mount panel 1 have a feeling there are a lot of commendable acts that don t get framed appropriately. I'm glad I had the opportunity to frame my dad's. —John Kelliher 41 |


