Woodworker's Journal 2001-25-2, страница 43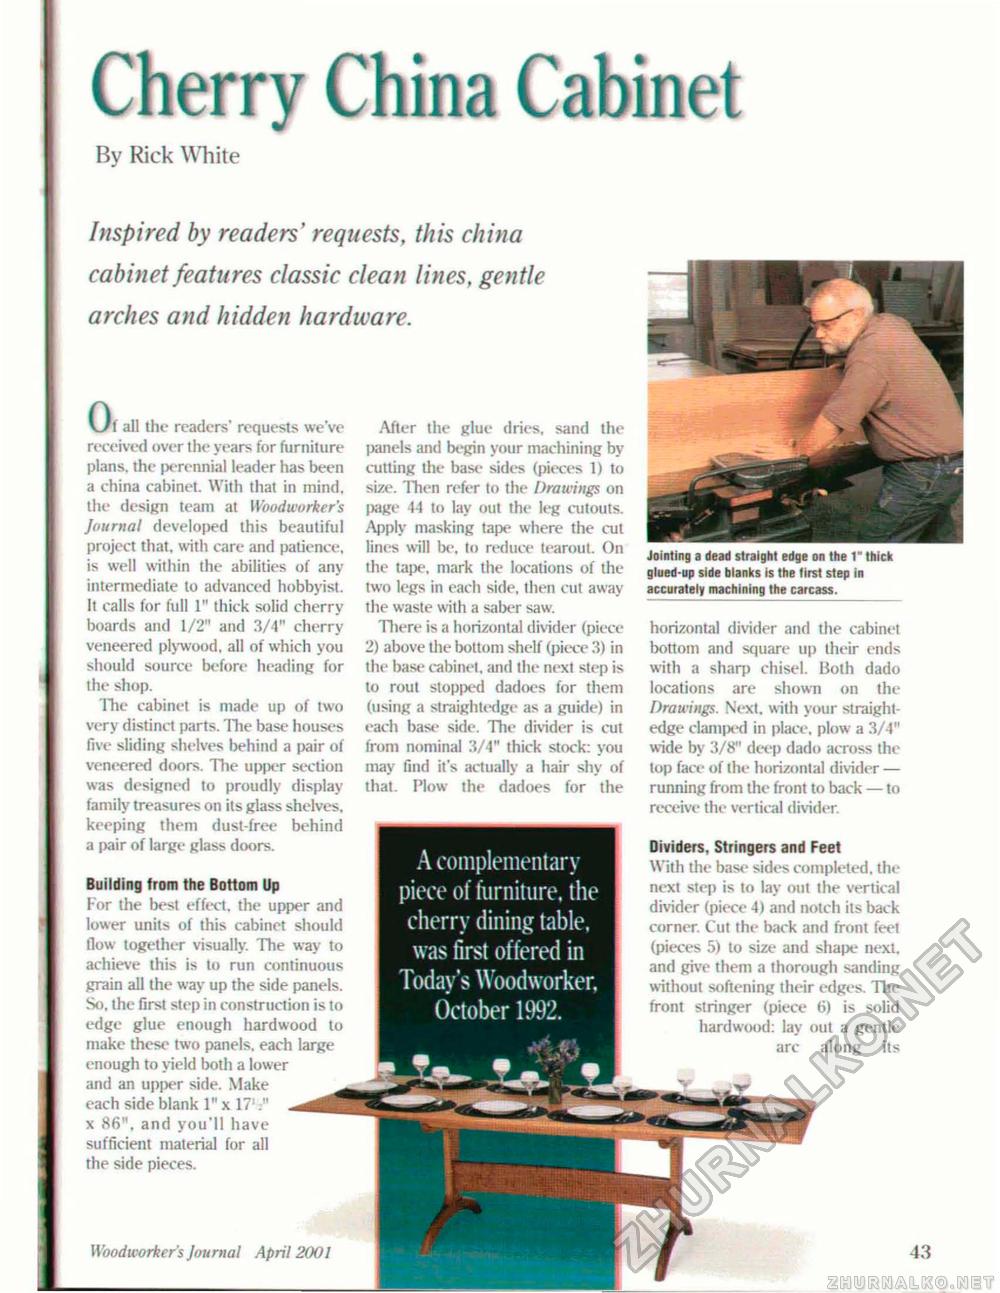
Cherry China CabinetBy Kick White A complementary piece of furniture, the cherry dining table, was first offered in Today's Woodworker. October 1992. Inspired by readers' requests. this china cabinet features classic clean lines, gentle arches and hidden hardware. Woodworker 's Journal April 2001 43 Of all the readers" requests we've received over the years for furniture plans, the perennial leader has been a china cabinet. With that in mind, the design team at Woodworker's Journal developed this beautiful project that, with care and patience, is welt within the abilities of any intermediate to advanced hobbyist It calls for full 1" thick solid cherry boards and 1/2" and 3/4" cherry veneered plywood, all of which you should source before heading for the shop. The cabinet is made up of two very distinct parts. The base houses five sliding shelves behind a pair of veneered doors. The upper section was designed to proudly display family treasures on its glass shelves, keeping them dust-free behind a pair of large glass doors. Building from the Bottom Up For the best effect, the upper and lower units of this cabinet should flow together visually. The way to achieve this is to run continuous grain all the way up the side panels. So, the first step in construction is to edge glue enough hardwood to make these two panels, each large enough to yield both a lower and an upper side. Make each side blank I" x 17'." x 86", and you'll have sufficient material for all the side pieces. After the glue dries, sand the panels and begin your machining by cutting the base sides (pieces 1) to size. Then refer to the Drawings on page 44 to lay out the leg cutouts. Apply masking tape where the cut lines will be. to reduce tearout. On the tape, mark the locations of the two legs in each side, then cut away the waste with a saber saw. There is a horizontal divider (piece 2) above the bottom shelf (piece 3) in the base cabinet, and the next step is to rout stopped dadoes for them (using a straightedge as a guide) in each base side. The divider is cut from nominal 3/4" thick stock: you may find it's actually a hair shy of that. Plow the dadoes for the Jointing a dead straight edge on the 1" thick glued-up side blanks is the first step in accurately machining the carcass. horizontal divider and the cabinet bottom and square up their ends with a sharp chisel. Both dado locations are shown on the Drawings. Next, with your straightedge clamped in place, plow a 3/4" wide by 3/8" deep dado across the top face of the horizontal divider — running from the front to back — to receive the vertical divider. Dividers. Stringers and Feet With the base sides completed, the next step is to lay out the vertical divider (piece 4) and notch its back corner. Cut the back and front feet (pieces 5) to shte and shape next, and give them a thorough sanding without softening their edges. The front stringer (piece 6) is solid hardwood: lay out a gentle arc along its |


