Woodworker's Journal 2002-26-3, страница 28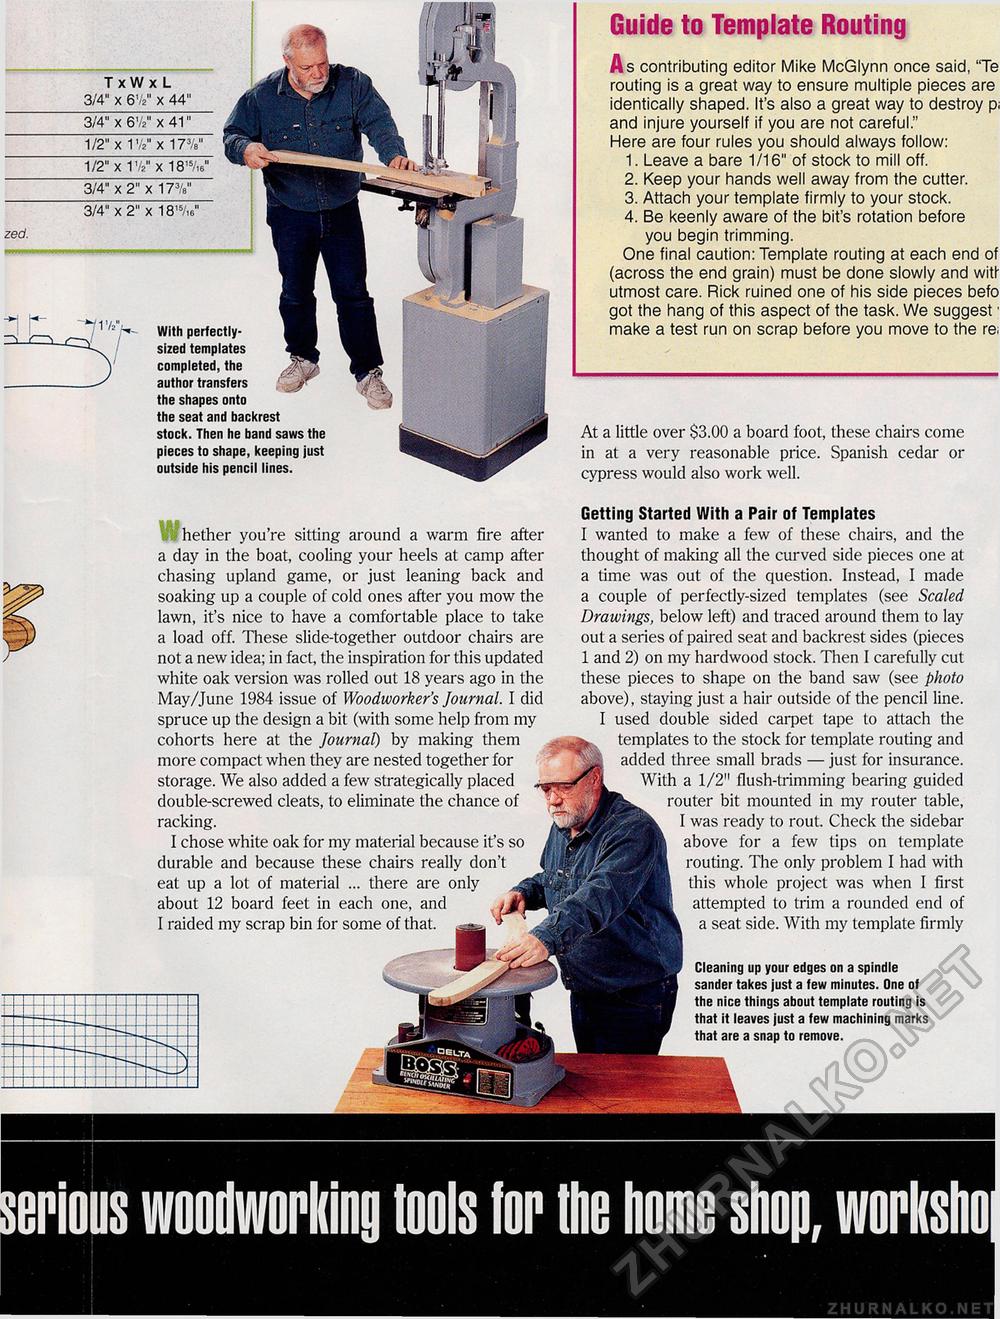
3/4" x 6V2" x 41" 1/2" x IVa" x 17%" 1/2" x 1Vj" x 18'7,6" 3/4" x 2" x 17%" With perfectly-sized templates completed, the author transfers the shapes onto the seat and backrest stock. Then he band saws the pieces to shape, keeping just outside his pencil lines. T xW x L 3/4" x 6V2" x 44" 3/4" x 2" x 18,5/,6" Guide to Template RoutingAs contributing editor Mike McGlynn once said, "Te routing is a great way to ensure multiple pieces are identically shaped. It's also a great way to destroy p; and injure yourself if you are not careful." Here are four rules you should always follow: 1. Leave a bare 1/16" of stock to mill off. 2. Keep your hands well away from the cutter. 3. Attach your template firmly to your stock. 4. Be keenly aware of the bit's rotation before you begin trimming. One final caution: Template routing at each end of (across the end grain) must be done slowly and witf utmost care. Rick ruined one of his side pieces befo got the hang of this aspect of the task. We suggest; make a test run on scrap before you move to the re; At a little over $3.00 a board foot, these chairs come in at a very reasonable price. Spanish cedar or cypress would also work well. hether you're sitting around a warm fire after a day in the boat, cooling your heels at camp after chasing upland game, or just leaning back and soaking up a couple of cold ones after you mow the lawn, it's nice to have a comfortable place to take a load off. These slide-together outdoor chairs are not a new idea; in fact, the inspiration for this updated white oak version was rolled out 18 years ago in the May/June 1984 issue of Woodworker's Journal. I did spruce up the design a bit (with some help from my cohorts here at the Journal) by making them more compact when they are nested together for storage. We also added a few strategically placed double-screwed cleats, to eliminate the chance of racking. I chose white oak for my material because it's so durable and because these chairs really don't eat up a lot of material ... there are only about 12 board feet in each one, and I raided my scrap bin for some of that. Getting Started With a Pair of Templates I wanted to make a few of these chairs, and the thought of making all the curved side pieces one at a time was out of the question. Instead, I made a couple of perfectly-sized templates (see Scaled Drawings, below left) and traced around them to lay out a series of paired seat and backrest sides (pieces 1 and 2) on my hardwood stock. Then I carefully cut these pieces to shape on the band saw (see photo above), staying just a hair outside of the pencil line. I used double sided carpet tape to attach the templates to the stock for template routing and added three small brads — just for insurance. With a 1/2" flush-trimming bearing guided router bit mounted in my router table, I was ready to rout. Check the sidebar above for a few tips on template routing. The only problem I had with this whole project was when I first attempted to trim a rounded end of a seat side. With my template firmly Cleaning up your edges on a spindle sander takes just a few minutes. One of the nice things about template routing is that it leaves just a few machining marks that are a snap to remove. erious woodworking tools for the home shop, worksho |


