Woodworker's Journal 2002-26-3, страница 31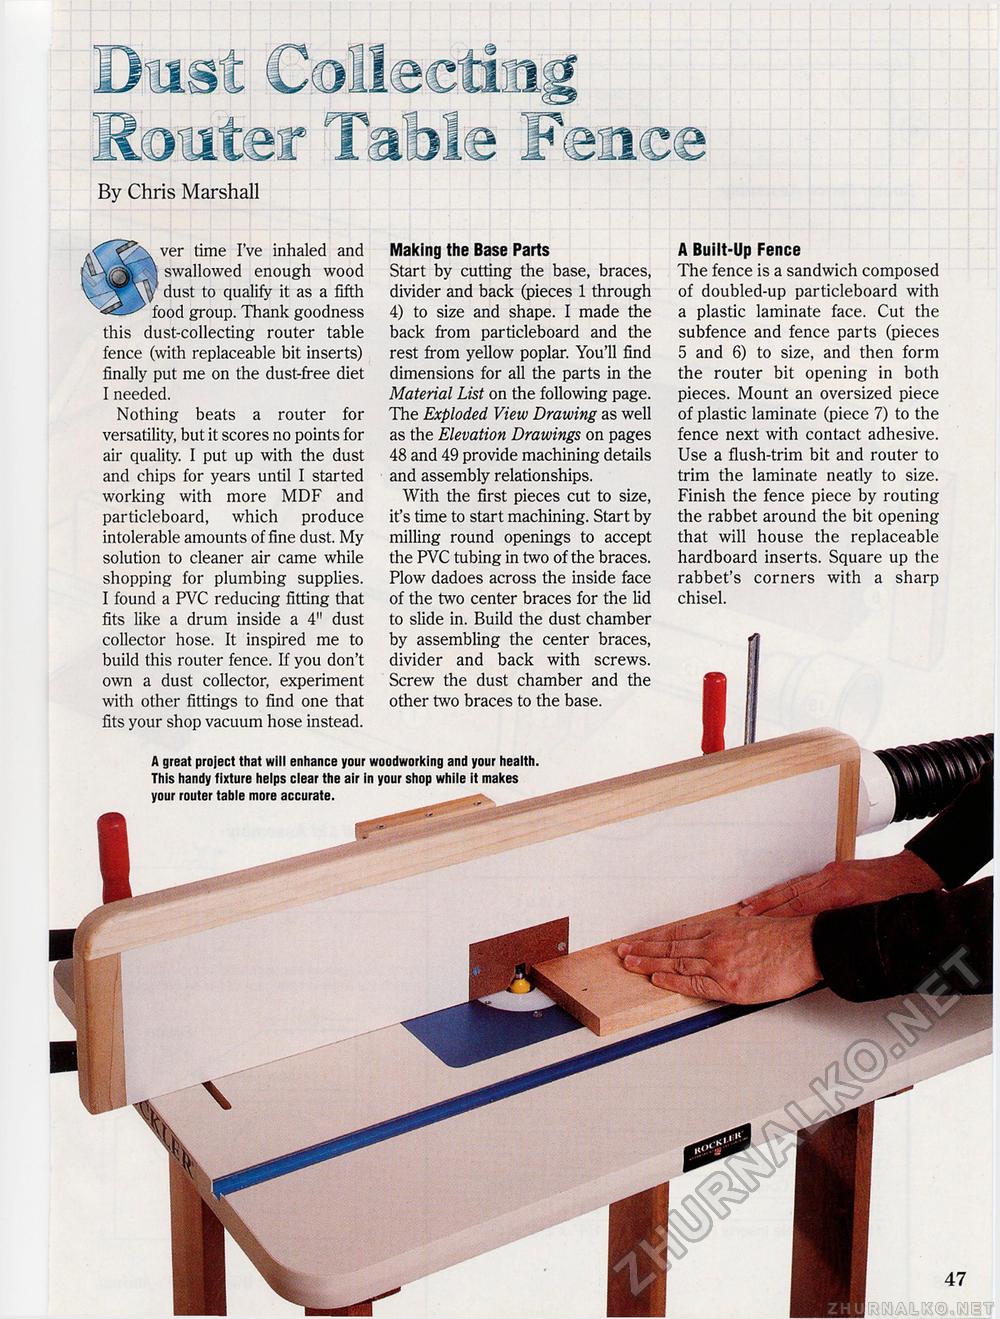
By Chris Marshall A Built-Up Fence The fence is a sandwich composed of doubled-up particleboard with a plastic laminate face. Cut the subfence and fence parts (pieces 5 and 6) to size, and then form the router bit opening in both pieces. Mount an oversized piece of plastic laminate (piece 7) to the fence next with contact adhesive. Use a flush-trim bit and router to trim the laminate neatly to size. Finish the fence piece by routing the rabbet around the bit opening that will house the replaceable hardboard inserts. Square up the rabbet's corners with a sharp chisel. ver time I've inhaled and swallowed enough wood dust to qualify it as a fifth food group. Thank goodness this dust-collecting router table fence (with replaceable bit inserts) finally put me on the dust-free diet I needed. Nothing beats a router for versatility, but it scores no points for air quality. I put up with the dust and chips for years until I started working with more MDF and particleboard, which produce intolerable amounts of fine dust. My solution to cleaner air came while shopping for plumbing supplies. I found a PVC reducing fitting that fits like a drum inside a 4" dust collector hose. It inspired me to build this router fence. If you don't own a dust collector, experiment with other fittings to find one that fits your shop vacuum hose instead. Making the Base Parts Start by cutting the base, braces, divider and back (pieces 1 through 4) to size and shape. I made the back from particleboard and the rest from yellow poplar. You'll find dimensions for all the parts in the Material List on the following page. The Exploded View Drawing as well as the Elevation Drawings on pages 48 and 49 provide machining details and assembly relationships. With the first pieces cut to size, it's time to start machining. Start by milling round openings to accept the PVC tubing in two of the braces. Plow dadoes across the inside face of the two center braces for the lid to slide in. Build the dust chamber by assembling the center braces, divider and back with screws. Screw the dust chamber and the other two braces to the base. A great project that will enhance your woodworking and your health. This handy fixture helps clear the air in your shop while it makes your router table more accurate. |


