Woodworker's Journal 2004-28-6, страница 20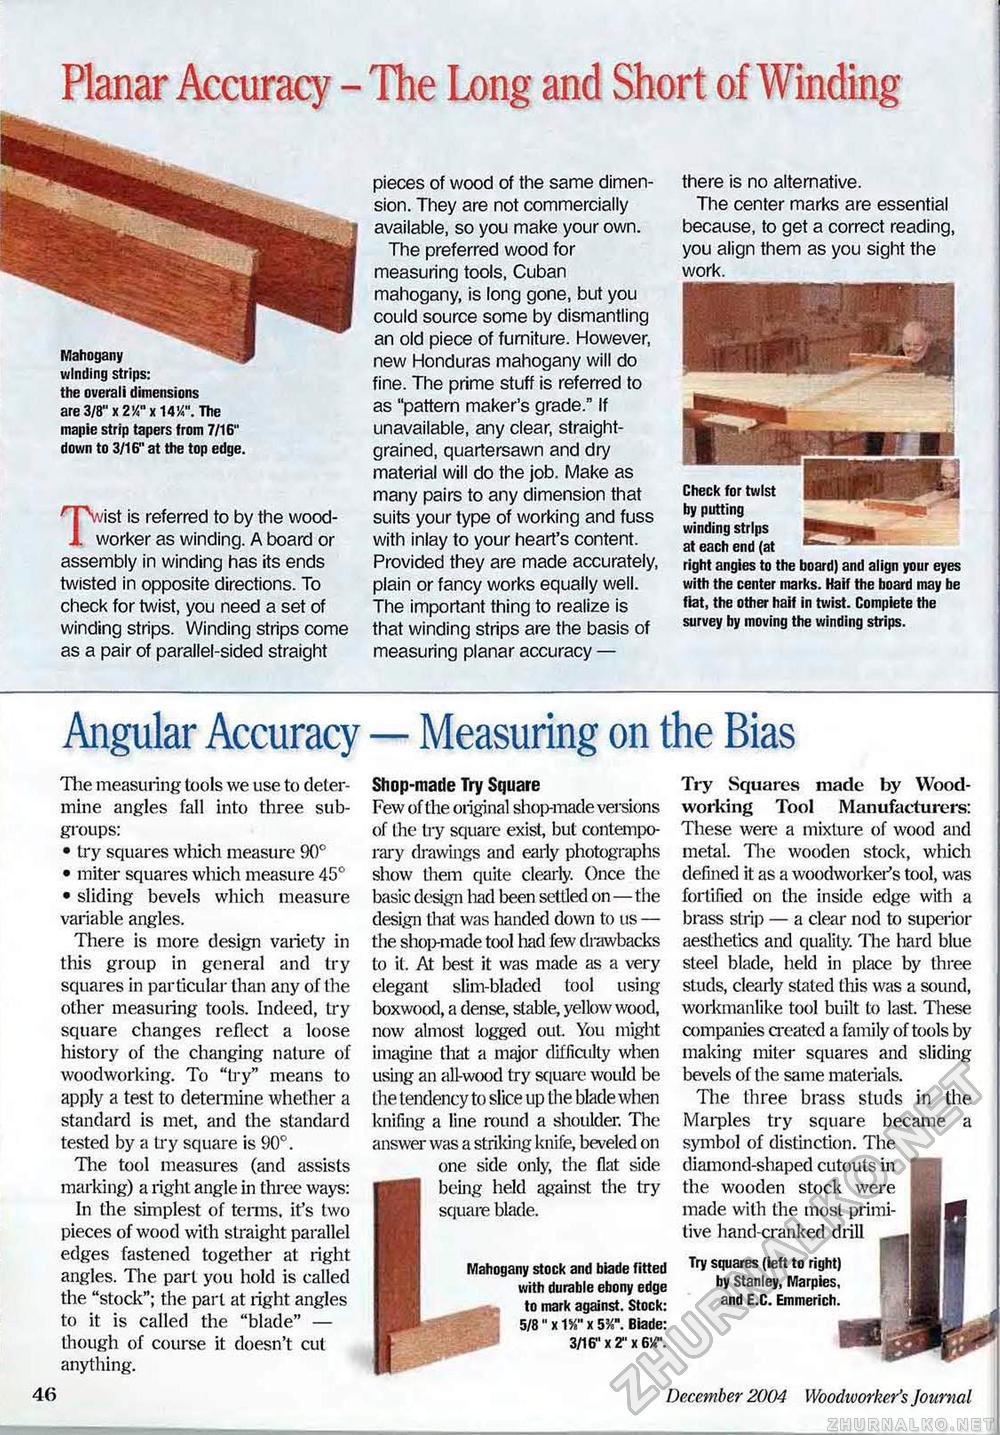
Planar Accuracy - The Long and Short of Winding pieces of wood of the same dimension. They are not commercially available, so you make your own. The preferred wood for measuring tools, Cuban mahogany, is long gone, but you could source some by dismantling an old piece of furniture. However, new Honduras mahogany will do fine. The prime stuff is referred to as "pattern maker's grade." If unavailable, any clear, straight-grained, quartersawn and dry material will do the job. Make as many pairs to any dimension that suits your type of working and fuss with inlay to your heart's content. Provided they are made accurately, plain or fancy works equally well. The important thing to realize is that winding strips are the basis of measuring planar accuracy — there is no alternative. The center marks are essential because, to get a correct reading, you align them as you sight the work. Check for twist by putting winding strips at each end (at iMR- - right angies to the board) and align your eyes with the center marks. Haif the board may be flat, the other haif in twist. Complete the survey by moving the winding strips. Mahogany winding strips: the overall dimensions are 3/8" x 2%° x 14%". The mapie strip tapers from 7/16" down to 3/16" at the top edge. Tvist is referred to by the woodworker as winding. A board or assembly in winding has its ends twisted in opposite directions. To check for twist, you need a set of winding strips. Winding strips come as a pair of parallel-sided straight Angular Accuracy — Measuring on the Bias The measuring tools we use to determine angles fall into three subgroups: • try squares which measure 90° • miter squares which measure 45° • sliding bevels which measure variable angles. There is more design variety in this group in general and try squares in particular than any of the other measuring tools. Indeed, try square changes reflect a loose history of the changing nature of woodworking. To "try" means to apply a test to determine whether a standard is met, and the standard tested by a try square is 90°. The tool measures (and assists marking) a right angle in three ways: In the simplest of terms, it's two pieces of wood with straight parallel edges fastened together at right angles. The part you hold is called the "stock"; the part at right angles to it is called the "blade" — though of course it doesn't cut anything. Shop-made Try Square Few of the original shoj>made versions of the try square exist, but contemporary drawings and early photographs show them quite clearly. Once the basic design liad been settled on—the design that was handed down to us — the shop-made tool had few drawbacks to it. At best it was made as a very elegant slim-bladed tool using boxwood, a dense, stable, yellow wood, now almost logged out You might imagine that a major difficulty when using an all-wood try square would be the tendency to slice up the blade when knifing a line round a shoulder. The answer was a striking knife, beveled on one side only, the flat side being held against the try square blade. Mahogany stock and blade fitted with durable ebony edge to mark against. Stock: 5/8" x 1 %u x 5X". Blade: 3/16" x 2" x M. Try Squares made by Woodworking Tool Manufacturers: These were a mixture of wood and metal. The wooden stock, which defined it as a woodworker's tool, was fortified on the inside edge with a brass strip — a clear nod to superior aesthetics and quality. The hard blue steel blade, held in place by three studs, clearly stated this was a sound, workmanlike tool built to last. These companies created a family of tools by making miter squares and sliding bevels of the same materials. The three brass studs in the Marples try square became a symbol of distinction. The diamond-shaped cutouts in the wooden stock were made with the most primitive hand-cranked drill Try squares (left to right) by Stanley, Marpies, and E.C. Emmerich. 46 December 2004 Woodworker's Journal |


