Woodworker's Journal 2004-Winter, страница 27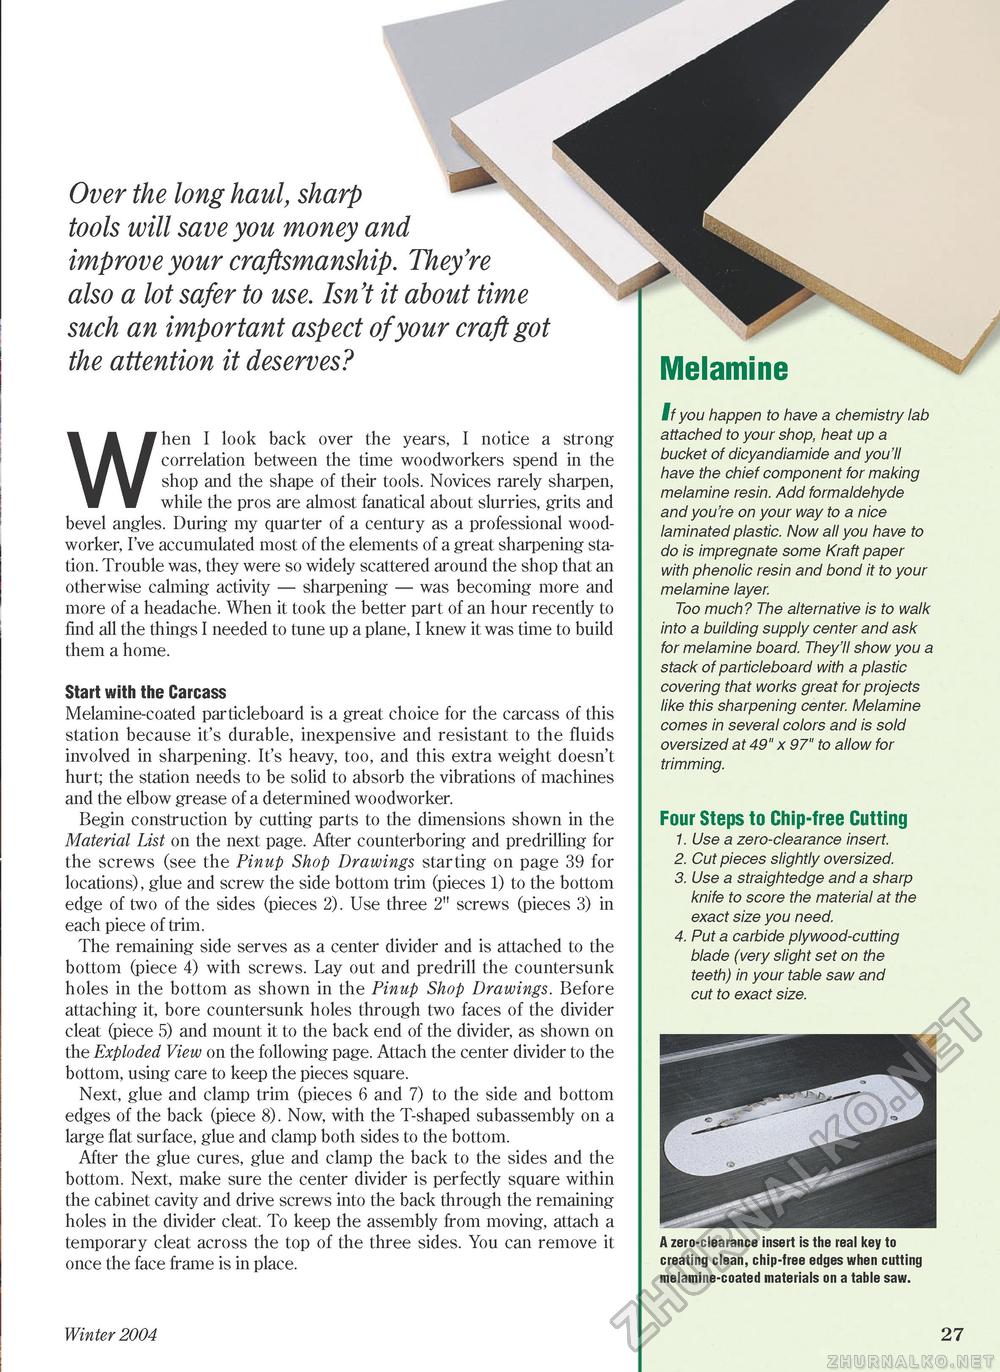
Over the long haul, sharp tools will save you money and improve your craftsmanship. They're also a lot safer to use. Isn't it about time such an important aspect of your craft got the attention it deserves? When I look back over the years, I notice a strong correlation between the time woodworkers spend in the shop and the shape of their tools. Novices rarely sharpen, while the pros are almost fanatical about slurries, grits and bevel angles. During my quarter of a century as a professional woodworker, I've accumulated most of the elements of a great sharpening station. Trouble was, they were so widely scattered around the shop that an otherwise calming activity — sharpening — was becoming more and more of a headache. When it took the better part of an hour recently to find all the things I needed to tune up a plane, I knew it was time to build them a home. Start with the Carcass Melamine-coated particleboard is a great choice for the carcass of this station because it's durable, inexpensive and resistant to the fluids involved in sharpening. It's heavy, too, and this extra weight doesn't hurt; the station needs to be solid to absorb the vibrations of machines and the elbow grease of a determined woodworker. Begin construction by cutting parts to the dimensions shown in the Material List on the next page. After counterboring and predrilling for the screws (see the Pinup Shop Drawings starting on page 39 for locations), glue and screw the side bottom trim (pieces 1) to the bottom edge of two of the sides (pieces 2). Use three 2" screws (pieces 3) in each piece of trim. The remaining side serves as a center divider and is attached to the bottom (piece 4) with screws. Lay out and predrill the countersunk holes in the bottom as shown in the Pinup Shop Drawings. Before attaching it, bore countersunk holes through two faces of the divider cleat (piece 5) and mount it to the back end of the divider, as shown on the Exploded View on the following page. Attach the center divider to the bottom, using care to keep the pieces square. Next, glue and clamp trim (pieces 6 and 7) to the side and bottom edges of the back (piece 8). Now, with the T-shaped subassembly on a large flat surface, glue and clamp both sides to the bottom. After the glue cures, glue and clamp the back to the sides and the bottom. Next, make sure the center divider is perfectly square within the cabinet cavity and drive screws into the back through the remaining holes in the divider cleat. To keep the assembly from moving, attach a temporary cleat across the top of the three sides. You can remove it once the face frame is in place. Winter 2004 Melamine If you happen to have a chemistry lab attached to your shop, heat up a bucket of dicyandiamide and you'll have the chief component for making melamine resin. Add formaldehyde and you're on your way to a nice laminated plastic. Now all you have to do is impregnate some Kraft paper with phenolic resin and bond it to your melamine layer. Too much? The alternative is to walk into a building supply center and ask for melamine board. They'll show you a stack of particleboard with a plastic covering that works great for projects like this sharpening center. Melamine comes in several colors and is sold oversized at 49" x 97" to allow for trimming. Four Steps to Chip-free Cutting1. Use a zero-clearance insert. 2. Cut pieces slightly oversized. 3. Use a straightedge and a sharp knife to score the material at the exact size you need. 4. Put a carbide plywood-cutting blade (very slight set on the teeth) in your table saw and cut to exact size. A zero-clearance insert is the real key to creating clean, chip-free edges when cutting melamine-coated materials on a table saw. 27 |


