Woodworker's Journal 2004-Winter, страница 30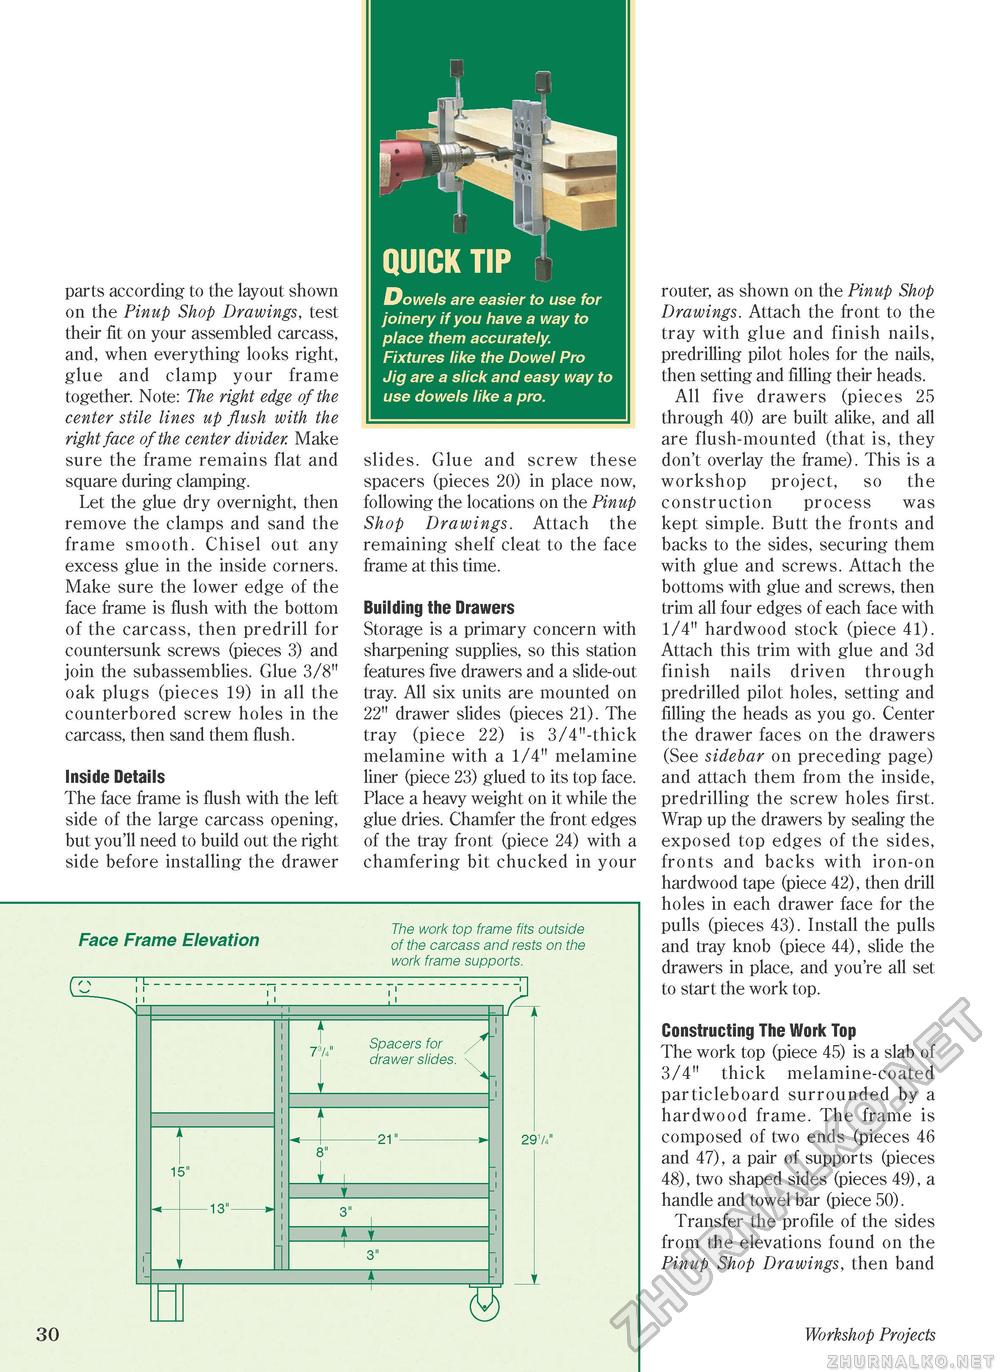
parts according to the layout shown on the Pinup Shop Drawings, test their fit on your assembled carcass, and, when everything looks right, glue and clamp your frame together. Note: The right edge of the center stile lines up flush with the right face of the center divider. Make sure the frame remains flat and square during clamping. Let the glue dry overnight, then remove the clamps and sand the frame smooth. Chisel out any excess glue in the inside corners. Make sure the lower edge of the face frame is flush with the bottom of the carcass, then predrill for countersunk screws (pieces 3) and join the subassemblies. Glue 3/8" oak plugs (pieces 19) in all the counterbored screw holes in the carcass, then sand them flush. Inside Details The face frame is flush with the left side of the large carcass opening, but you'll need to build out the right side before installing the drawer QUICK TIP Dowels are easier to use for joinery if you have a way to place them accurately. Fixtures like the Dowel Pro Jig are a slick and easy way to use dowels like a pro. slides. Glue and screw these spacers (pieces 20) in place now, following the locations on the Pinup Shop Drawings. Attach the remaining shelf cleat to the face frame at this time. Building the Drawers Storage is a primary concern with sharpening supplies, so this station features five drawers and a slide-out tray. All six units are mounted on 22" drawer slides (pieces 21). The tray (piece 22) is 3/4"-thick melamine with a 1/4" melamine liner (piece 23) glued to its top face. Place a heavy weight on it while the glue dries. Chamfer the front edges of the tray front (piece 24) with a chamfering bit chucked in your Face Frame Elevation The work top frame fits outside of the carcass and rests on the work frame supports. 30 15" -13" 73/" Spacers for drawer slides. 8" -21" T± 291/4" S> router, as shown on the Pinup Shop Drawings. Attach the front to the tray with glue and finish nails, predrilling pilot holes for the nails, then setting and filling their heads. All five drawers (pieces 25 through 40) are built alike, and all are flush-mounted (that is, they don't overlay the frame). This is a workshop project, so the construction process was kept simple. Butt the fronts and backs to the sides, securing them with glue and screws. Attach the bottoms with glue and screws, then trim all four edges of each face with 1/4" hardwood stock (piece 41). Attach this trim with glue and 3d finish nails driven through predrilled pilot holes, setting and filling the heads as you go. Center the drawer faces on the drawers (See sidebar on preceding page) and attach them from the inside, predrilling the screw holes first. Wrap up the drawers by sealing the exposed top edges of the sides, fronts and backs with iron-on hardwood tape (piece 42), then drill holes in each drawer face for the pulls (pieces 43). Install the pulls and tray knob (piece 44), slide the drawers in place, and you're all set to start the work top. Constructing The Work Top The work top (piece 45) is a slab of 3/4" thick melamine-coated particleboard surrounded by a hardwood frame. The frame is composed of two ends (pieces 46 and 47), a pair of supports (pieces 48), two shaped sides (pieces 49), a handle and towel bar (piece 50). Transfer the profile of the sides from the elevations found on the Pinup Shop Drawings, then band * Workshop Projects |


