Woodworker's Journal 2006-30-Winter, страница 19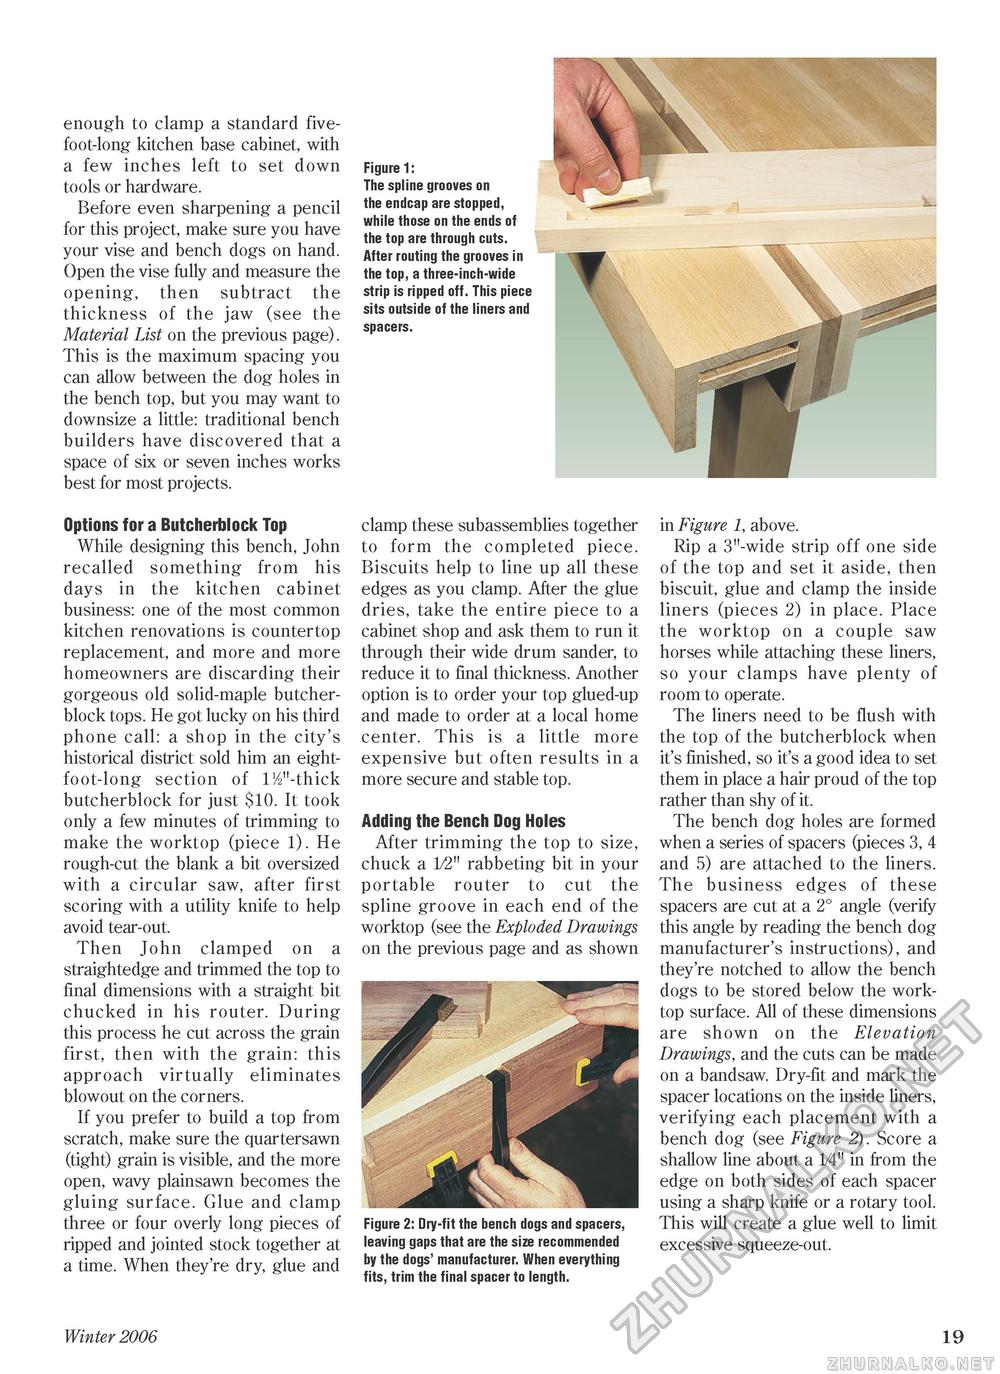
enough to clamp a standard five-foot-long kitchen base cabinet, with a few inches left to set down tools or hardware. Before even sharpening a pencil for this project, make sure you have your vise and bench dogs on hand. Open the vise fully and measure the opening, then subtract the thickness of the jaw (see the Material List on the previous page). This is the maximum spacing you can allow between the dog holes in the bench top, but you may want to downsize a little: traditional bench builders have discovered that a space of six or seven inches works best for most projects. Options for a Butcherblock Top While designing this bench, John recalled something from his days in the kitchen cabinet business: one of the most common kitchen renovations is countertop replacement, and more and more homeowners are discarding their gorgeous old solid-maple butcher-block tops. He got lucky on his third phone call: a shop in the city's historical district sold him an eight-foot-long section of 1%"-thick butcherblock for just $10. It took only a few minutes of trimming to make the worktop (piece 1). He rough-cut the blank a bit oversized with a circular saw, after first scoring with a utility knife to help avoid tear-out. Then John clamped on a straightedge and trimmed the top to final dimensions with a straight bit chucked in his router. During this process he cut across the grain first, then with the grain: this approach virtually eliminates blowout on the corners. If you prefer to build a top from scratch, make sure the quartersawn (tight) grain is visible, and the more open, wavy plainsawn becomes the gluing surface. Glue and clamp three or four overly long pieces of ripped and jointed stock together at a time. When they're dry, glue and Figure 1: The spline grooves on the endcap are stopped, while those on the ends of the top are through cuts. After routing the grooves in the top, a three-inch-wide strip is ripped off. This piece sits outside of the liners and spacers. clamp these subassemblies together to form the completed piece. Biscuits help to line up all these edges as you clamp. After the glue dries, take the entire piece to a cabinet shop and ask them to run it through their wide drum sander, to reduce it to final thickness. Another option is to order your top glued-up and made to order at a local home center. This is a little more expensive but often results in a more secure and stable top. Adding the Bench Dog Holes After trimming the top to size, chuck a 1/2" rabbeting bit in your portable router to cut the spline groove in each end of the worktop (see the Exploded Drawings on the previous page and as shown Figure 2: Dry-fit the bench dogs and spacers, leaving gaps that are the size recommended by the dogs' manufacturer. When everything fits, trim the final spacer to length. in Figure 1, above. Rip a 3"-wide strip off one side of the top and set it aside, then biscuit, glue and clamp the inside liners (pieces 2) in place. Place the worktop on a couple saw horses while attaching these liners, so your clamps have plenty of room to operate. The liners need to be flush with the top of the butcherblock when it's finished, so it's a good idea to set them in place a hair proud of the top rather than shy of it. The bench dog holes are formed when a series of spacers (pieces 3, 4 and 5) are attached to the liners. The business edges of these spacers are cut at a 2° angle (verify this angle by reading the bench dog manufacturer's instructions), and they're notched to allow the bench dogs to be stored below the worktop surface. All of these dimensions are shown on the Elevation Drawings, and the cuts can be made on a bandsaw. Dry-fit and mark the spacer locations on the inside liners, verifying each placement with a bench dog (see Figure 2). Score a shallow line about a 14" in from the edge on both sides of each spacer using a sharp knife or a rotary tool. This will create a glue well to limit excessive squeeze-out. Winter 2006 19 |


