Woodworker's Journal 2006-30-Winter, страница 20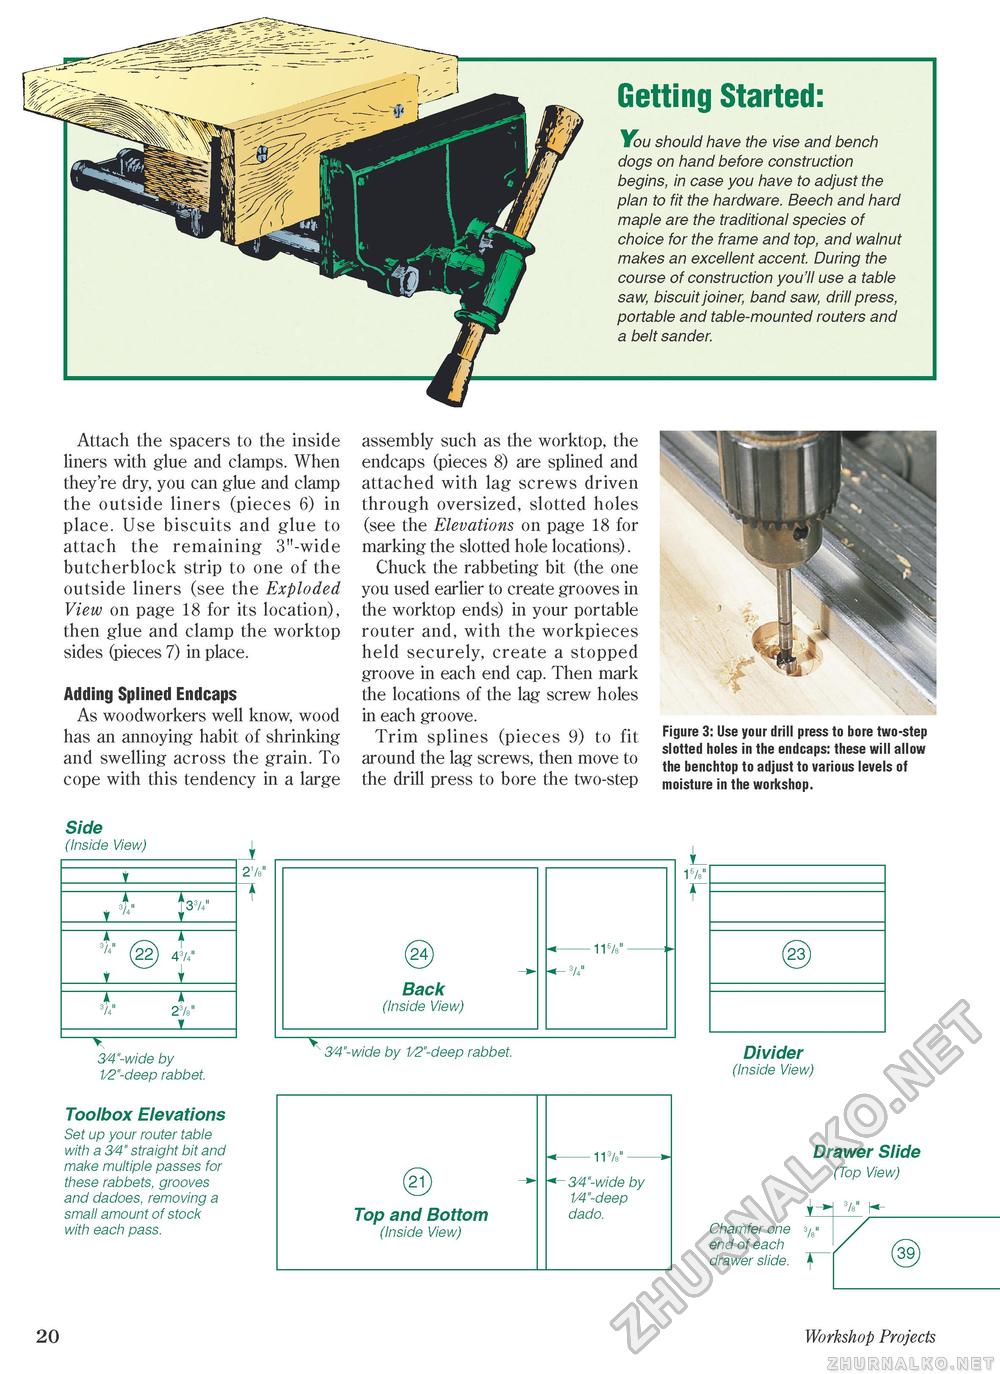
Getting Started: You should have the vise and bench dogs on hand before construction begins, in case you have to adjust the plan to fit the hardware. Beech and hard maple are the traditional species of choice for the frame and top, and walnut makes an excellent accent. During the course of construction you'll use a table saw, biscuit joiner, band saw, drill press, portable and table-mounted routers and a belt sander. Attach the spacers to the inside liners with glue and clamps. When they're dry, you can glue and clamp the outside liners (pieces 6) in place. Use biscuits and glue to attach the remaining 3"-wide butcherblock strip to one of the outside liners (see the Exploded View on page 18 for its location), then glue and clamp the worktop sides (pieces 7) in place. Adding Splined Endcaps As woodworkers well know, wood has an annoying habit of shrinking and swelling across the grain. To cope with this tendency in a large assembly such as the worktop, the endcaps (pieces 8) are splined and attached with lag screws driven through oversized, slotted holes (see the Elevations on page 18 for marking the slotted hole locations). Chuck the rabbeting bit (the one you used earlier to create grooves in the worktop ends) in your portable router and, with the workpieces held securely, create a stopped groove in each end cap. Then mark the locations of the lag screw holes in each groove. Trim splines (pieces 9) to fit around the lag screws, then move to the drill press to bore the two-step Figure 3: Use your drill press to bore two-step slotted holes in the endcaps: these will allow the benchtop to adjust to various levels of moisture in the workshop. Side (Inside View) T33A" ^ @ 4V _i_ 3/4" 2 V _JL_ - 3/4"-wide by 1/2"-deep rabbet. Toolbox Elevations Set up your router table with a 3/4" straight bit and make multiple passes for these rabbets, grooves and dadoes, removing a small amount of stock with each pass. 21k" ' 3/4"-wide by 1/2"-deep rabbet. @ Divider (Inside View) Drawer Slide (Top View) t Chamfer one 3/8» end of each drawer slide. ~f~ 3/8» K <3S> 3/4 20 Workshop Projects |


