Woodworker's Journal 2006-30-Winter, страница 54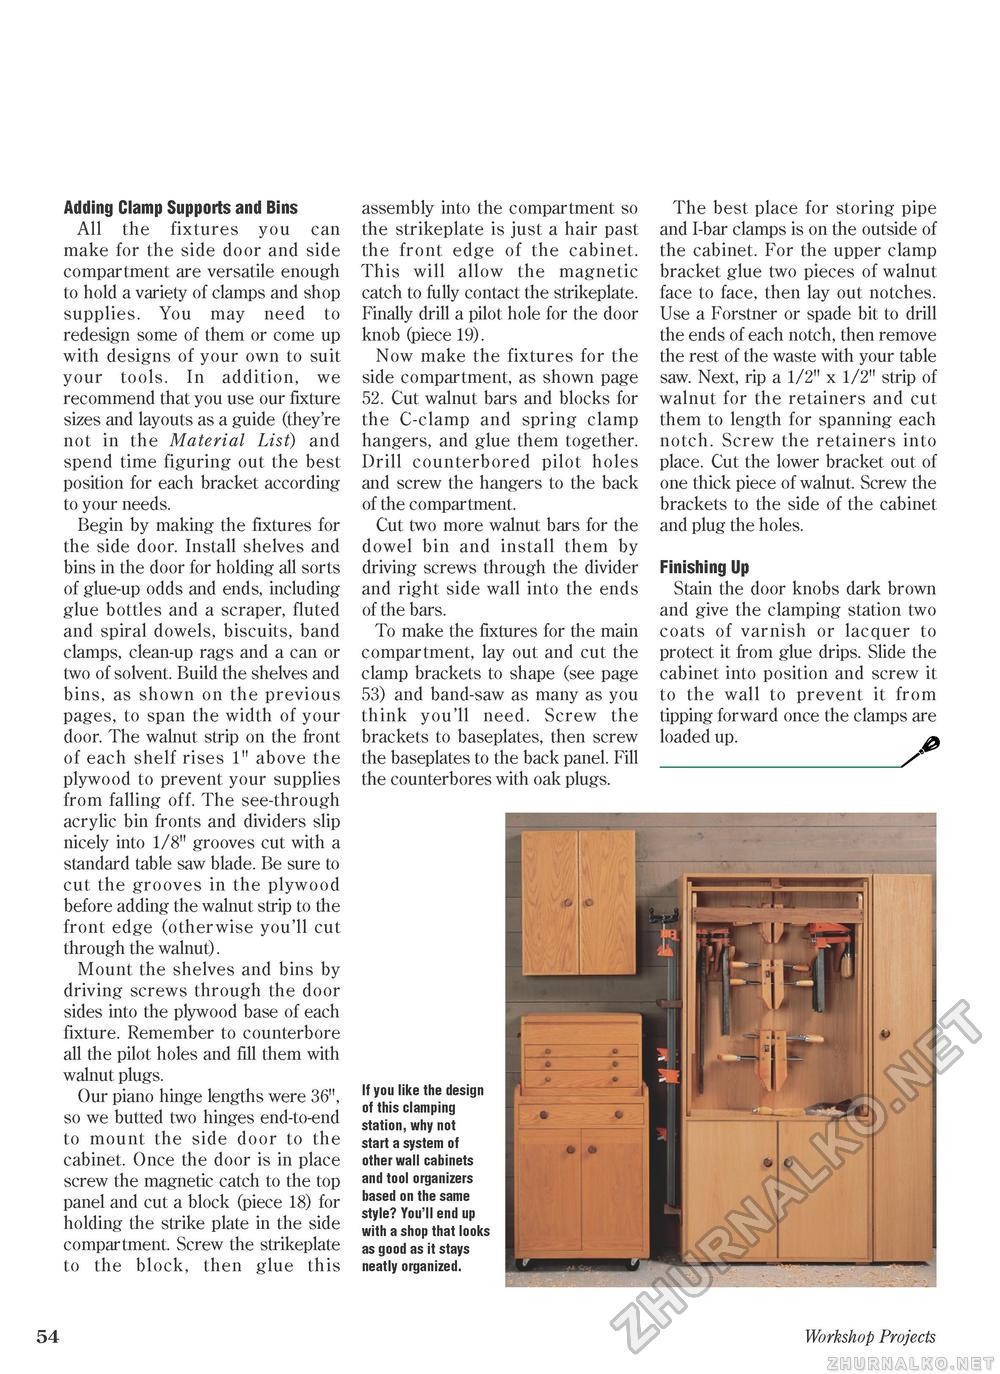
Adding Clamp Supports and Bins All the fixtures you can make for the side door and side compartment are versatile enough to hold a variety of clamps and shop supplies. You may need to redesign some of them or come up with designs of your own to suit your tools. In addition, we recommend that you use our fixture sizes and layouts as a guide (they're not in the Material List) and spend time figuring out the best position for each bracket according to your needs. Begin by making the fixtures for the side door. Install shelves and bins in the door for holding all sorts of glue-up odds and ends, including glue bottles and a scraper, fluted and spiral dowels, biscuits, band clamps, clean-up rags and a can or two of solvent. Build the shelves and bins, as shown on the previous pages, to span the width of your door. The walnut strip on the front of each shelf rises 1" above the plywood to prevent your supplies from falling off. The see-through acrylic bin fronts and dividers slip nicely into 1/8" grooves cut with a standard table saw blade. Be sure to cut the grooves in the plywood before adding the walnut strip to the front edge (otherwise you'll cut through the walnut). Mount the shelves and bins by driving screws through the door sides into the plywood base of each fixture. Remember to counterbore all the pilot holes and fill them with walnut plugs. Our piano hinge lengths were 36", so we butted two hinges end-to-end to mount the side door to the cabinet. Once the door is in place screw the magnetic catch to the top panel and cut a block (piece 18) for holding the strike plate in the side compartment. Screw the strikeplate to the block, then glue this assembly into the compartment so the strikeplate is just a hair past the front edge of the cabinet. This will allow the magnetic catch to fully contact the strikeplate. Finally drill a pilot hole for the door knob (piece 19). Now make the fixtures for the side compartment, as shown page 52. Cut walnut bars and blocks for the C-clamp and spring clamp hangers, and glue them together. Drill counterbored pilot holes and screw the hangers to the back of the compartment. Cut two more walnut bars for the dowel bin and install them by driving screws through the divider and right side wall into the ends of the bars. To make the fixtures for the main compartment, lay out and cut the clamp brackets to shape (see page 53) and band-saw as many as you think you'll need. Screw the brackets to baseplates, then screw the baseplates to the back panel. Fill the counterbores with oak plugs. The best place for storing pipe and I-bar clamps is on the outside of the cabinet. For the upper clamp bracket glue two pieces of walnut face to face, then lay out notches. Use a Forstner or spade bit to drill the ends of each notch, then remove the rest of the waste with your table saw. Next, rip a 1/2" x 1/2" strip of walnut for the retainers and cut them to length for spanning each notch. Screw the retainers into place. Cut the lower bracket out of one thick piece of walnut. Screw the brackets to the side of the cabinet and plug the holes. Finishing Up Stain the door knobs dark brown and give the clamping station two coats of varnish or lacquer to protect it from glue drips. Slide the cabinet into position and screw it to the wall to prevent it from tipping forward once the clamps are loaded up. _/ If you like the design of this clamping station, why not start a system of other wall cabinets and tool organizers based on the same style? You'll end up with a shop that looks as good as it stays neatly organized. 54 Workshop Projects |


