Woodworker's Journal 2008-32-5, страница 48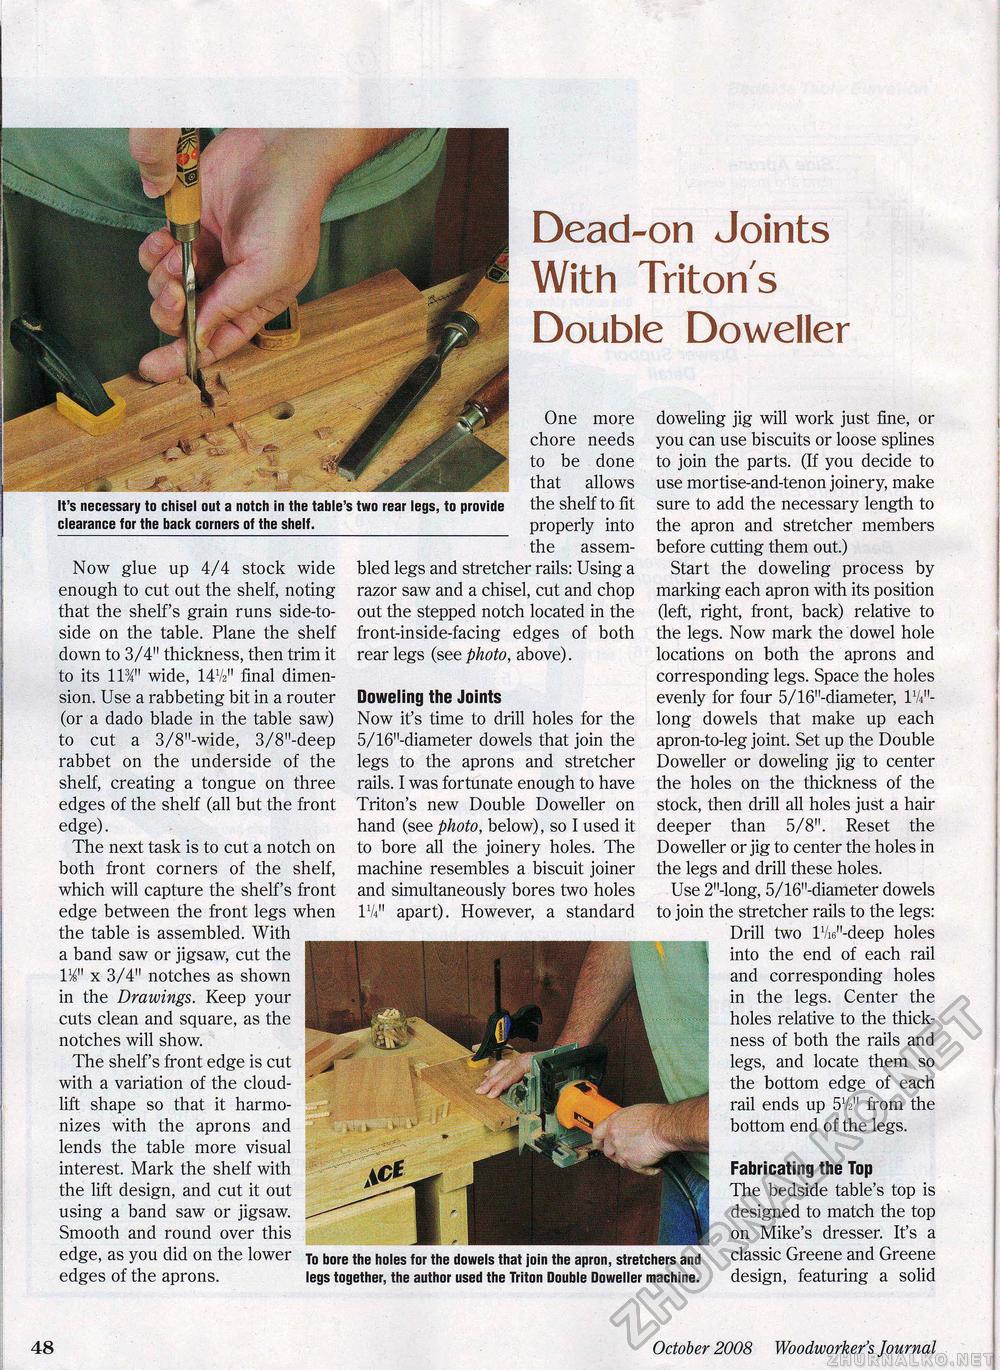
Dead-on Joints With Triton's Double Doweller It's necessary to chisel out a notch in the table's two rear legs, to provide clearance for the back corners of the shelf. Now glue up 4/4 stock wide enough to cut out the shelf, noting that the shelf's grain runs side-to-side on the table. Plane the shelf down to 3/4" thickness, then trim it to its 11%" wide, 14V?" final dimension. Use a rabbeting bit in a router (or a dado blade in the table saw) to cut a 3/8"-wide, 3/8"-deep rabbet on the underside of the shelf, creating a tongue on three edges of the shelf (all but the front edge). The next task is to cut a notch on both front corners of the shelf, which will capture the shelf's front edge between the front legs when the table is assembled. With a band saw or jigsaw, cut the 1M" x 3/4" notches as shown in the Drawings. Keep your cuts clean and square, as the notches will show. The shelf's front edge is cut with a variation of the cloud-lift shape so that it harmonizes with the aprons and lends the table more visual interest. Mark the shelf with the lift design, and cut it out using a band saw or jigsaw. Smooth and round over this edge, as you did on the lower edges of the aprons. One more chore needs to be done that allows the shelf to lit _ properly into the assembled legs and stretcher rails: Using a razor saw and a chisel, cut and chop out the stepped notch located in the front-inside-facing edges of both rear legs (see photo, above). Doweling the Joints Now it's time to drill holes for the 5/16"-diameter dowels that join the legs to the aprons and stretcher rails. I was fortunate enough to have Triton's new Double Doweller on hand (see photo, below), so I used it to bore all the joinery holes. The machine resembles a biscuit joiner and simultaneously bores two holes IV41' apart). However, a standard To bore the holes for the dowels that join the apron, stretchers and legs together, the author used the Triton Double Doweller machine. doweling jig will work just fine, or you can use biscuits or loose splines to join the parts. (If you decide to use mortise-and-tenon joinery, make sure to add the necessary length to the apron and stretcher members before cutting them out.) Start the doweling process by marking each apron with its position (left, right, front, back) relative to the legs. Now mark the dowel hole locations on both the aprons and corresponding legs. Space the holes evenly for four 5/16"-diameter, IV4"-long dowels that make up each apron-to-leg joint. Set up the Double Doweller or doweling jig to center the holes on the thickness of the stock, then drill all holes just a hair deeper than 5/8". Reset the Doweller or jig to center the holes in the legs and drill these holes. Use 2"-long, 5/16"-diameter dowels to join the stretcher rails to the legs: Drill two lVi6M-deep holes into the end of each rail and corresponding holes in the legs. Center the holes relative to the thickness of both the rails and legs, and locate them so the bottom edge of each rail ends up 5V2" from the bottom end of the legs. Fabricating the Top The bedside table's top is designed to match the top on Mike's dresser. It's a classic Greene and Greene design, featuring a solid 48 October 2008 Woodworker's Journal |


