Woodworker's Journal 2008-32-5, страница 51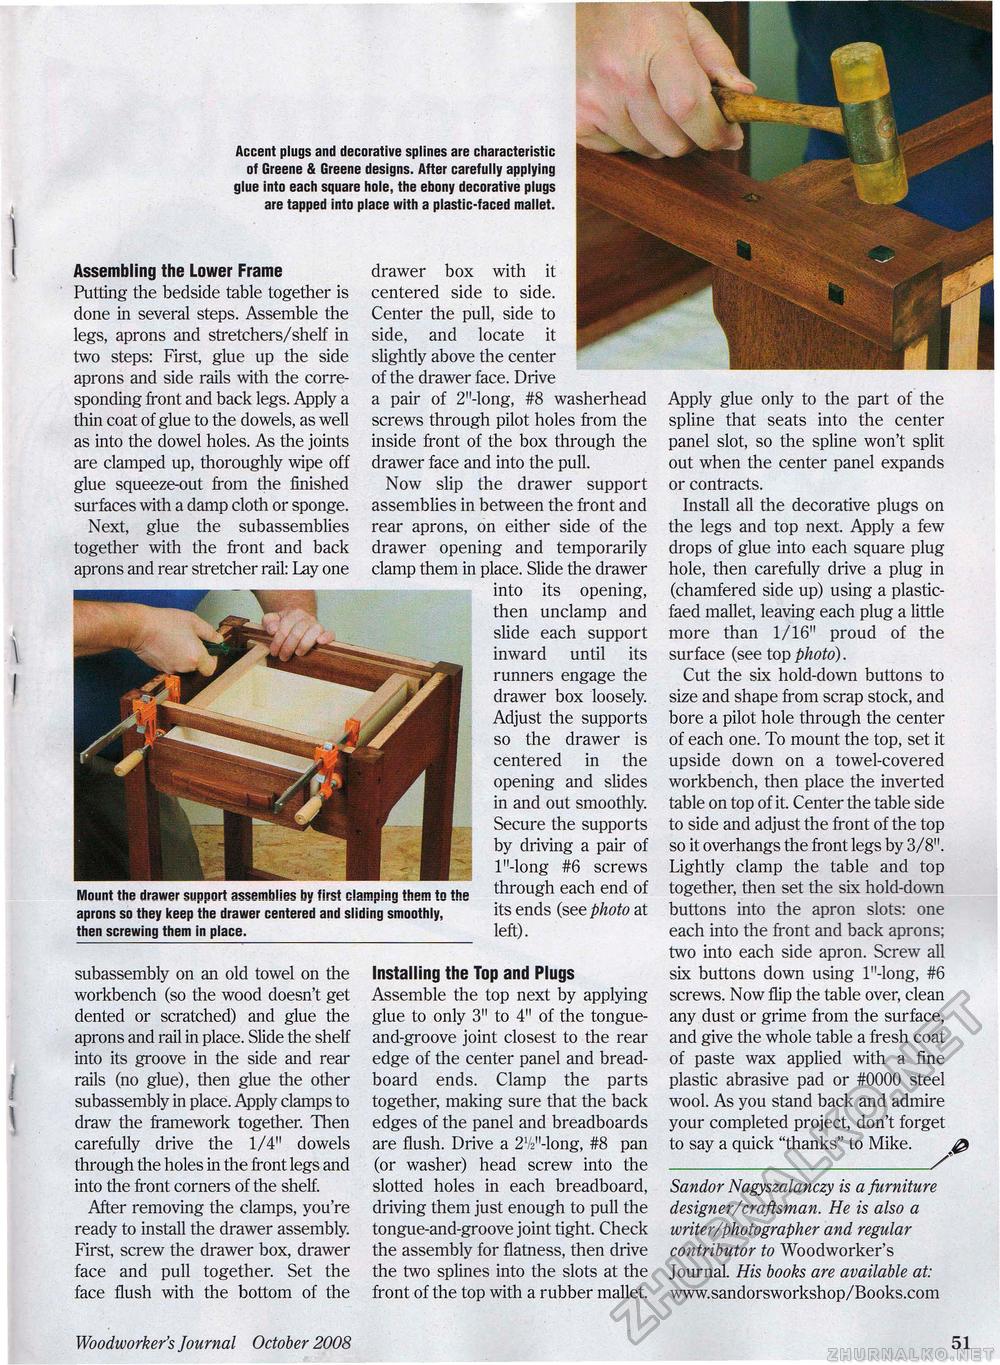
I i \ i ! \ > Accent plugs and decorative splines are characteristic of Greene & Greene designs. After carefully applying glue into each square hole, the ebony decorative plugs are tapped into place with a plastic-faced mallet. Assembling the Lower Frame Putting the bedside table together is done in several steps. Assemble the legs, aprons and stretchers/shelf in two steps: First, glue up the side aprons and side rails with the corresponding front and back legs. Apply a thin coat of glue to the dowels, as well as into the dowel holes. As the joints are clamped up, thoroughly wipe off glue squeeze-out from the finished surfaces with a damp cloth or sponge. Next, glue the subassemblies together with the front and back aprons and rear stretcher rail: Lay one Mount the drawer support assemblies by first clamping them to the aprons so they keep the drawer centered and sliding smoothly, then screwing them in place. drawer box with it centered side to side. Center the pull, side to side, and locate it slightly above the center of the drawer face. Drive a pair of 2"-long, #8 washerhead screws through pilot holes from the inside front of the box through the drawer face and into the pull. Now slip the drawer support assemblies in between the front and rear aprons, on either side of the drawer opening and temporarily clamp them in place. Slide the drawer into its opening, then unclamp and slide each support inward until its runners engage the drawer box loosely. Adjust the supports so the drawer is centered in the opening and slides in and out smoothly. Secure the supports by driving a pair of l"-long #6 screws through each end of its ends (see photo at left). subassembly on an old towel on the workbench (so the wood doesn't get dented or scratched) and glue the aprons and rail in place. Slide the shelf into its groove in the side and rear rails (no glue), then glue the other subassembly in place. Apply clamps to draw the framework together. Then carefully drive the 1/4" dowels through the holes in the front legs and into the front corners of the shelf. After removing the clamps, you're ready to install the drawer assembly. First, screw the drawer box, drawer face and pull together. Set the face flush with the bottom of the Installing the Top and Plugs Assemble the top next by applying glue to only 3" to 4" of the tongue-and-groove joint closest to the rear edge of the center panel and breadboard ends. Clamp the parts together, making sure that the back edges of the panel and breadboards are flush. Drive a 21/2M-long, #8 pan (or washer) head screw into the slotted holes in each breadboard, driving them just enough to pull the tongue-and-groove joint tight. Check the assembly for flatness, then drive the two splines into the slots at the front of the top with a rubber mallet. Apply glue only to the part of the spline that seats into the center panel slot, so the spline won't split out when the center panel expands or contracts. Install all the decorative plugs on the legs and top next. Apply a few drops of glue into each square plug hole, then carefully drive a plug in (chamfered side up) using a plastic-faed mallet, leaving each plug a little more than 1/16" proud of the surface (see top photo). Cut the six hold-down buttons to size and shape from scrap stock, and bore a pilot hole through the center of each one. To mount the top, set it upside down on a towel-covered workbench, then place the inverted table on top of it. Center the table side to side and adjust the front of the top so it overhangs the front legs by 3/8". Lightly clamp the table and top together, then set the six hold-down buttons into the apron slots: one each into the front and back aprons; two into each side apron. Screw all six buttons down using l"-long, #6 screws. Now flip the table over, clean any dust or grime from the surface, and give the whole table a fresh coat of paste wax applied with a fine plastic abrasive pad or #0000 steel wool. As you stand back and admire your completed project, don't forget to say a quick "thanks" to Mike. Sandor Nagyszalanczy is a furniture designer/craftsman. He is also a writer/photographer and regular contributor to Woodworker's Journal. His books are available at: www.sandorsworkshop/Books.com Woodworker's Journal October 2008 51 |


