Woodworker's Journal 2009-33-1, страница 55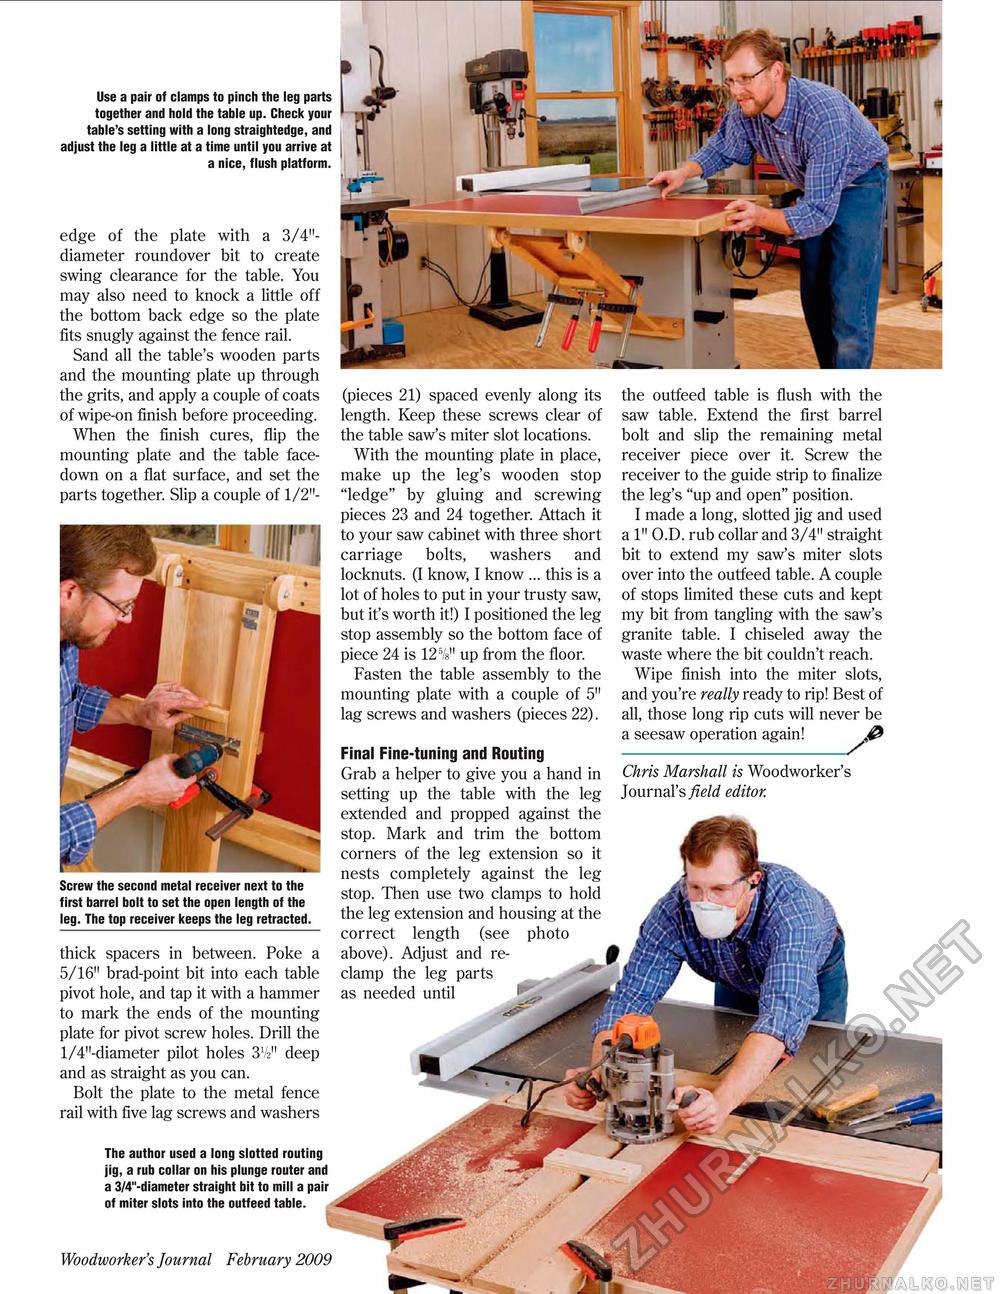
Use a pair of clamps to pinch the leg parts together and hold the table up. Check your table's setting with a long straightedge, and adjust the leg a little at a time until you arrive at a nice, flush platform. The author used a long slotted routing jig, a rub collar on his plunge router and a 3/4"-diameter straight bit to mill a pair of miter slots into the outfeed table. Woodworker's Journal February 2009 55 (pieces 21) spaced evenly along its length. Keep these screws clear of the table saw's miter slot locations. With the mounting plate in place, make up the leg's wooden stop "ledge" by gluing and screwing pieces 23 and 24 together. Attach it to your saw cabinet with three short carriage bolts, washers and locknuts. (I know, I know ... this is a lot of holes to put in your trusty saw, but it's worth it!) I positioned the leg stop assembly so the bottom face of piece 24 is 125/s" up from the floor. Fasten the table assembly to the mounting plate with a couple of 5" lag screws and washers (pieces 22). Final Fine-tuning and Routing Grab a helper to give you a hand in setting up the table with the leg extended and propped against the stop. Mark and trim the bottom corners of the leg extension so it nests completely against the leg stop. Then use two clamps to hold the leg extension and housing at the correct length (see photo above). Adjust and re-clamp the leg parts as needed until the outfeed table is flush with the saw table. Extend the first barrel bolt and slip the remaining metal receiver piece over it. Screw the receiver to the guide strip to finalize the leg's "up and open" position. I made a long, slotted jig and used a 1" O.D. rub collar and 3/4" straight bit to extend my saw's miter slots over into the outfeed table. A couple of stops limited these cuts and kept my bit from tangling with the saw's granite table. I chiseled away the waste where the bit couldn't reach. Wipe finish into the miter slots, and you're really ready to rip! Best of all, those long rip cuts will never be a seesaw operation again! Chris Marshall is Woodworker's Journal's field editor. edge of the plate with a 3/4"-diameter roundover bit to create swing clearance for the table. You may also need to knock a little off the bottom back edge so the plate fits snugly against the fence rail. Sand all the table's wooden parts and the mounting plate up through the grits, and apply a couple of coats of wipe-on finish before proceeding. When the finish cures, flip the mounting plate and the table facedown on a flat surface, and set the parts together. Slip a couple of 1/2"- Screw the second metal receiver next to the first barrel bolt to set the open length of the leg. The top receiver keeps the leg retracted. thick spacers in between. Poke a 5/16" brad-point bit into each table pivot hole, and tap it with a hammer to mark the ends of the mounting plate for pivot screw holes. Drill the l/4"-diameter pilot holes 3V2" deep and as straight as you can. Bolt the plate to the metal fence rail with five lag screws and washers |


