Woodworker's Journal fall-2008, страница 66
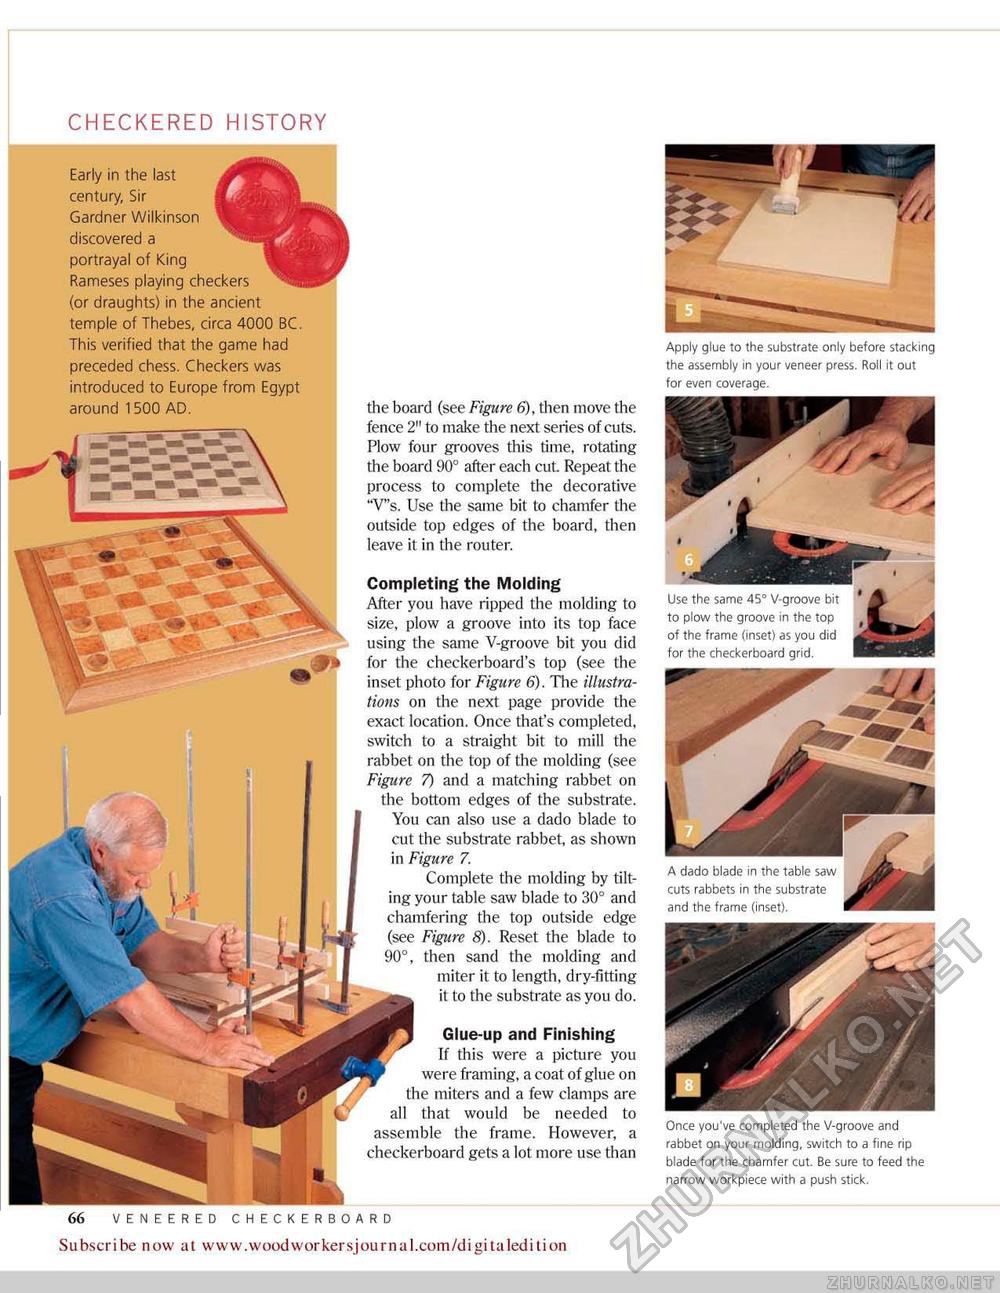
checkered history Apply glue to the substrate only before stacking the assembly in your veneer press. Roll it out for even coverage. Use the same 45° V-groove bit to plow the groove in the top of the frame (inset) as you did for the checkerboard grid. Once you've completed the V-groove and rabbet on your molding, switch to a fine rip blade for the chamfer cut. Be sure to feed the narrow workpiece with a push stick. the board (see Figure 6), then move the fence 2" to make the next series of cuts. Plow four grooves this time, rotating the board 90° after each cut. Repeat the process to complete the decorative "Vs. Use the same bit to chamfer the outside top edges of the board, then leave it in the router. Early in the last century, Sir Gardner Wilkinson discovered a portrayal of King Rameses playing checkers (or draughts) in the ancient temple of Thebes, circa 4000 BC. This verified that the game had preceded chess. Checkers was introduced to Europe from Egypt around 1500 AD. Completing the Molding After you have ripped the molding to size, plow a groove into its top face using the same V-groove bit you did for the checkerboard's top (see the inset photo for Figure 6). The illustrations on the next page provide the exact location. Once that's completed, switch to a straight bit to mill the rabbet on the top of the molding (see Figure 7) and a matching rabbet on the bottom edges of the substrate. You can also use a dado blade to cut the substrate rabbet, as shown in Figure 7. Complete the molding by tilting your table saw blade to 30° and chamfering the top outside edge (see Figure 8), Reset the blade to 90°, then sand the molding and miter it to length, dry-fitting it to the substrate as you do. Glue-up and Finishing If this were a picture you were framing, a coat of glue on the miters and a few clamps are all that would be needed to assemble the frame. However, a checkerboard gets a lot more use than Subscribe now at www.wpodwoirkersjournal.com/digitaledition |


