Woodworker's Journal fall-2008, страница 74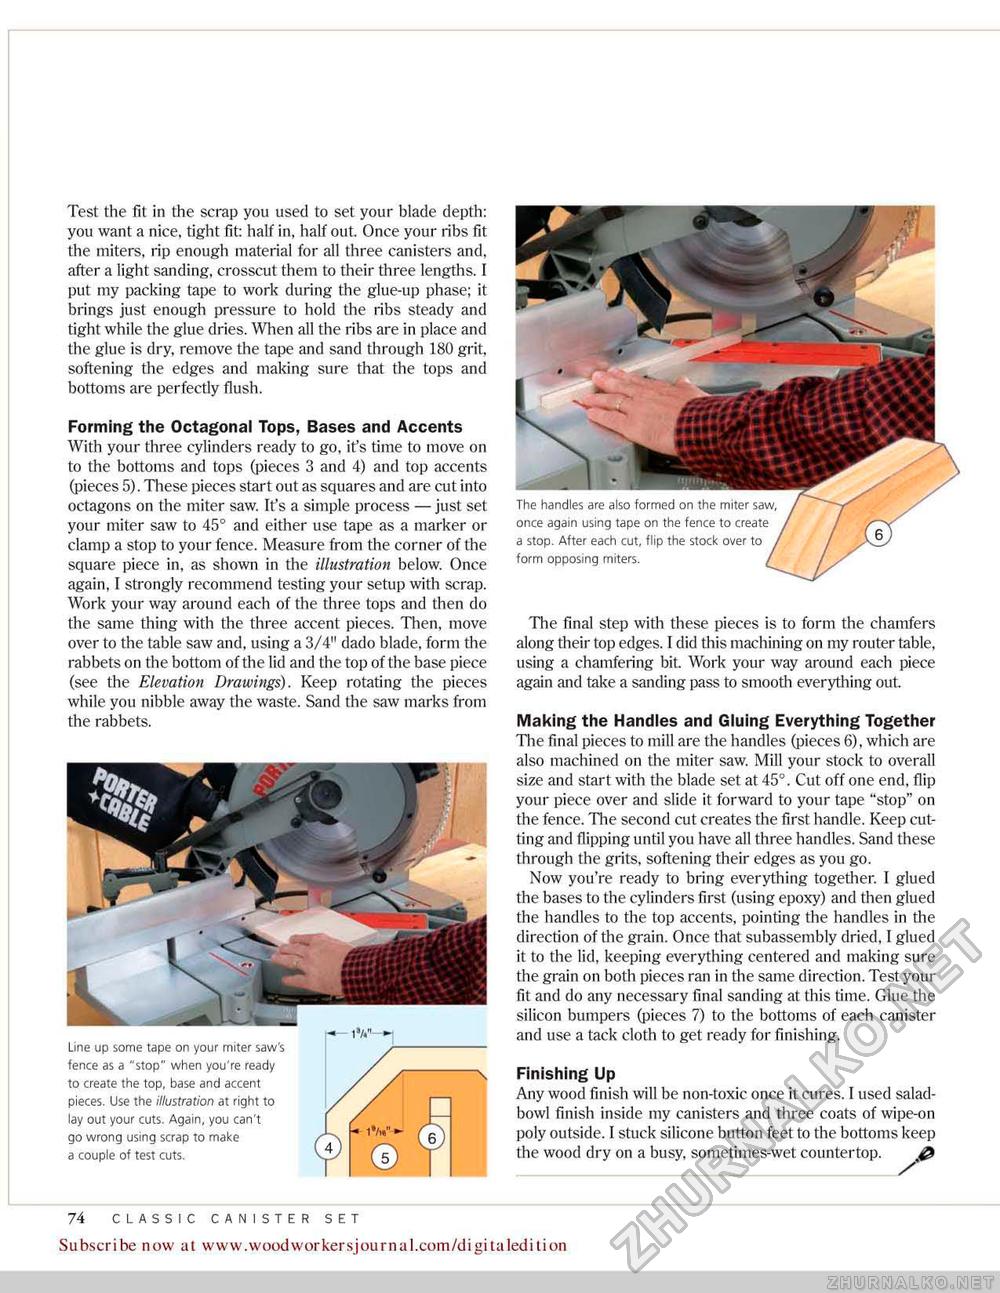
Test the fit in the scrap yon used to set your blade depth: you want a nice, tight fit: half in, half out. Once your ribs fit the miters, rip enough material for all three canisters and, after a light sanding, crosscut them to their three lengths. I put my packing tape to work during the glue-up phase; it brings just enough pressure to hold the ribs steady and tight while the glue dries. When ail the ribs are in place and the glue is dry, remove the tape and sand through 180 grit, softening the edges and making sure that the tops and bottoms are perfectly flush. Forming the Octagonal Tops, Bases and Accents With your three cylinders ready to go, it's time to move on to the bottoms and tops (pieces 3 and 4) and top accents (pieces 5). These pieces start out as squares and are cut into octagons on the miter saw. It's a simple process — just set your miter saw to 45° and either use tape as a marker or clamp a stop to your fence. Measure from the corner of the square piece in, as shown in the illustration below. Once again, f strongly recommend testing your setup with scrap. Work your way around each of the three tops and then do the same thing with the three accent pieces. Then, move over to the table saw and, using a 3/4" dado blade, form the rabbets on the bottom of the lid and the top of the base piece (see the Elevation Drawings). Keep rotating the pieces while you nibble away the waste. Sand the saw marks from the rabbets. The handles are also formed on the miter saw, once again using tape on the fence to create a stop. After each cut, flip the stock over to form opposing miters. The final step with these pieces is to form the chamfers along their top edges. I did this machining on my router table, using a chamfering bit. Work your way around each piece again and take a sanding pass to smooth everything out. Making the Handles and Gluing Everything Together The final pieces to mill are the handles (pieces 6), which are also machined on the miter saw. Mill your stock to overall size and start with the blade set at 45°. Cut off one end, flip your piece over and slide it forward to your tape "stop" on the fence. The second cut creates the first handle. Keep cutting and flipping until you have all three handles. Sand these through the grits, softening their edges as you go. Now you're ready to bring everything together. I glued the bases to the cylinders first (using epoxy) and then glued the handles to the top accents, pointing the handles in the direction of the grain. Once that subassembly dried, I glued it to the lid, keeping everything centered and making sure the grain on both pieces ran in the same direction. Test your fit and do any necessary final sanding at this time. Glue the silicon bumpers (pieces 7) to the bottoms of each canister and use a tack cloth to get ready for finishing. Finishing Up Any wood finish will be non-toxic once it cures. I used salad-bowl finish inside my canisters and three coats of wipe-on poly outside. I stuck silicone button feet to the bottoms keep the wood dry on a busy, sometimes-wet countertop. ^ / 74 CLASSIC CANISTER SET Subscribe now at www.woodworkersjuurnal.com/digitaledition Line up some tape on your miter saw's fence as a "stop" when you're ready to create the top, base and accent pieces. Use the illustration at right to lay out your cuts. Again, you can't go wrong using scrap to make a couple of test cuts. © |


