Woodworker's Journal fall-2008, страница 76
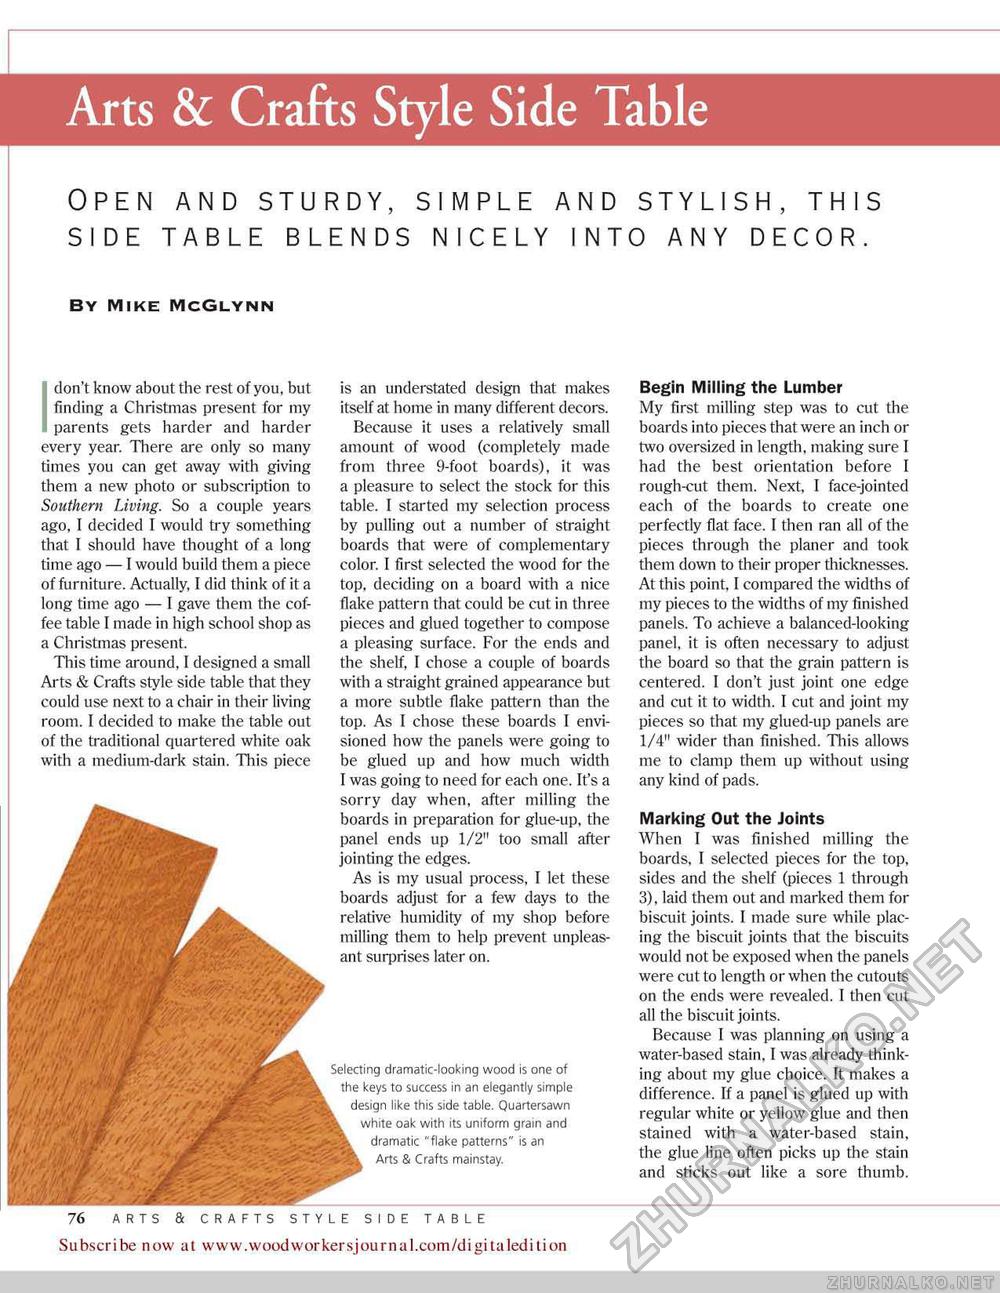
Arts & Crafts Style Side Table OPEN AND STURDY, SIMPLE AND STYLISH, THIS SIDE TABLE BLENDS NICELY INTO ANY DECOR. by mike mcglynn I don't know about the rest of you, but finding a Christmas present for my parents gets harder and harder every year. There are only so many times you can get away with giving them a new photo or subscription to Southern Living. So a couple years ago, I decided I would try something that 1 should have thought of a long time ago — I would build them a piece of furniture. Actually, I did think of it a long time ago — I gave them the coffee table I made in high school shop as a Christmas present. This time around. I designed a small Arts & Crafts style side table that they could use next to a chair in their living room. I decided to make the table out of the traditional quartered white oak with a medium-dark stain. This piece is an understated design that makes itself at home in many different decors. Because it uses a relatively small amount of wood (completely made from three 9-foot boards), it was a pleasure to select the stock for this table. I started my selection process by pulling out a number of straight boards that were of complementary color. I first selected the wood for the top, deciding on a board with a nice flake pattern that could be cut in three pieces and glued together to compose a pleasing surface. For the ends and the shelf, I chose a couple of boards With a straight grained appearance but a more subtle flake pattern than the top. As I chose these boards I envisioned how the panels were going to be glued up and how much width I was going to need for each one. It's a sorry day when, after milling the boards in preparation for glue-up, the panel ends up 1/2" too small after jointing the edges. As is my usual process, I let these boards adjust for a few clays to the relative humidity of my shop before milling them to help prevent unpleasant surprises later on. Selecting dramatic-looking wood is one of the keys to success in an elegantly simple design like this side table. Quartersawn white oak with its uniform grain and dramatic "flake patterns" is an Arts & Crafts mainstay. Begin Milling the Lumber My first milling step was to cut the boards into pieces that were an inch or two oversized in length, making sure I had the best orientation before I rough-cut them. Next, I face-jointed each of the boards to create one perfectly flat face. I then ran all of the pieces through the planer and took them down to their proper thicknesses. At this point, I compared the widths of my pieces to the widths of my finished panels. To achieve a balanced-looking panel, it is often necessary to adjust the board so that the grain pattern is centered. I don't just joint one edge and cut it to width. I cut and joint my pieces so that my glued-up panels are 1/4" wider than finished. This allows me to clamp them up without using any kind of pads. Marking Out the Joints When I was finished milling the boards, I selected pieces for the top, sides and the shelf (pieces 1 through 3), laid them out and marked them for biscuit joints. I made sure while placing the biscuit joints that the biscuits would not be exposed when the panels were cut to length or when the cutouts on the ends were revealed. I then cut all the biscuit joints. Because I was planning on using a water-based stain. I was already thinking about my glue choice. It makes a difference. Tf a panel is glued up with regular white or yellow glue and then stained with a water-based stain, the glue line often picks up the stain and sticks out like a sore thumb. 76 ARTS & CRAFTS STYLE SIDE TABLE Subscribe now at www.woodworkersjournal.com/digitaledition |


