Woodworker's Journal fall-2009, страница 50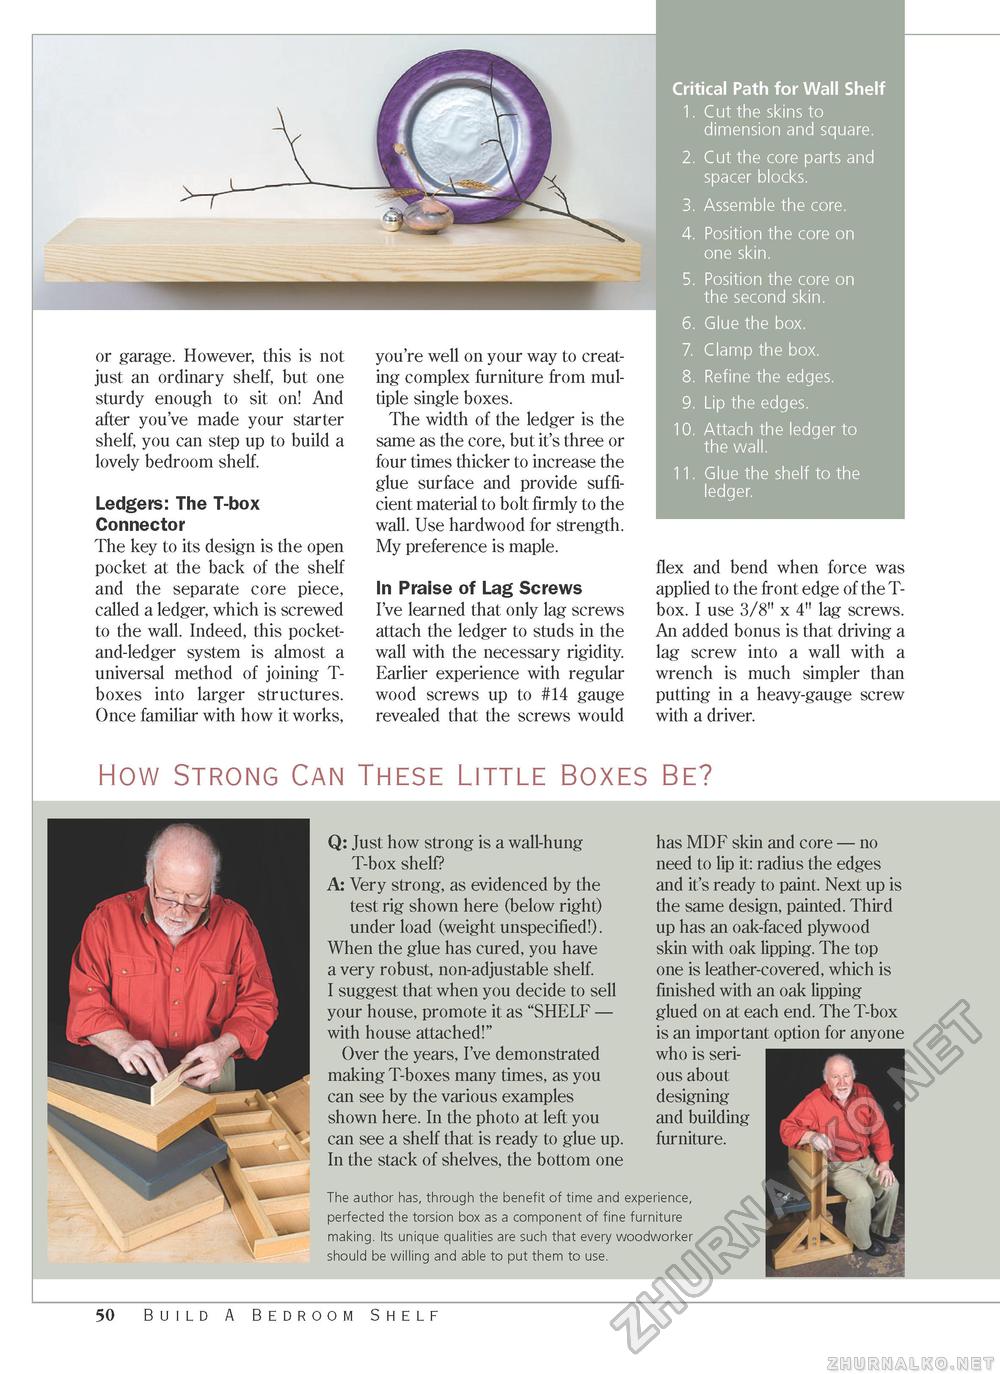
Critical Path for Wall Shelf 1. Cut the skins to dimension and square. 2. Cut the core parts and spacer blocks. 3. Assemble the core. 4. Position the core on one skin. 5. Position the core on the second skin. 6. Glue the box. 7. Clamp the box. 8. Refine the edges. 9. Lip the edges. 10. Attach the ledger to the wall. 11. Glue the shelf to the ledger. or garage. However, this is not just an ordinary shelf, but one sturdy enough to sit on! And after you've made your starter shelf, you can step up to build a lovely bedroom shelf. Ledgers: The T-box Connector The key to its design is the open pocket at the back of the shelf and the separate core piece, called a ledger, which is screwed to the wall. Indeed, this pocket-and-ledger system is almost a universal method of joining T-boxes into larger structures. Once familiar with how it works, you're well on your way to creating complex furniture from multiple single boxes. The width of the ledger is the same as the core, but it's three or four times thicker to increase the glue surface and provide sufficient material to bolt firmly to the wall. Use hardwood for strength. My preference is maple. In Praise of Lag Screws I've learned that only lag screws attach the ledger to studs in the wall with the necessary rigidity. Earlier experience with regular wood screws up to #14 gauge revealed that the screws would flex and bend when force was applied to the front edge of the T-box. I use 3/8" x 4" lag screws. An added bonus is that driving a lag screw into a wall with a wrench is much simpler than putting in a heavy-gauge screw with a driver. How Strong Can These Little Boxes Be? Q: Just how strong is a wall-hung T-box shelf? A: Very strong, as evidenced by the test rig shown here (below right) under load (weight unspecified!). When the glue has cured, you have a very robust, non-adjustable shelf. I suggest that when you decide to sell your house, promote it as "SHELF — with house attached!" Over the years, I've demonstrated making T-boxes many times, as you can see by the various examples shown here. In the photo at left you can see a shelf that is ready to glue up. In the stack of shelves, the bottom one has MDF skin and core — no need to lip it: radius the edges and it's ready to paint. Next up is the same design, painted. Third up has an oak-faced plywood skin with oak lipping. The top one is leather-covered, which is finished with an oak lipping glued on at each end. The T-box is an important option for anyone who is serious about designing and building furniture. The author has, through the benefit of time and experience, perfected the torsion box as a component of fine furniture making. Its unique qualities are such that every woodworker should be willing and able to put them to use. 50 Build A Bedroom Shelf |


